Yr Wyddfa
Snowdon
>
>
>
contents
Overview
Amidst the untamed Welsh wilderness, uncover the timeless allure of this natural sentinel
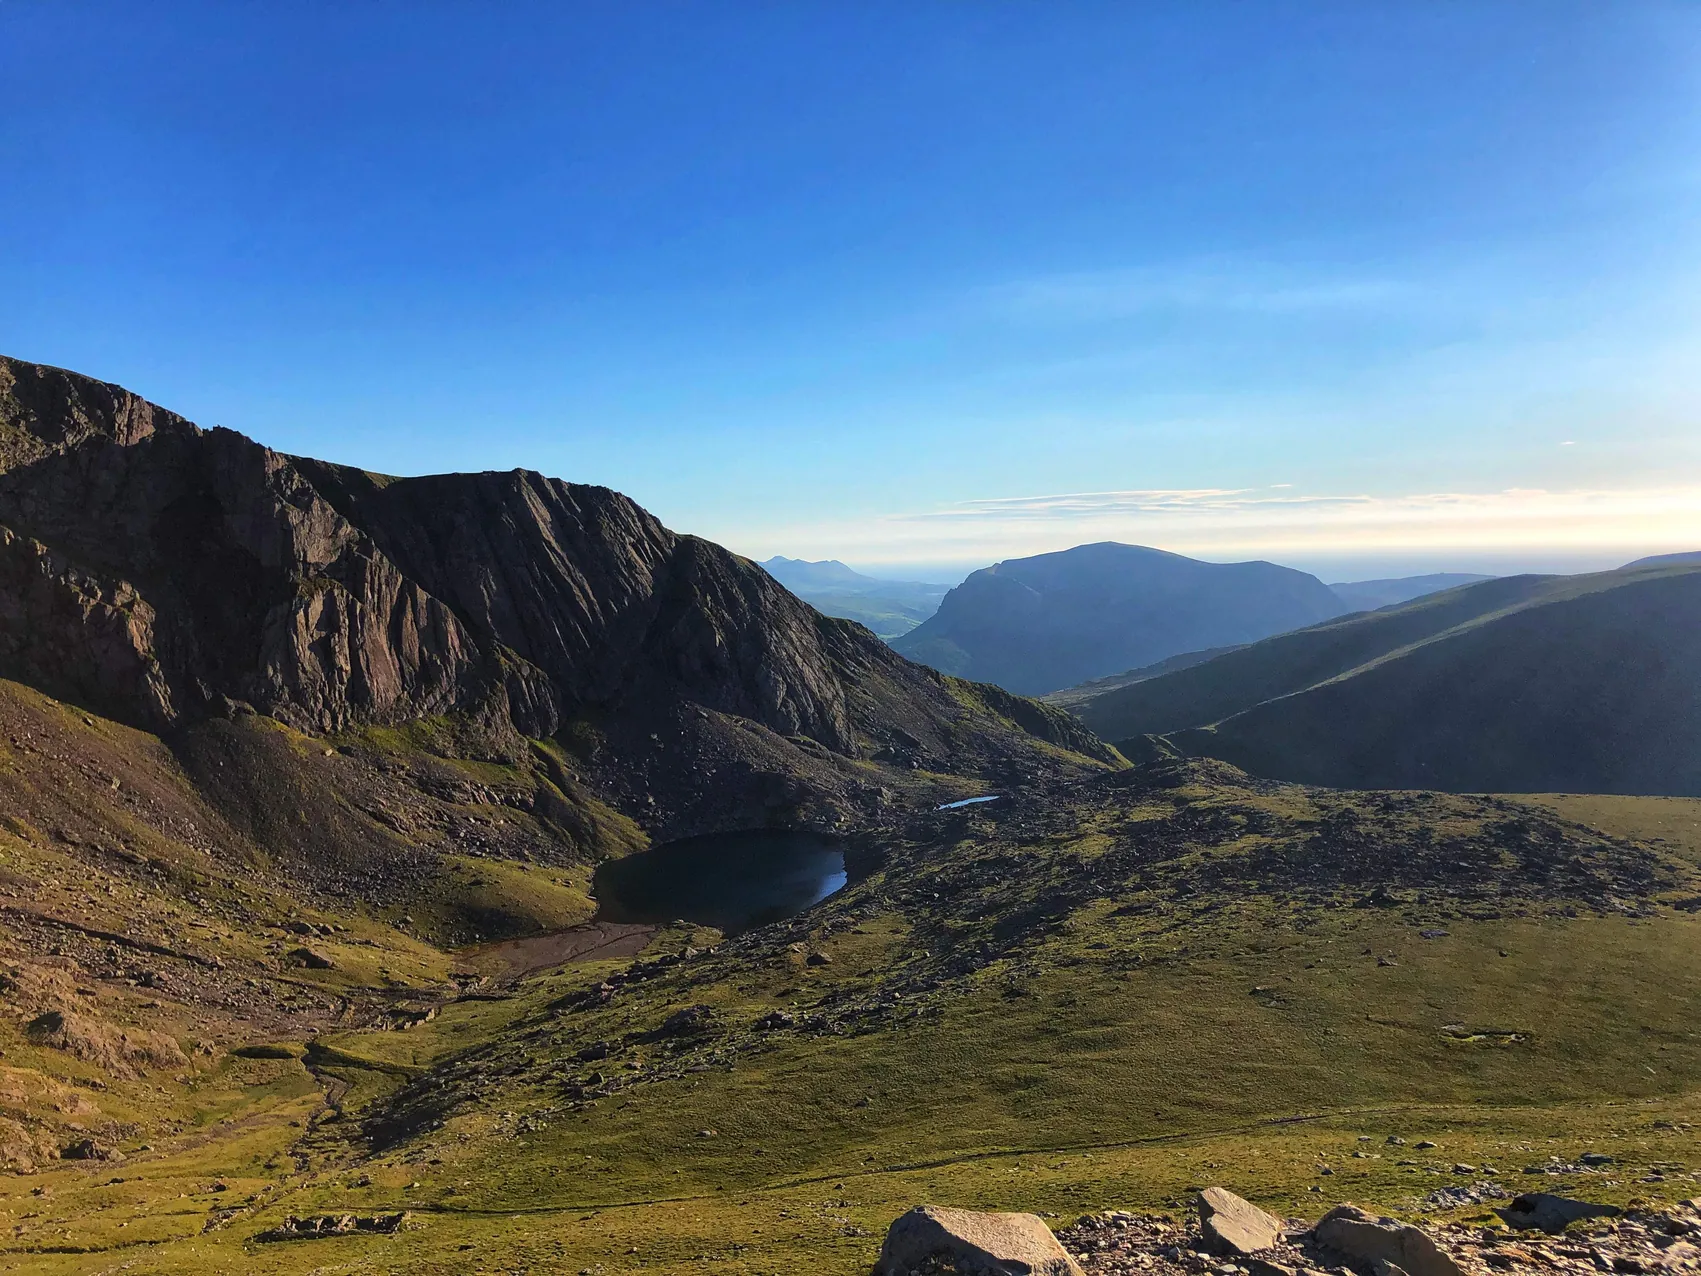
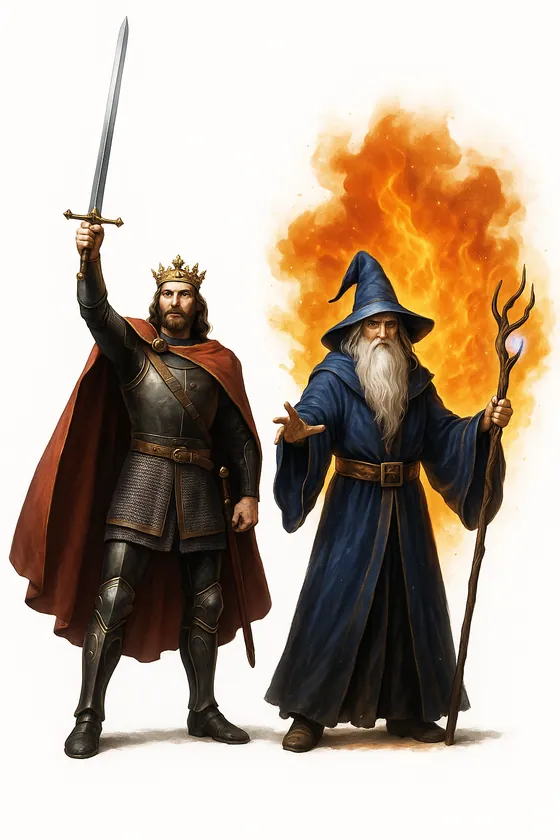
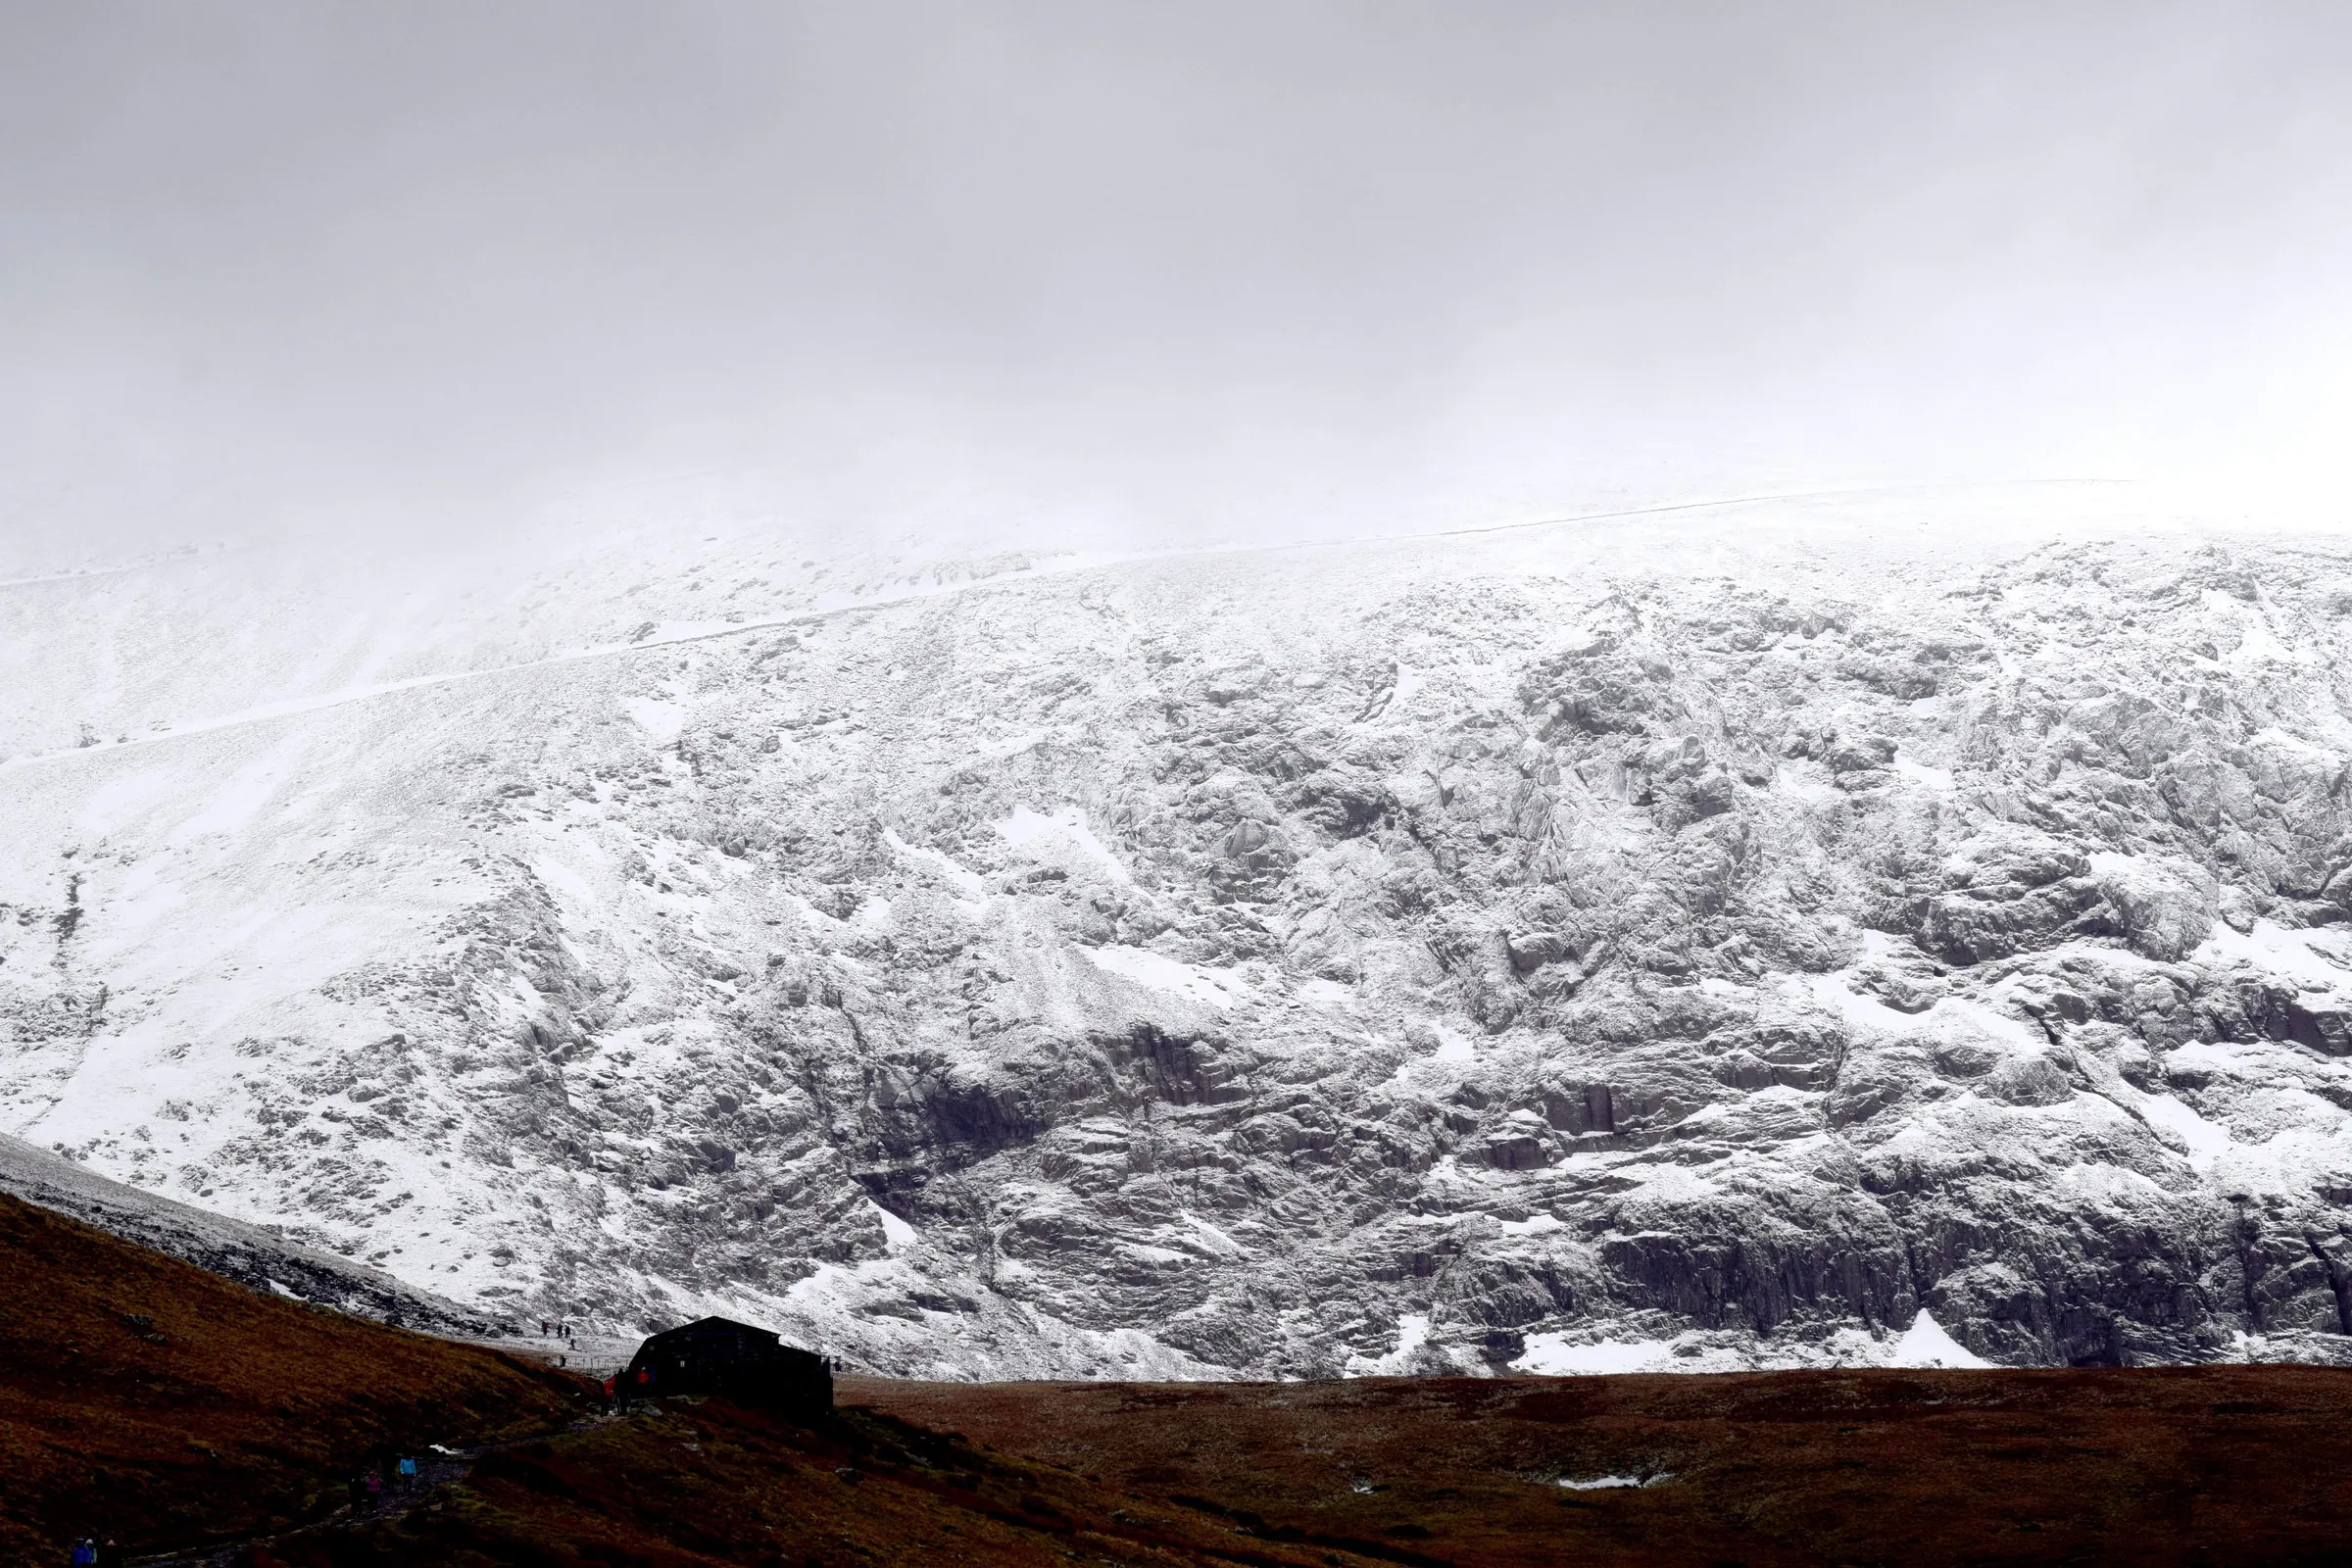
Snowdon, or Yr Wyddfa, forms the central peak of a wider massif that includes Crib Goch, Crib y Ddysgl, Y Lliwedd and Garnedd Ugain. Its English name comes from the Old English snaw dun, meaning “snow hill”, a reference that still holds true in winter when snow and ice frequently cap the upper slopes. The mountain can be reached by several established walking routes, as well as by the Snowdon Mountain Railway. The surrounding area supports rare plant life and is geologically significant, containing some of the oldest rock formations in Wales. The name Yr Wyddfa is tied to Welsh legend through the word gwŷddfa, meaning burial mound. In Arthurian tradition, this refers to the cairn said to mark the burial of Rhitta Gawr, a giant defeated by King Arthur on the mountain, after which stones were piled over his body to form a mound.
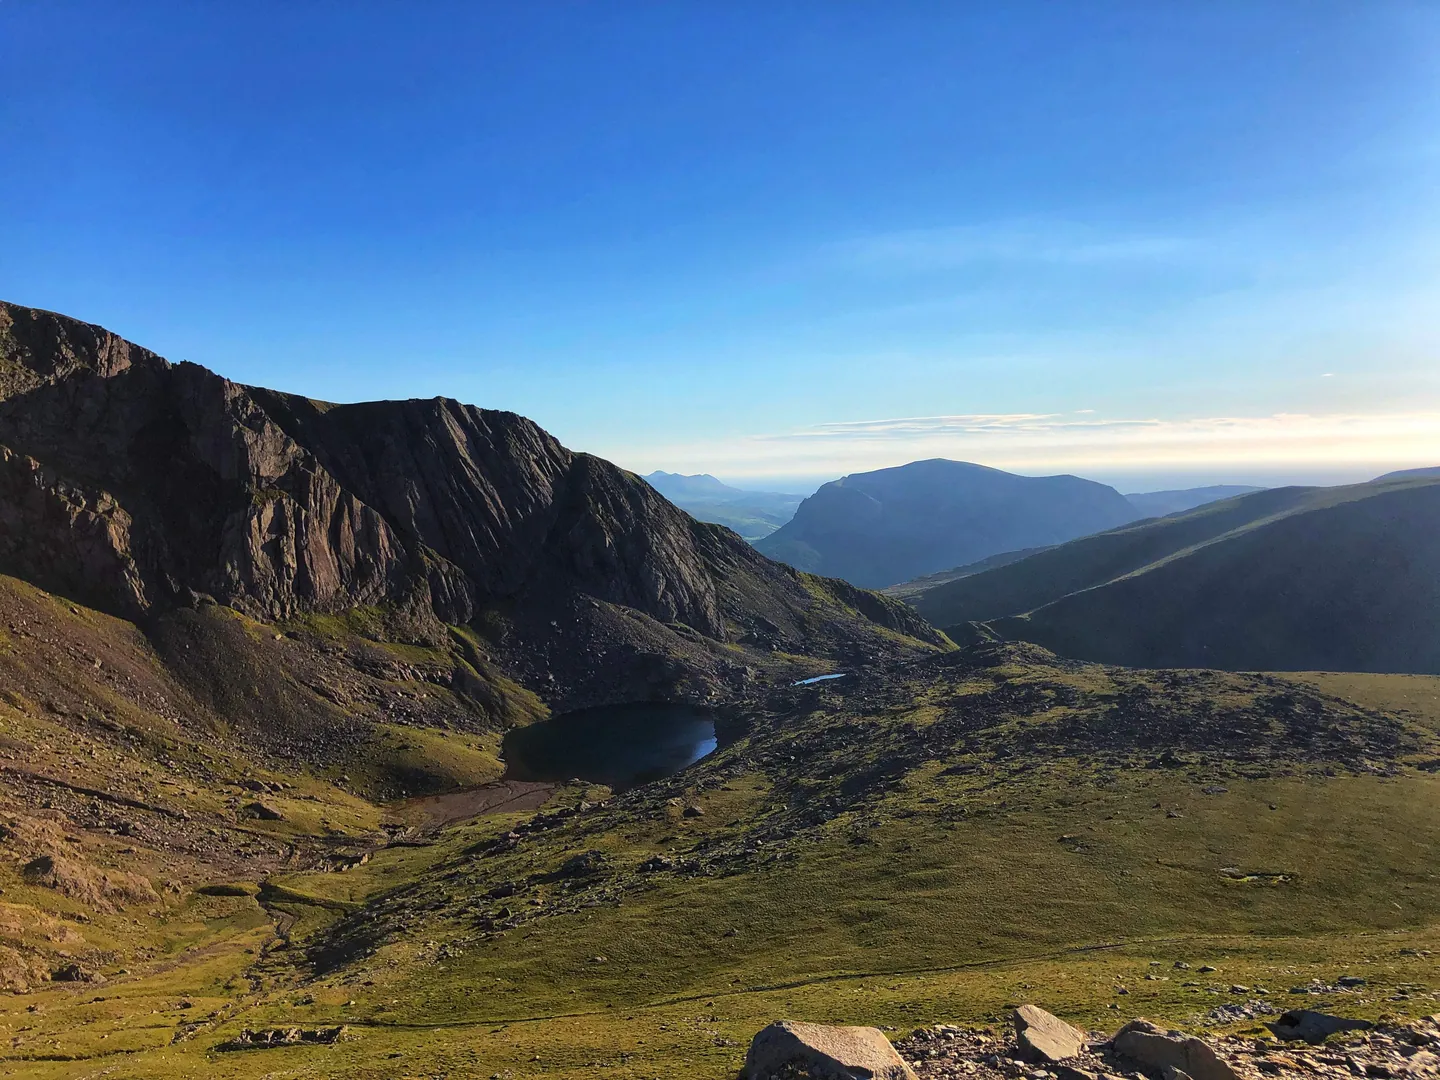
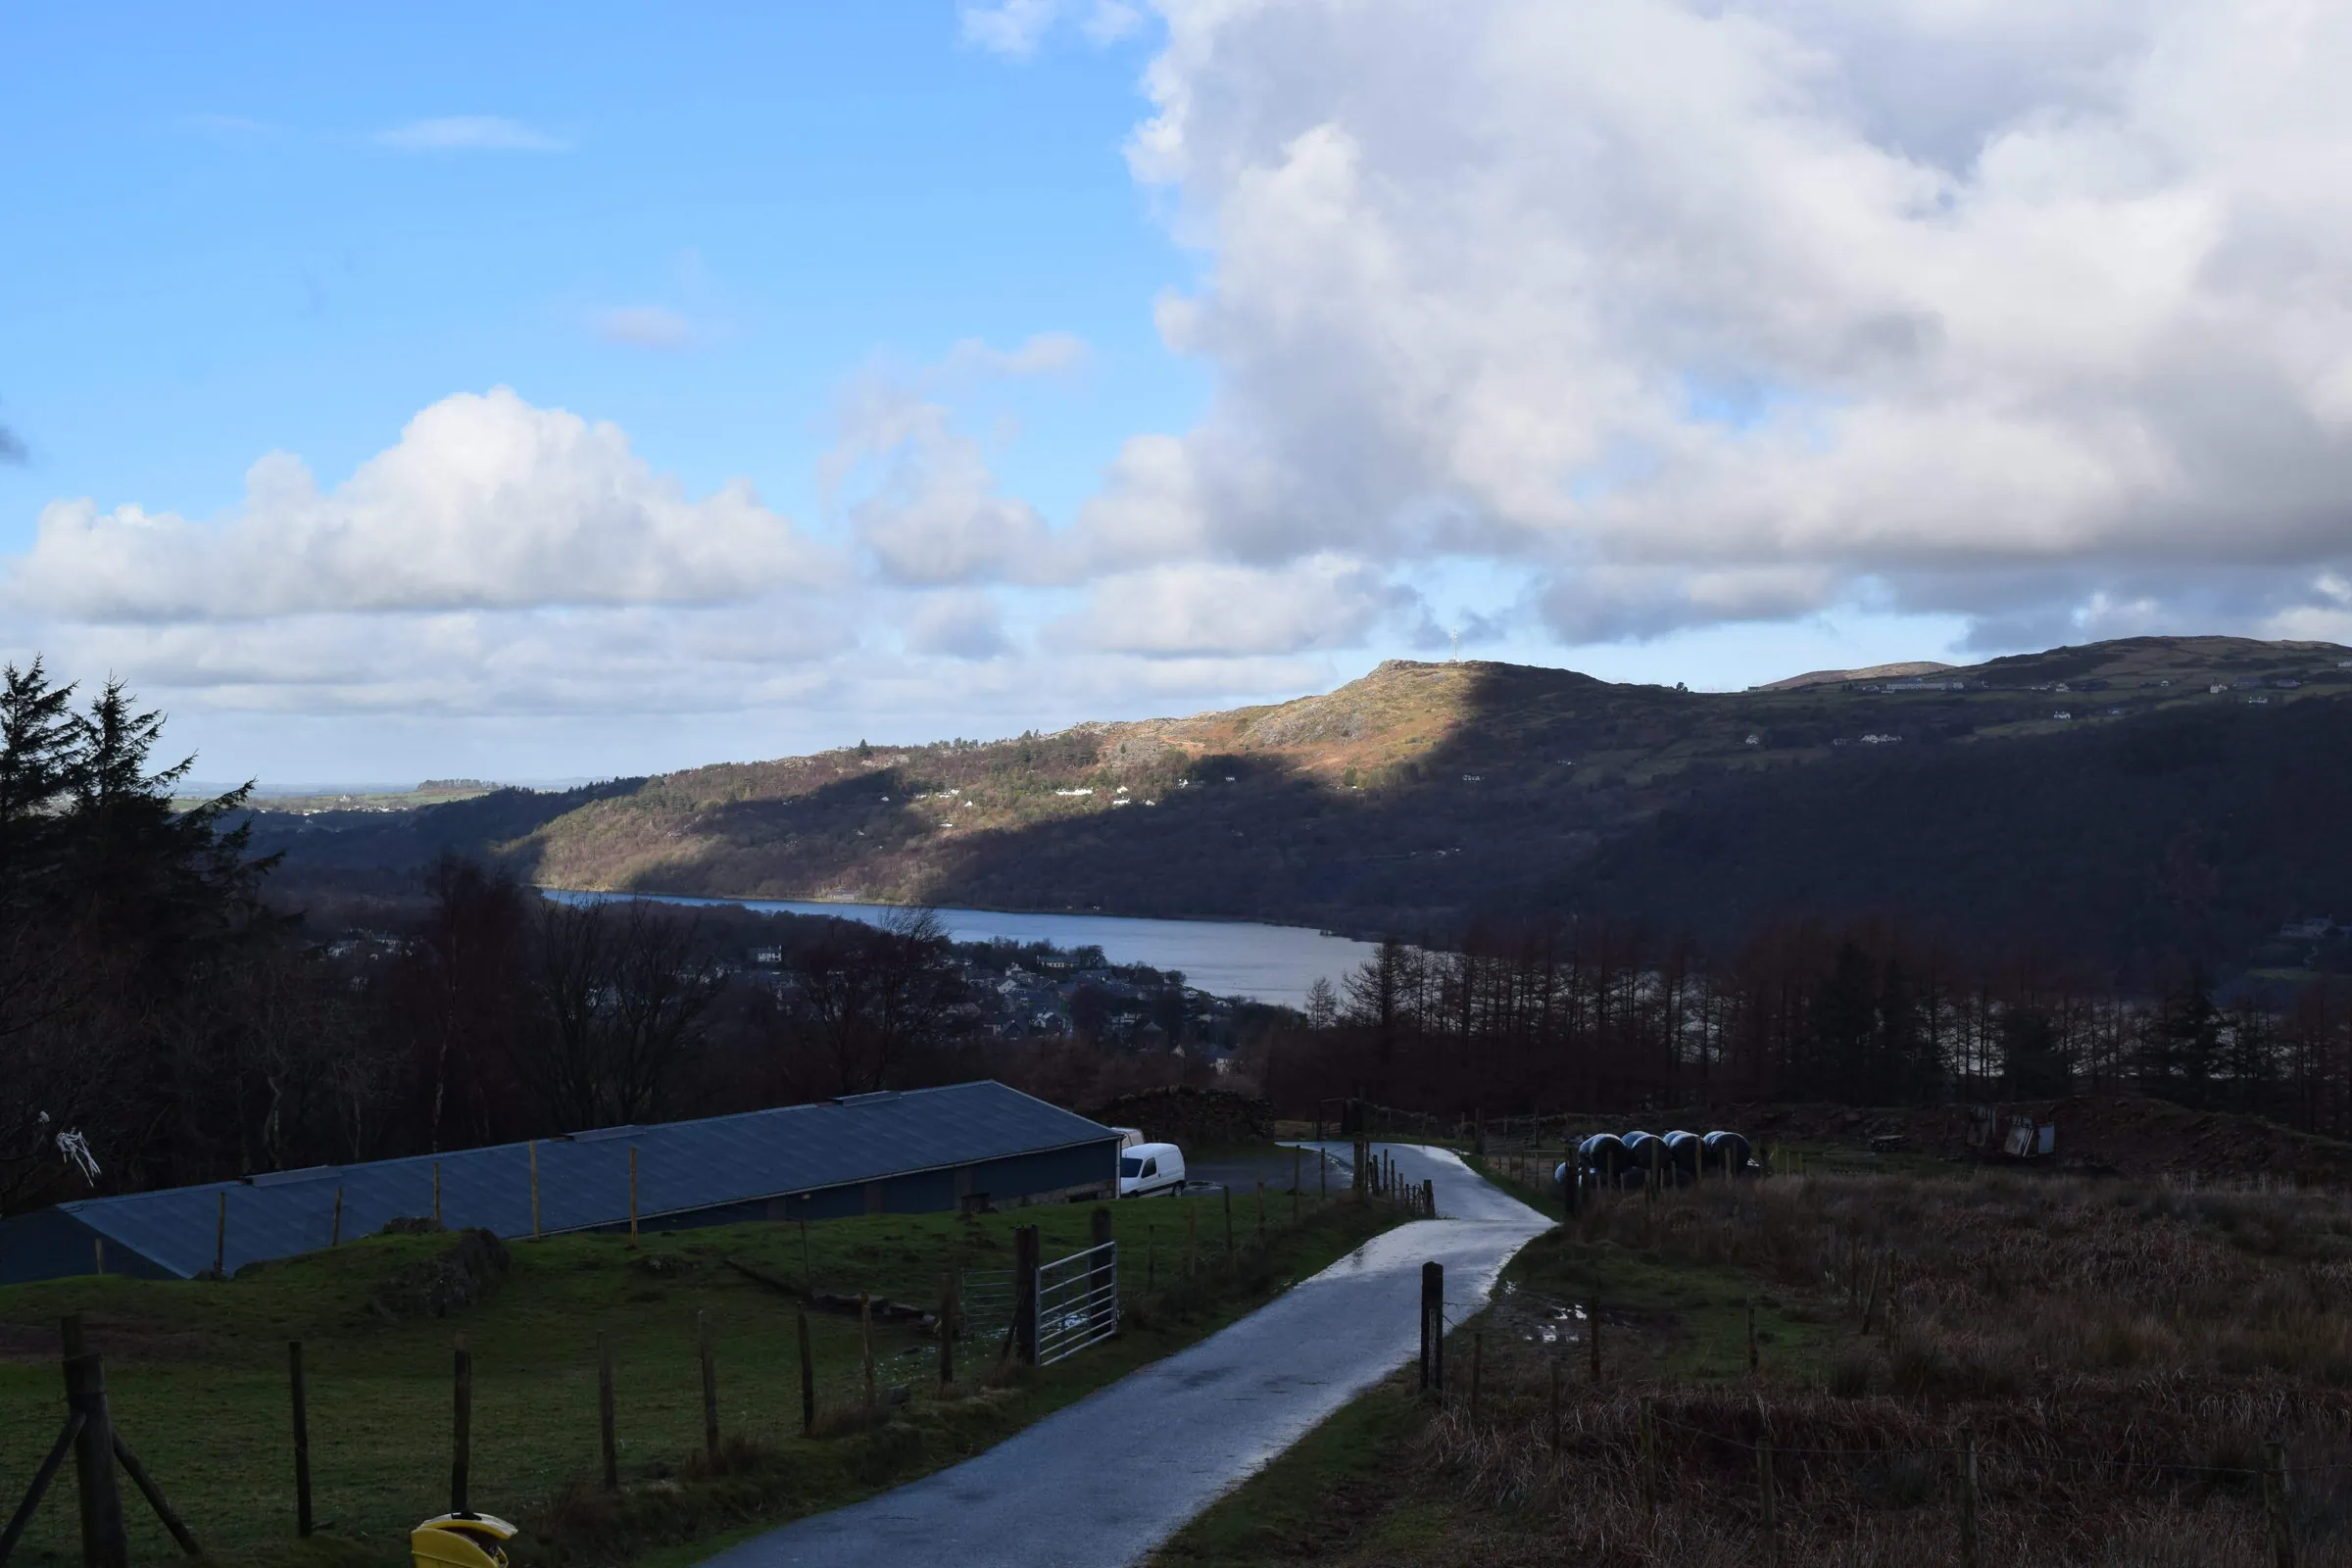
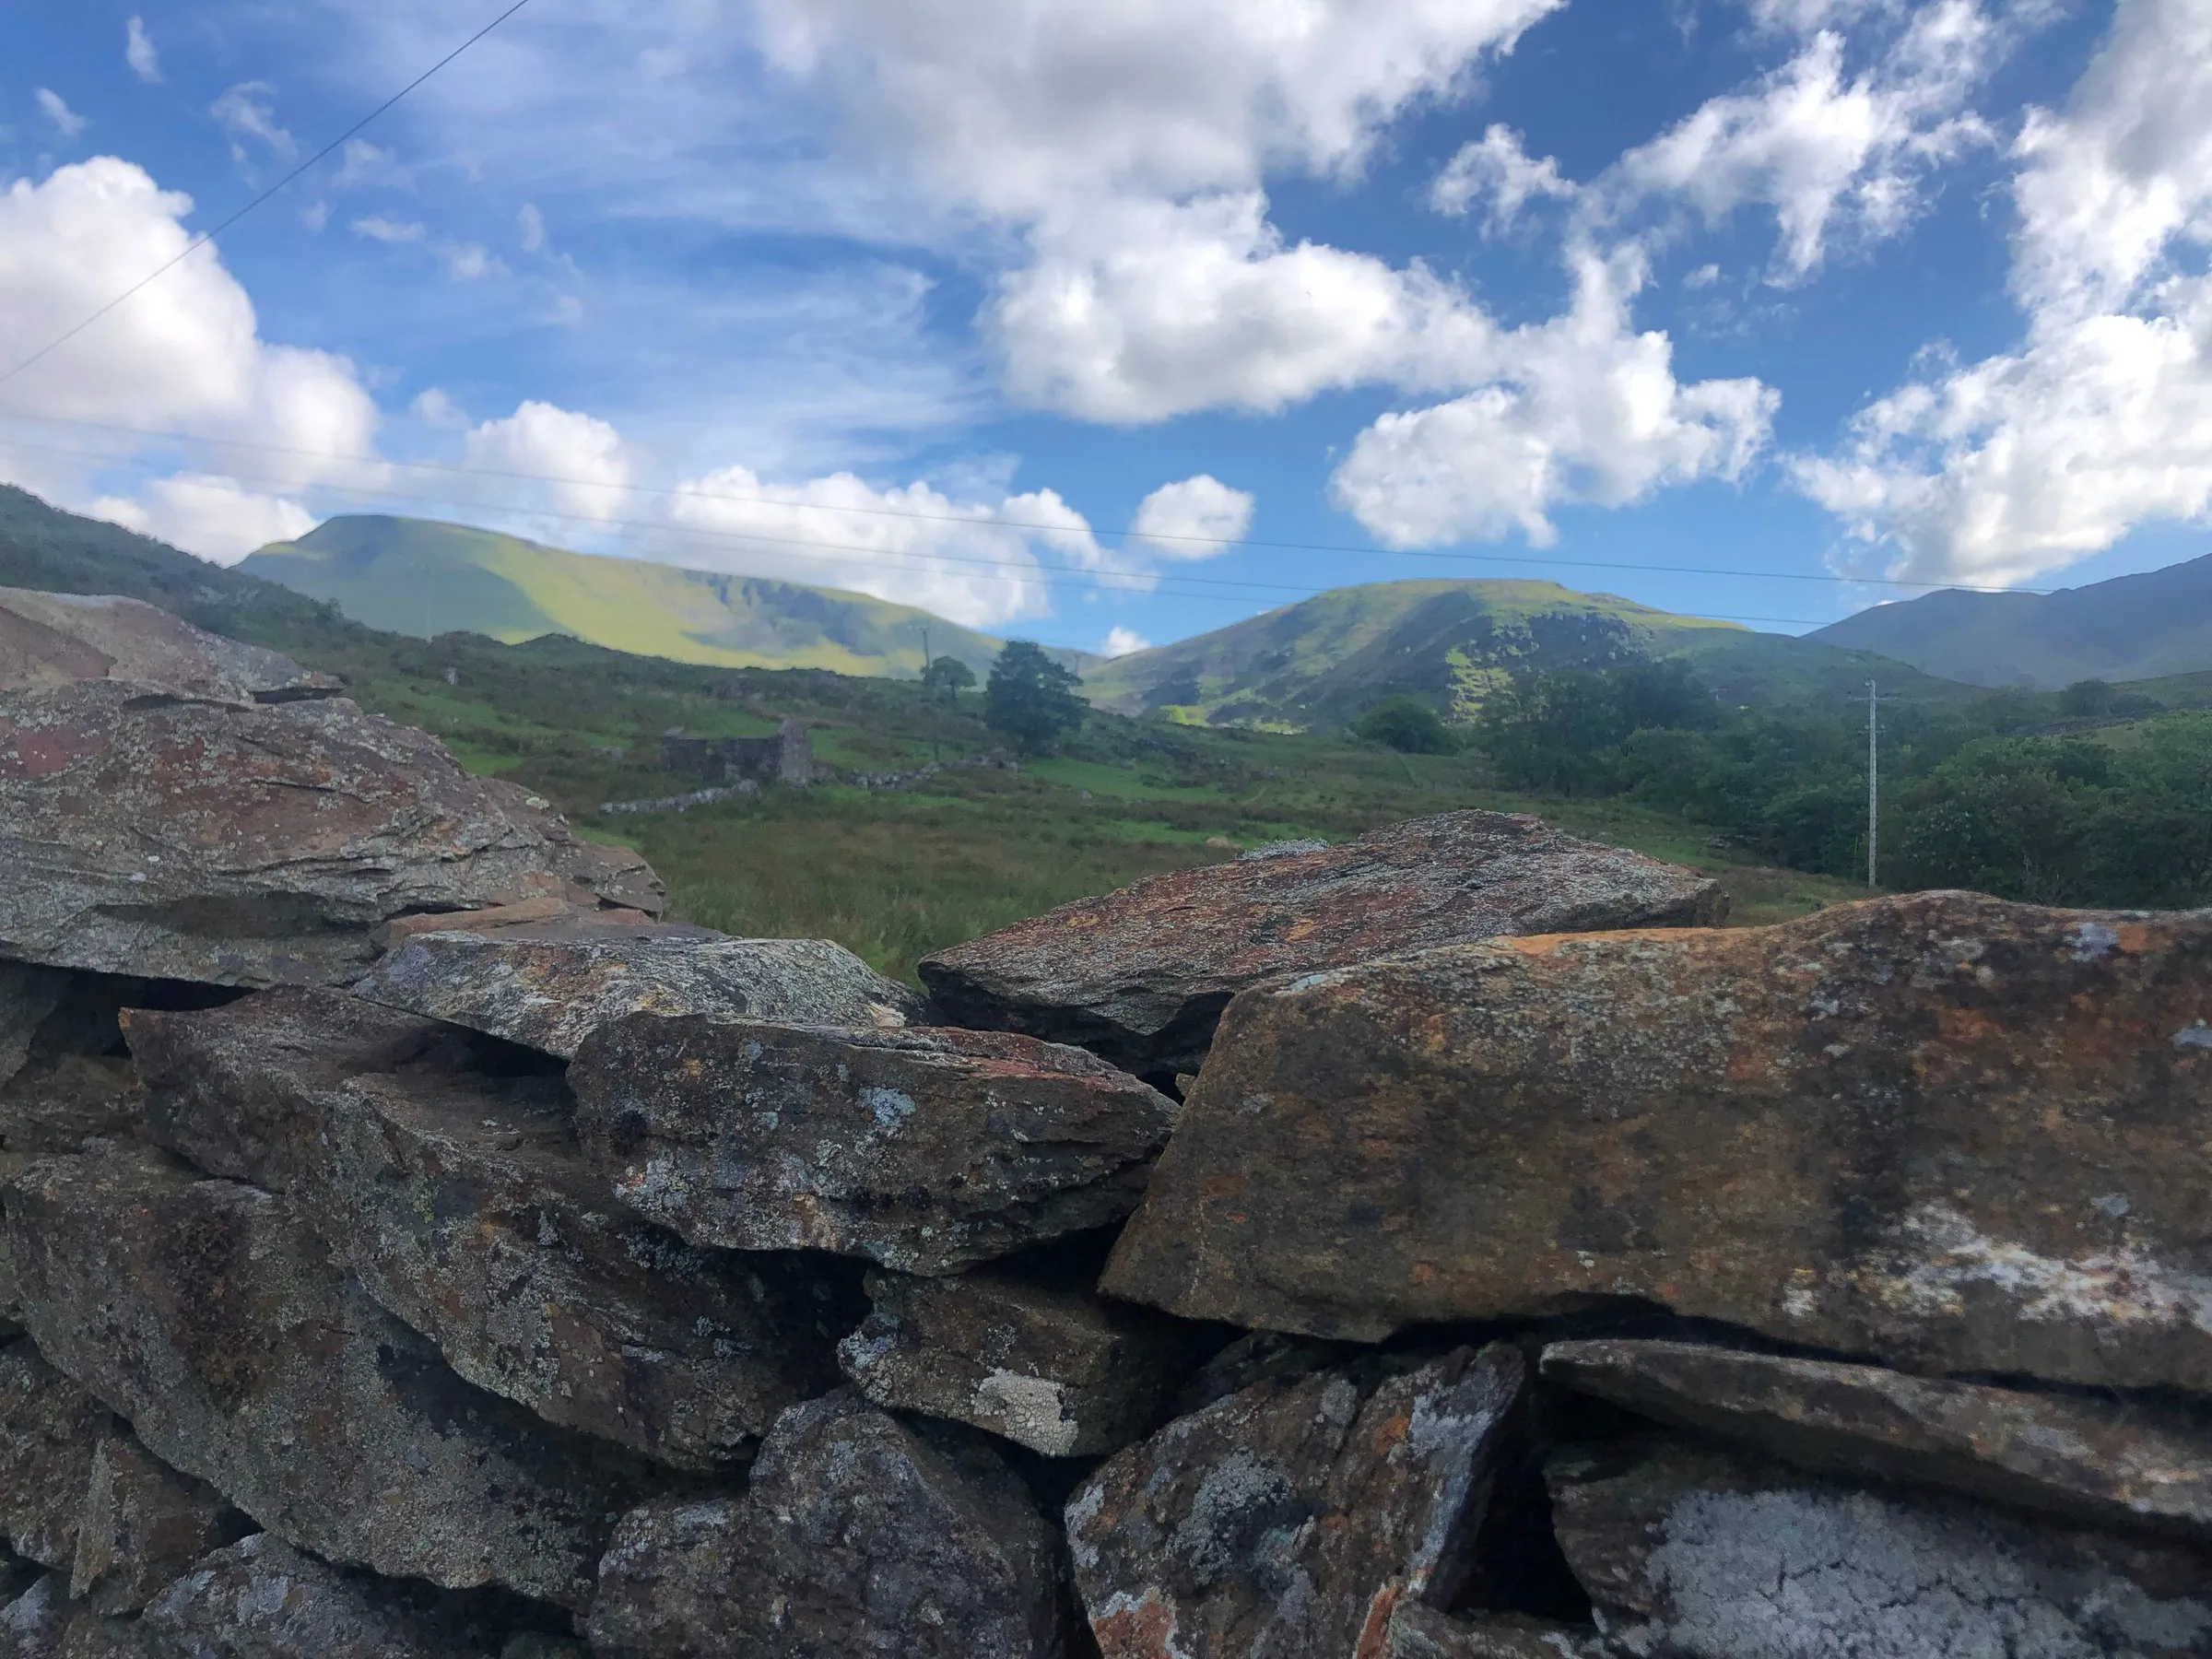
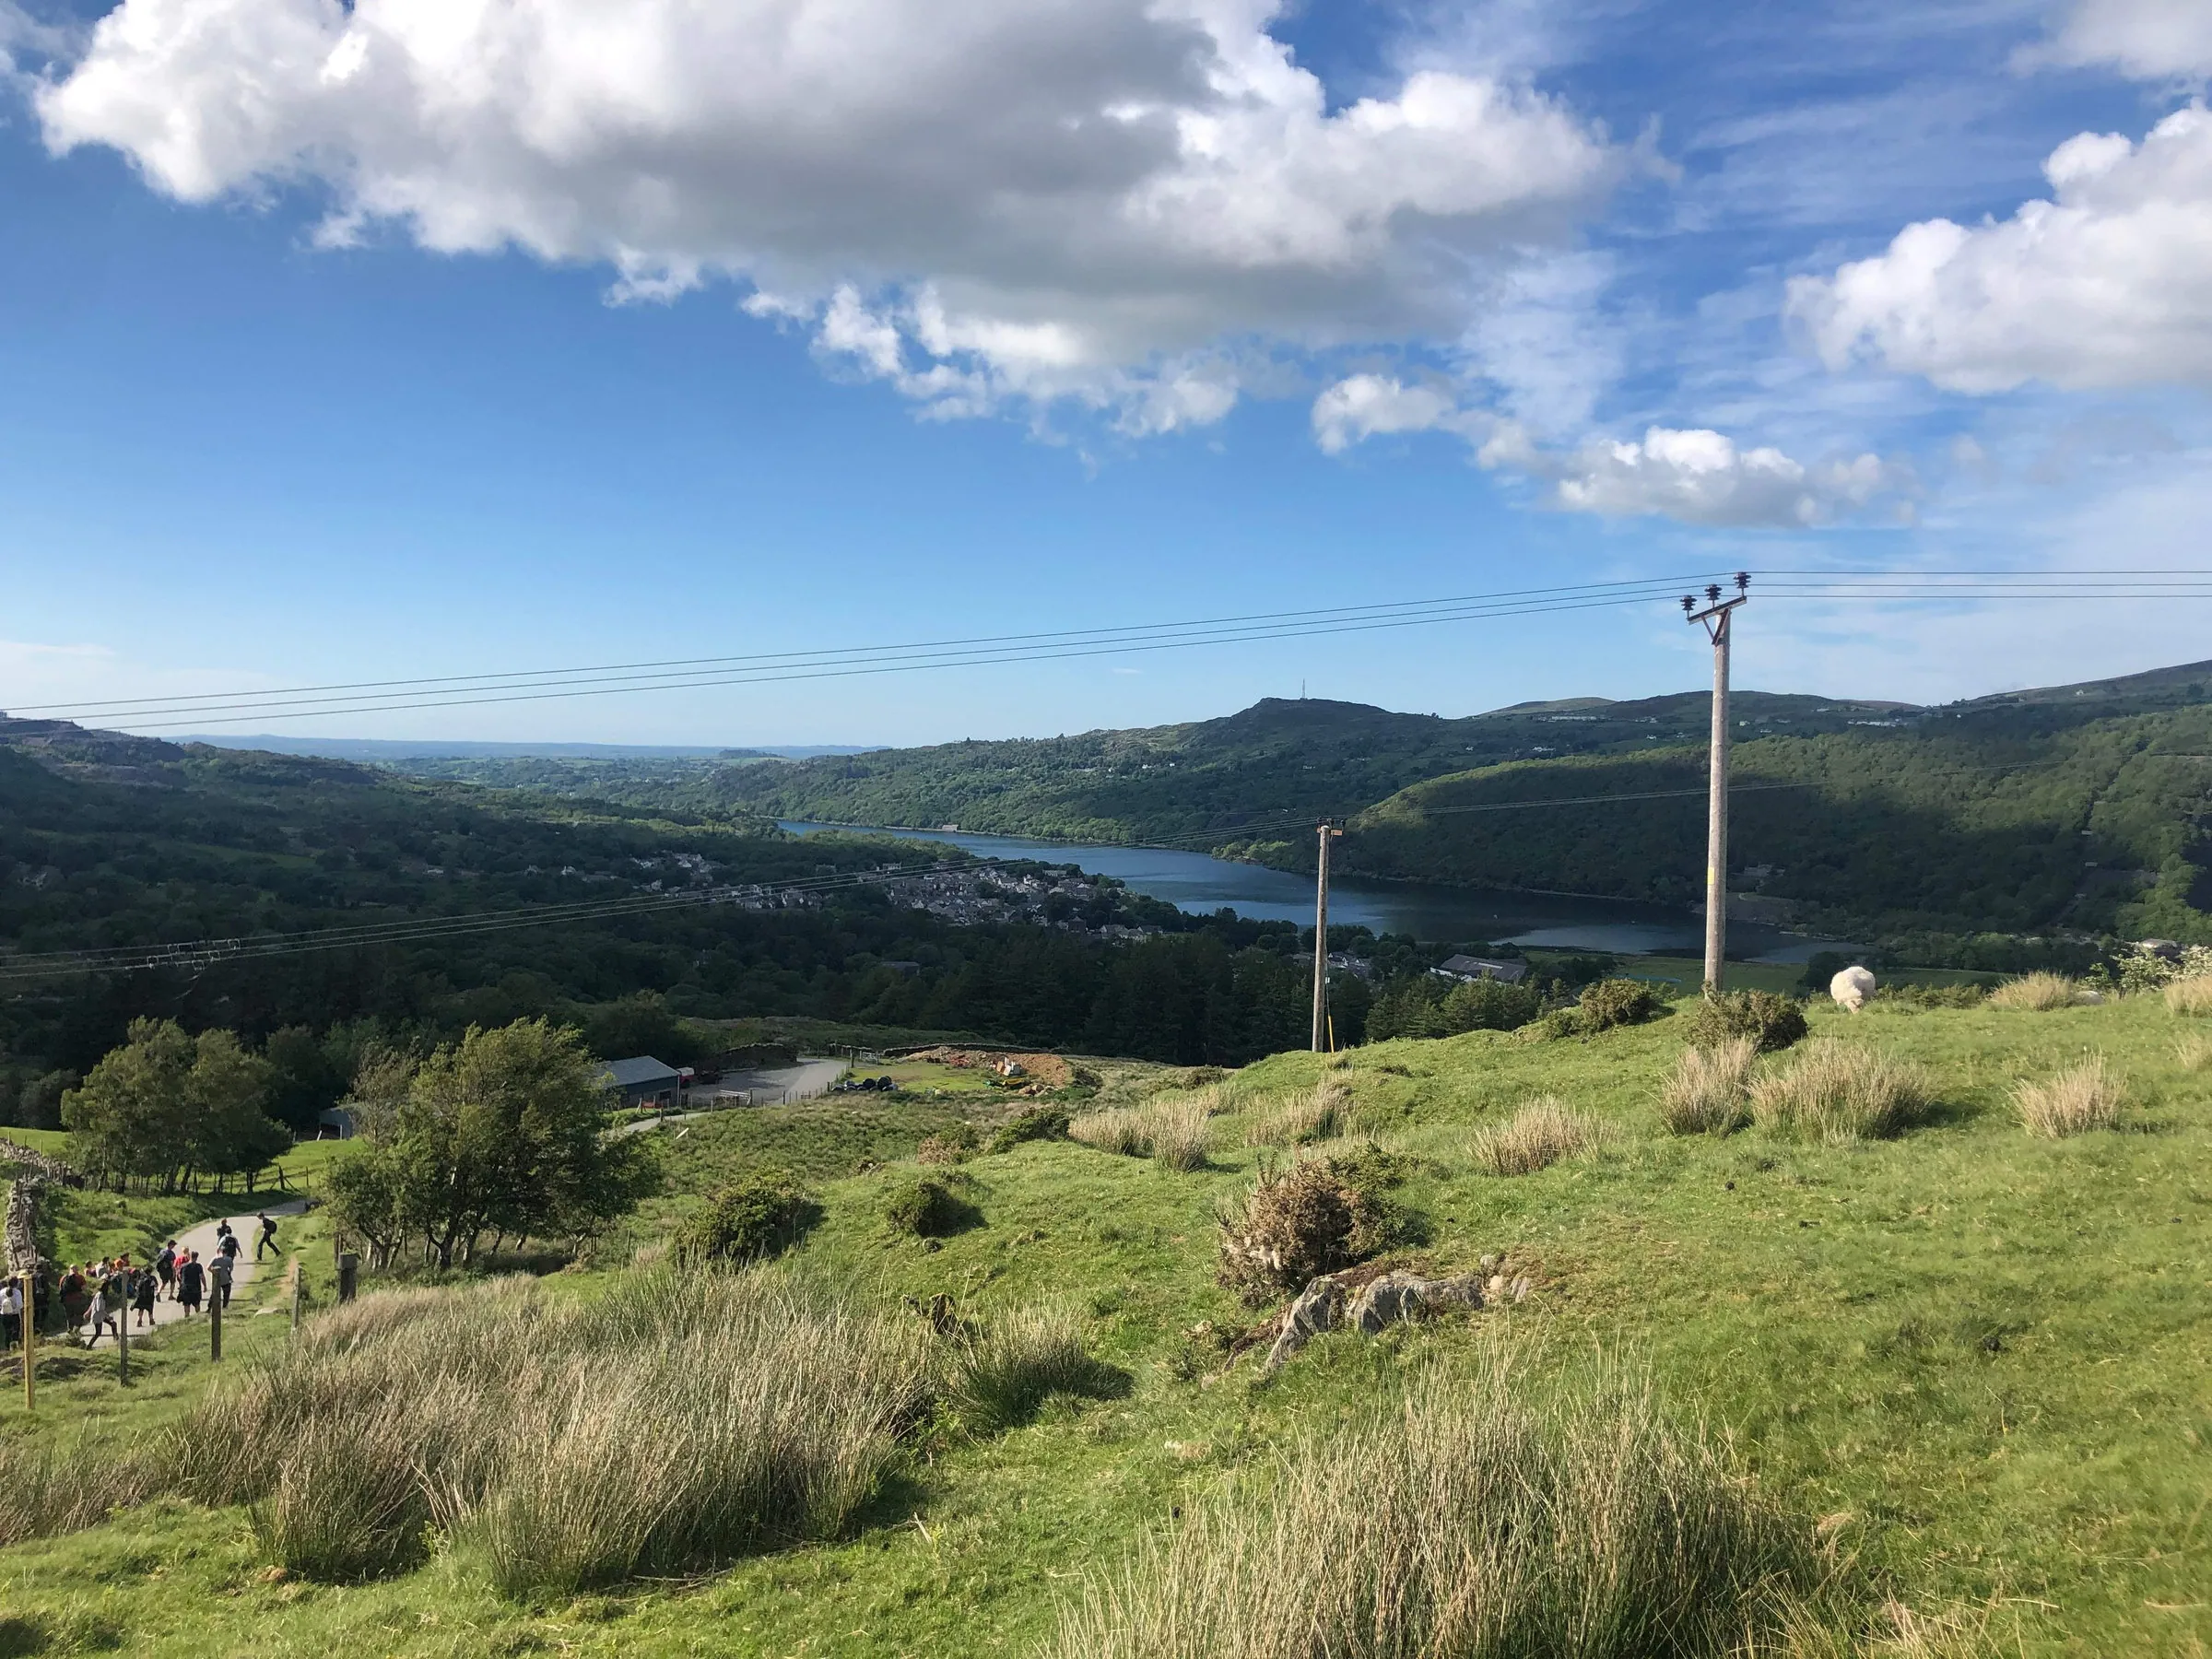
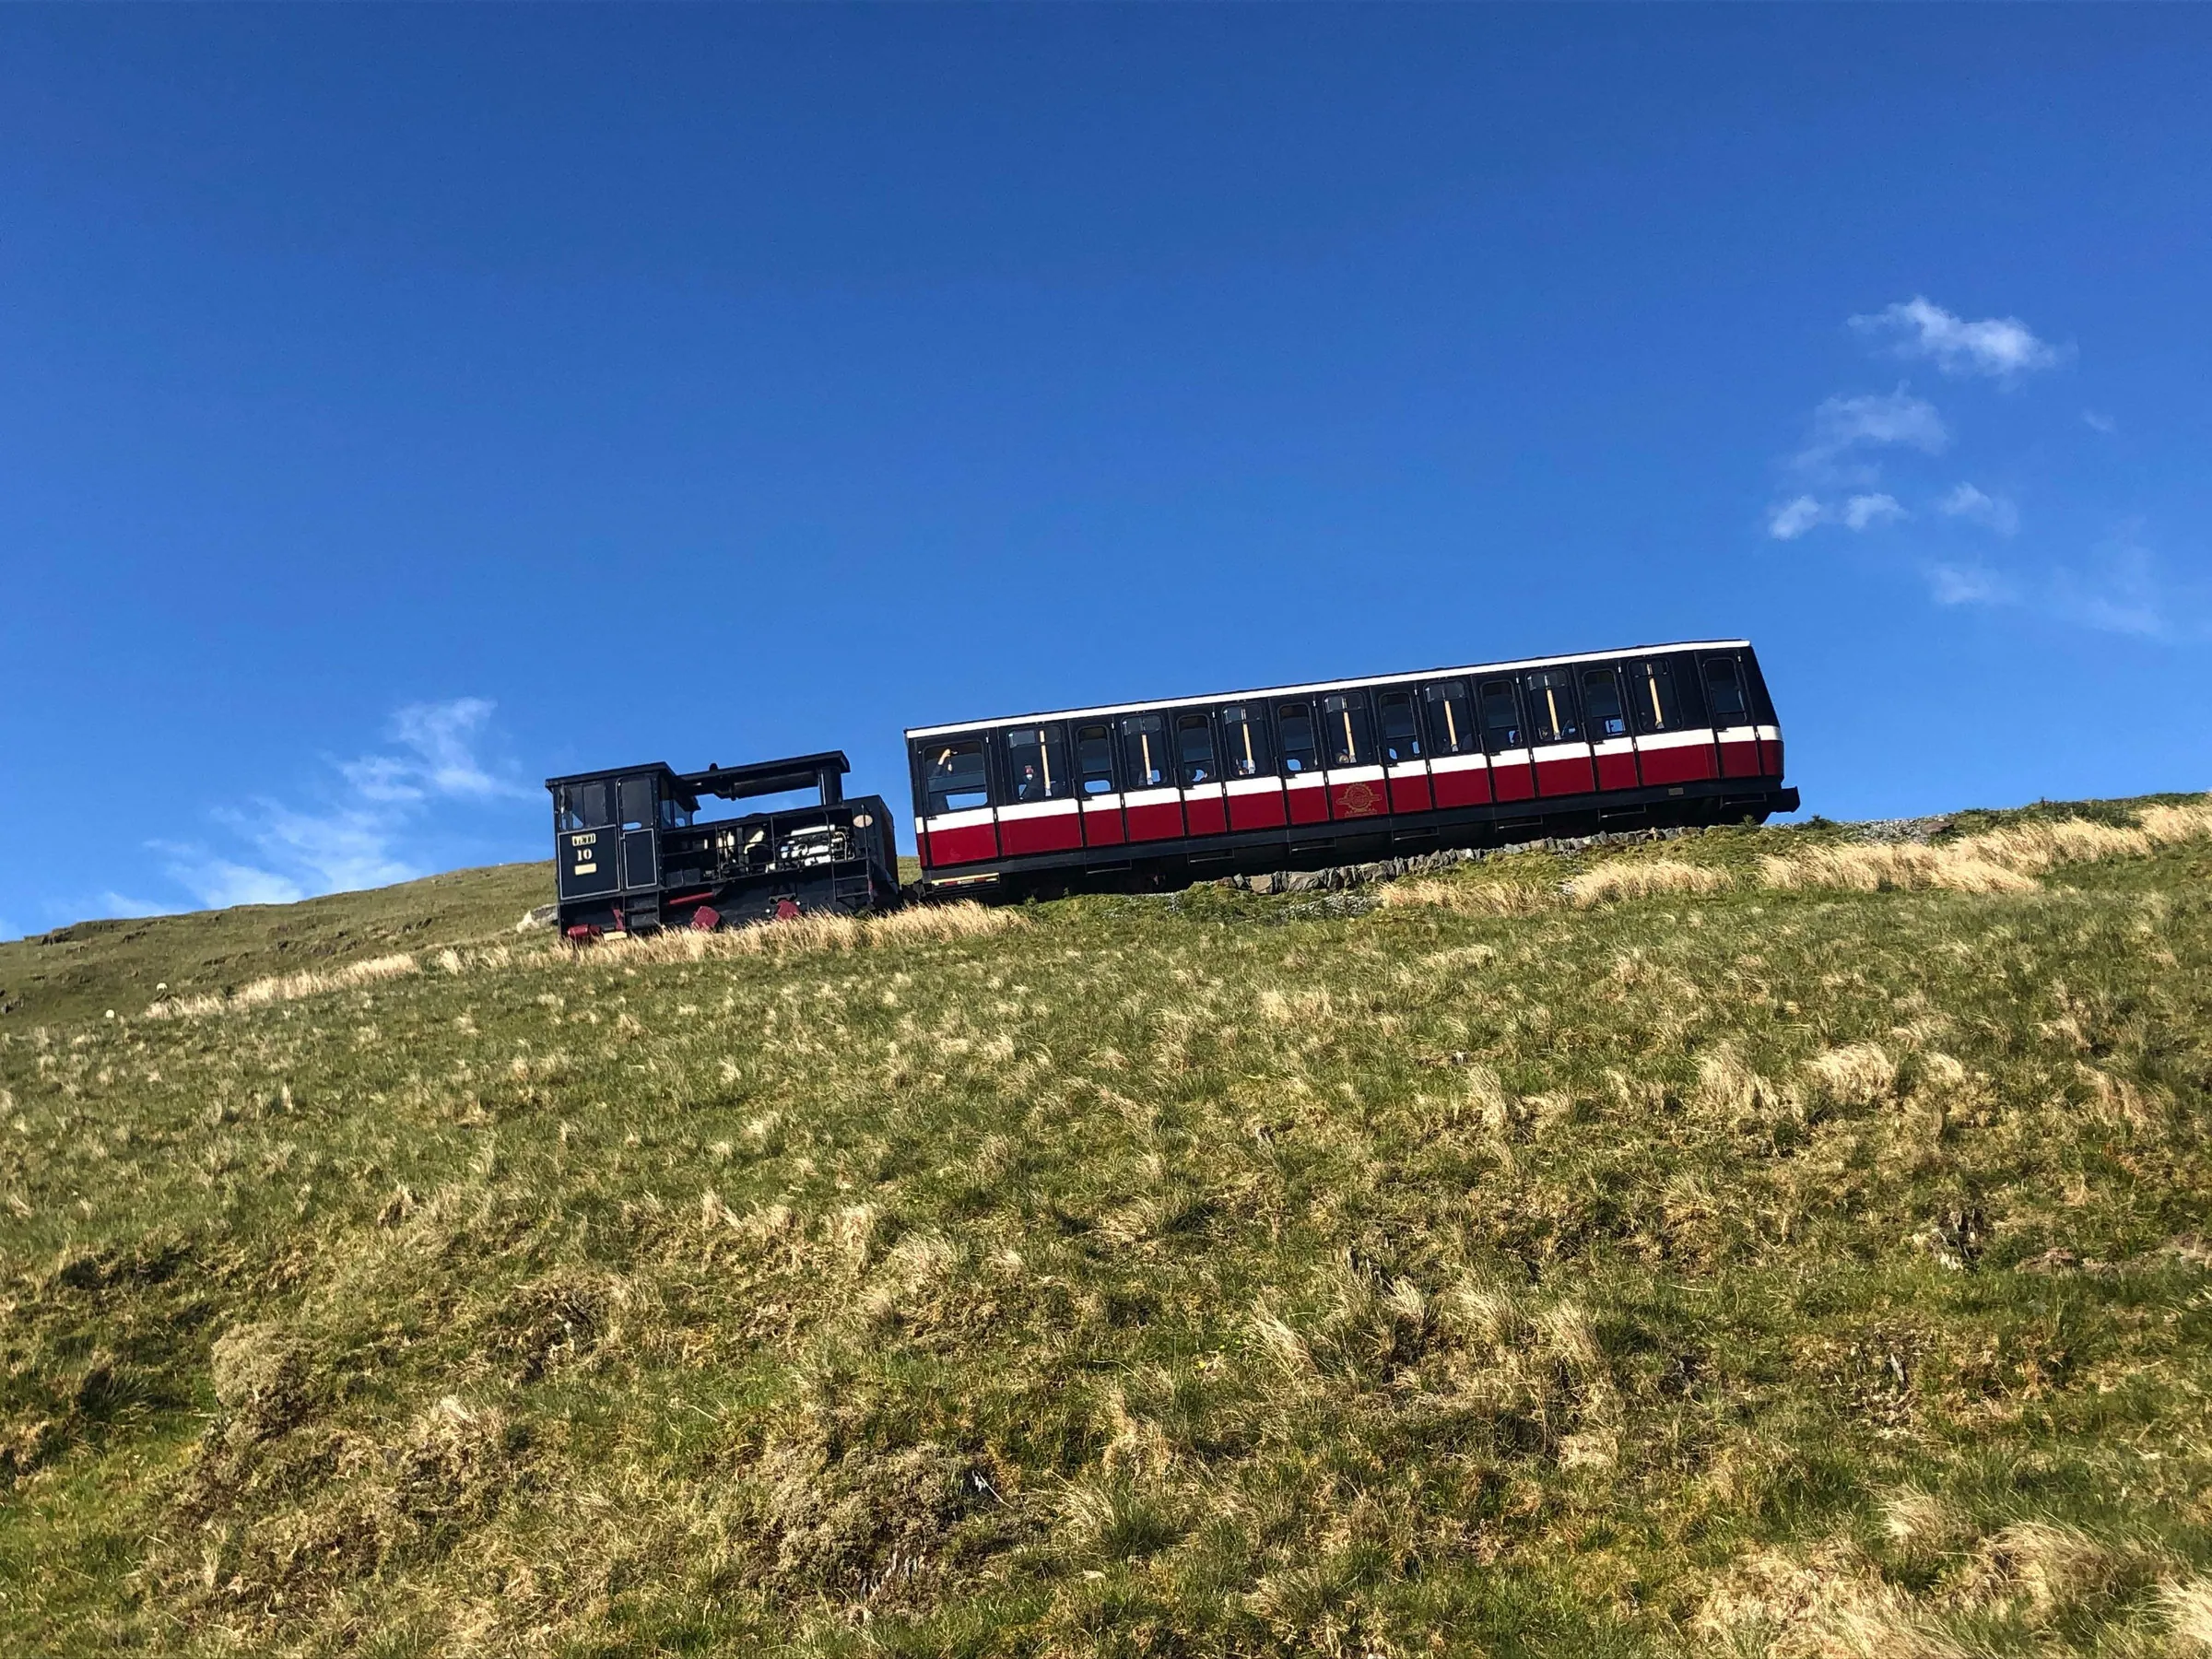
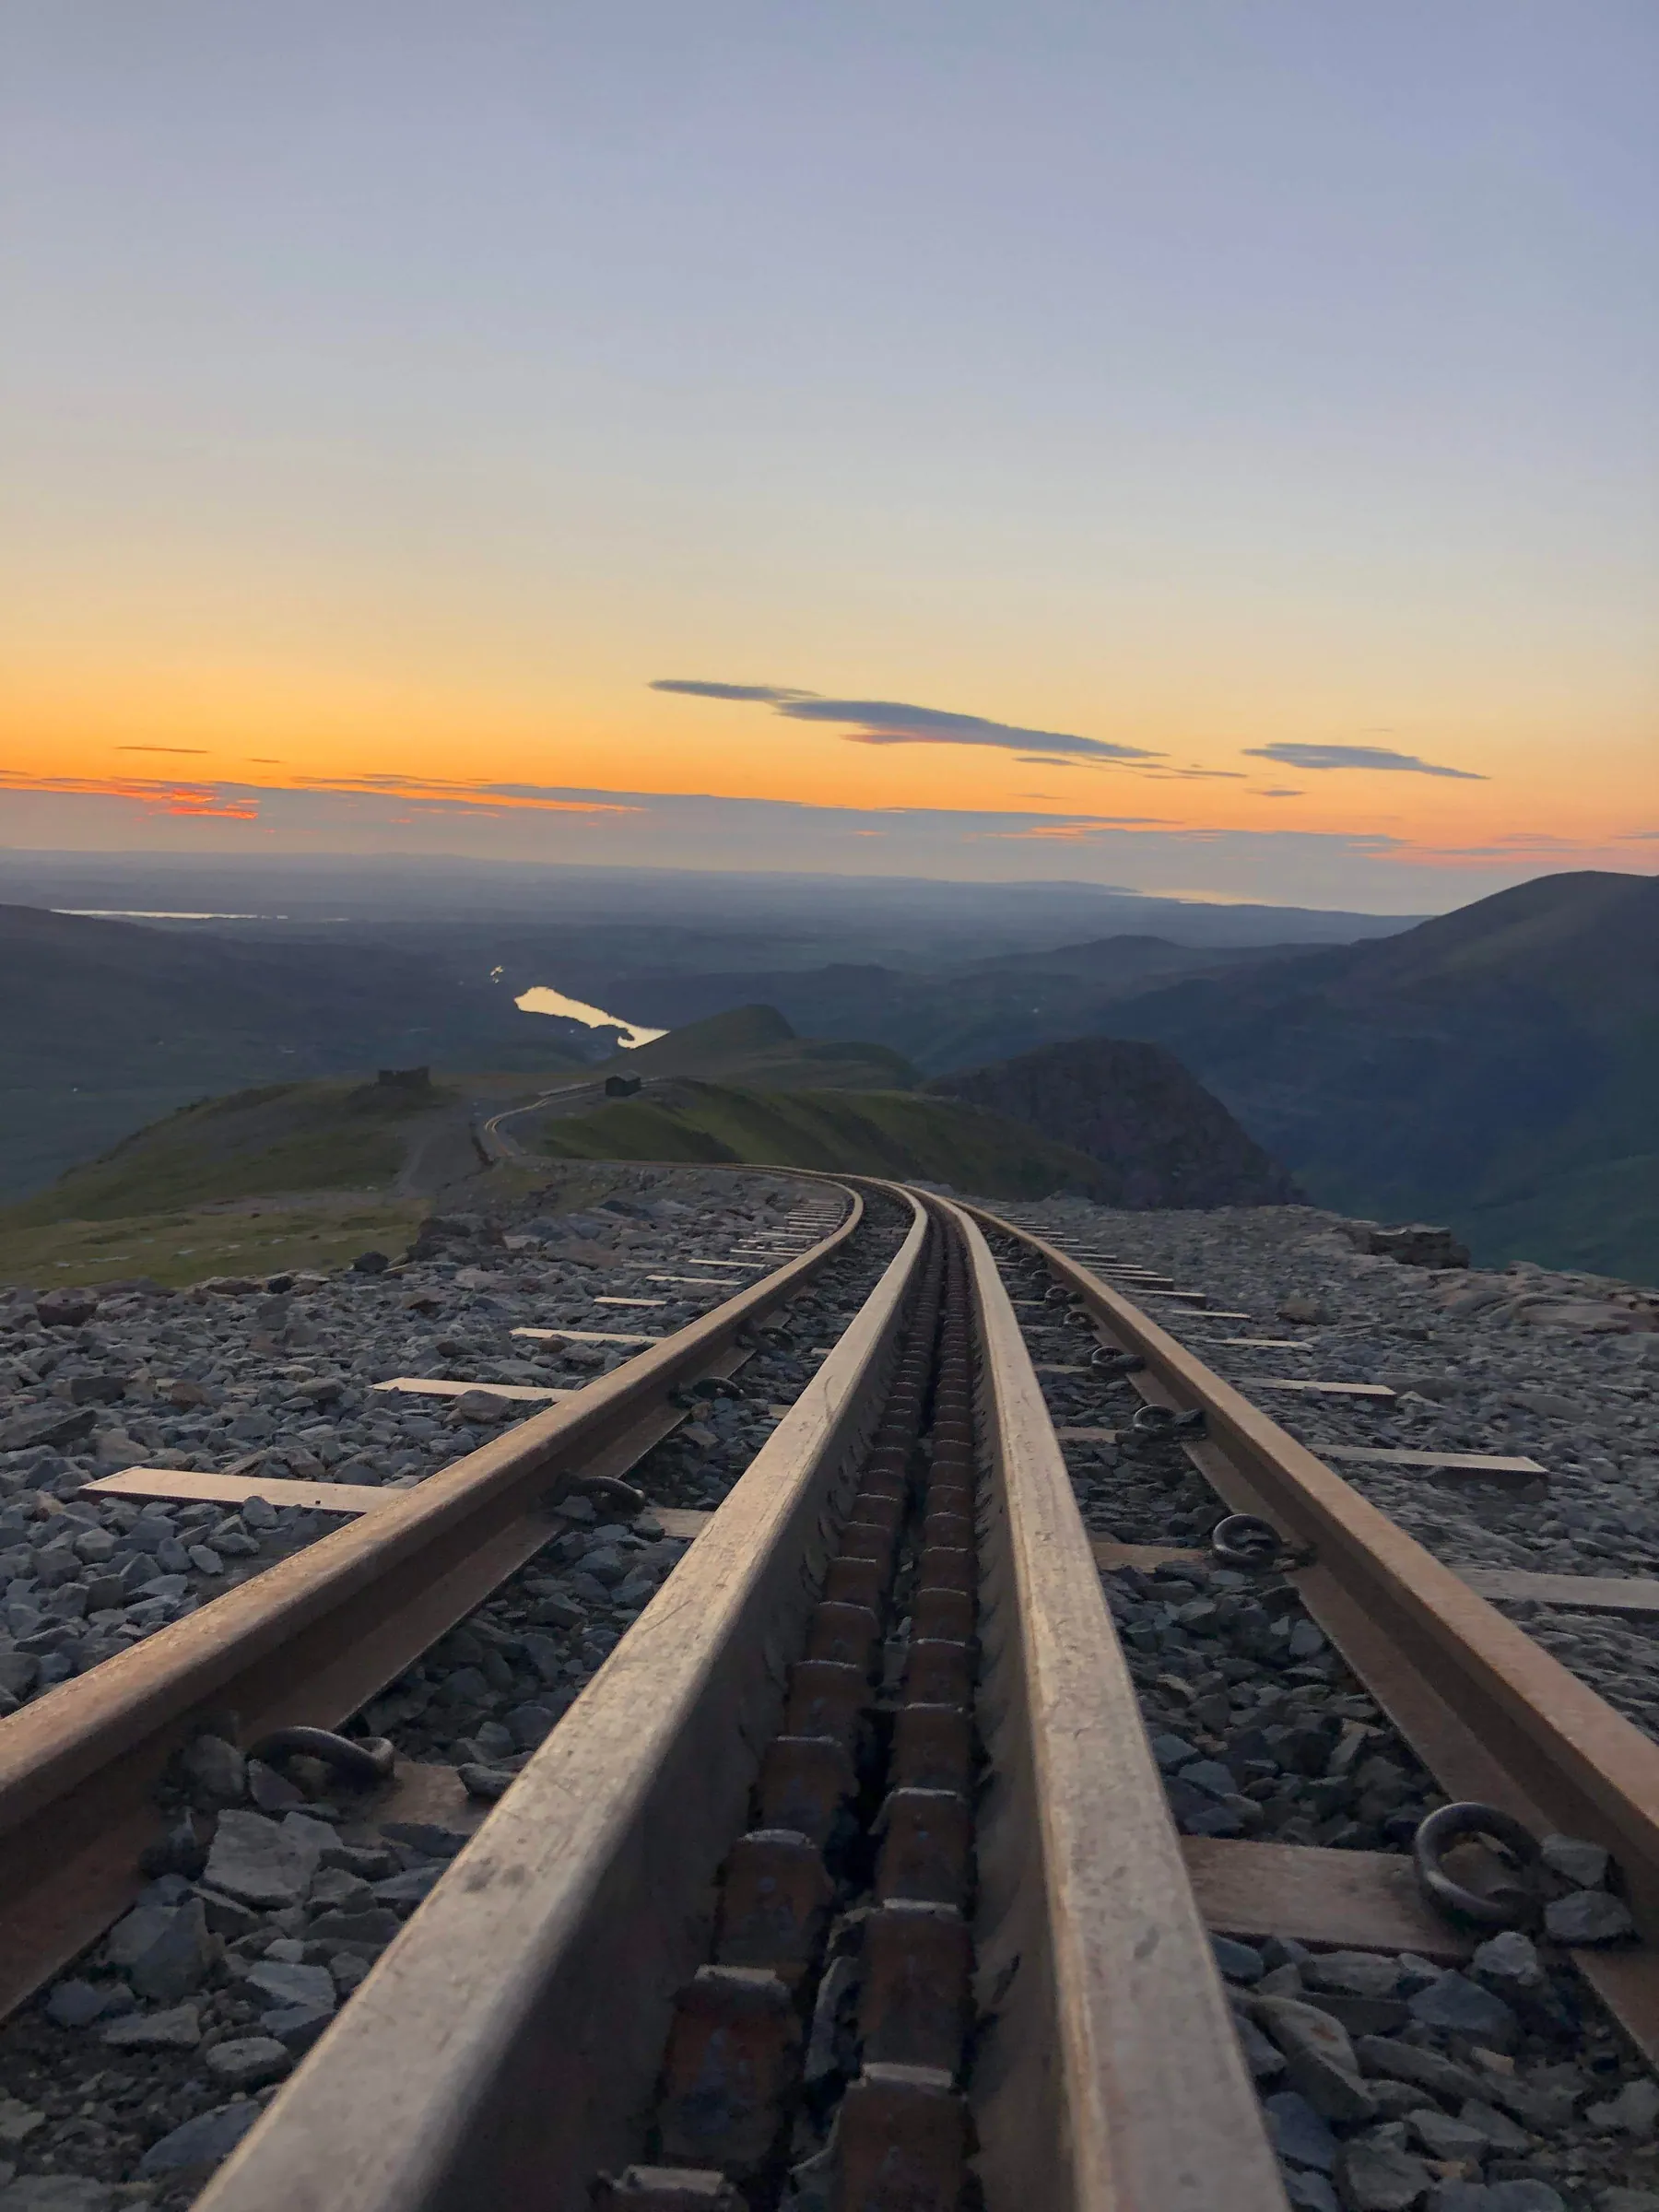
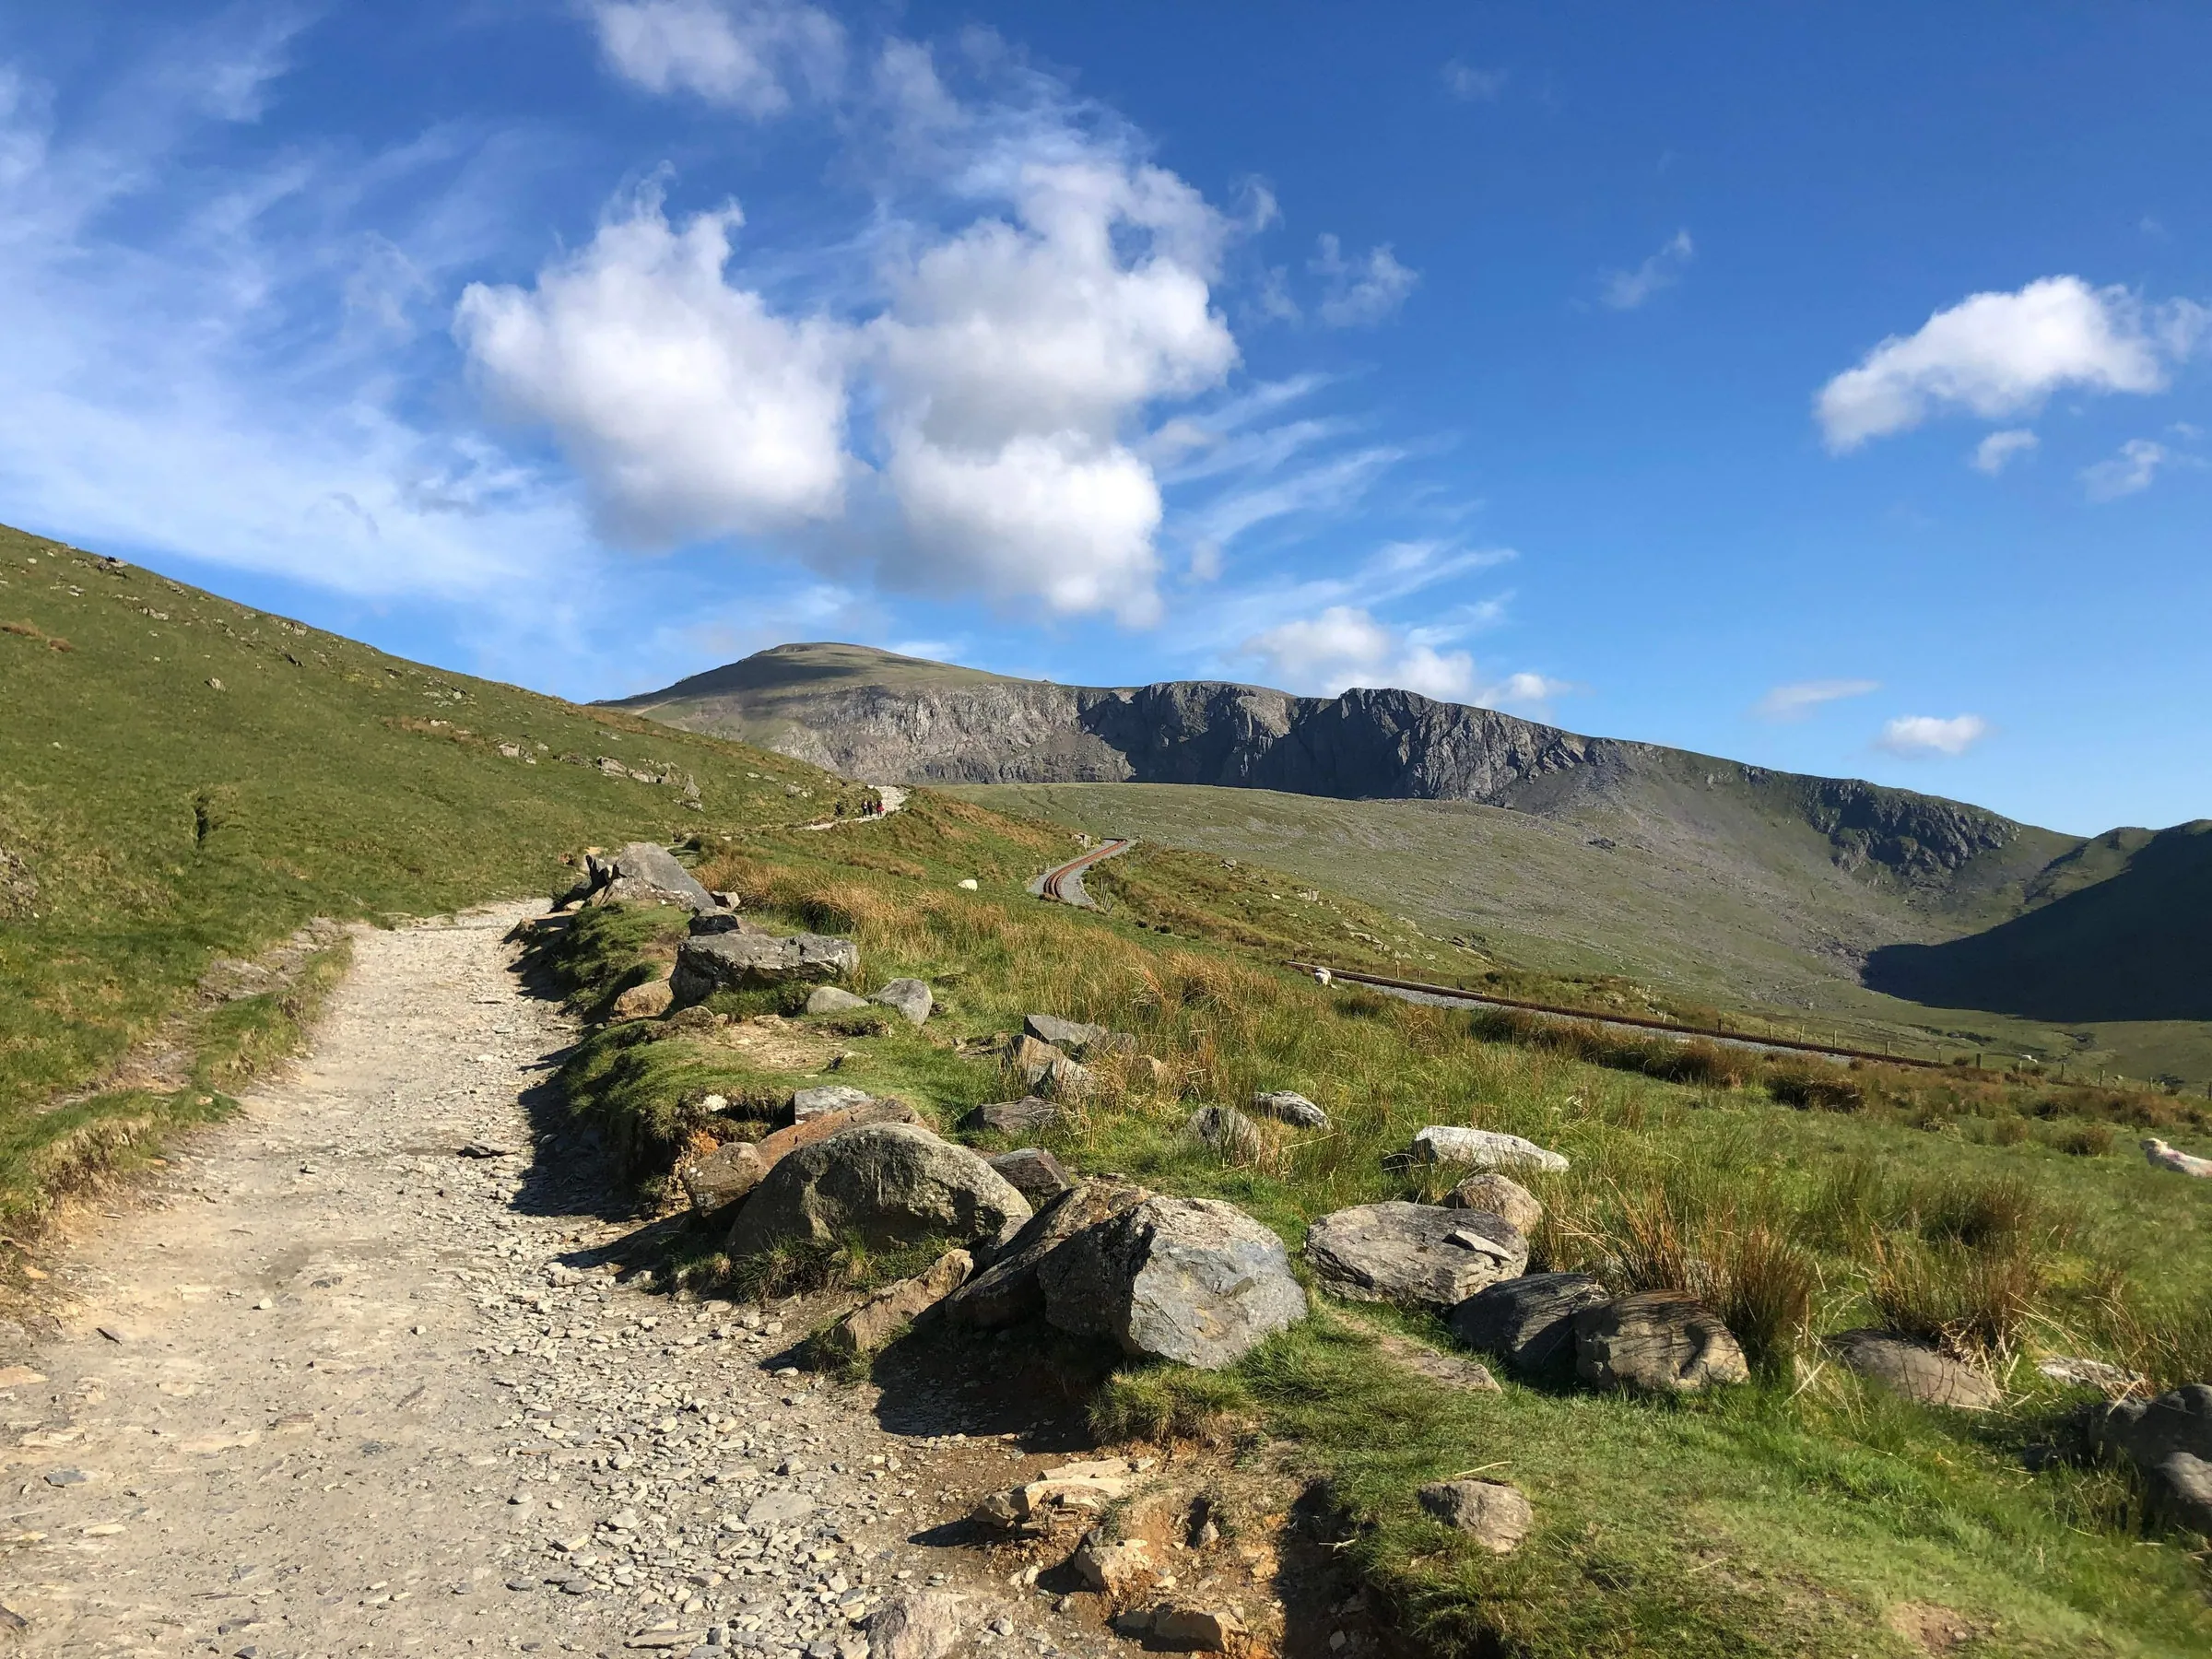
Yr Wyddfa rises above the villages and lakes of Eryri as the highest mountain in Wales, and for centuries it has been a place people have felt drawn to. It's a mountain shaped by ice and time, but also by myth, heritage and industry. The Llanberis Path follows the most gradual line to the summit, giving time to absorb the scale of the mountain as it unfolds along a route used by generations of walkers. The hike begins in Llanberis, where the path leaves the village behind and climbs steadily past slate cottages, old quarry ground and open hillside. As height is gained, Llyn Padarn stretches out below. The landscape broadens, becoming an expanse of exposed hillside broken by rocky outcrops and the occasional, rhythmic passing of the mountain railway, which runs close to the path for long sections of the ascent.
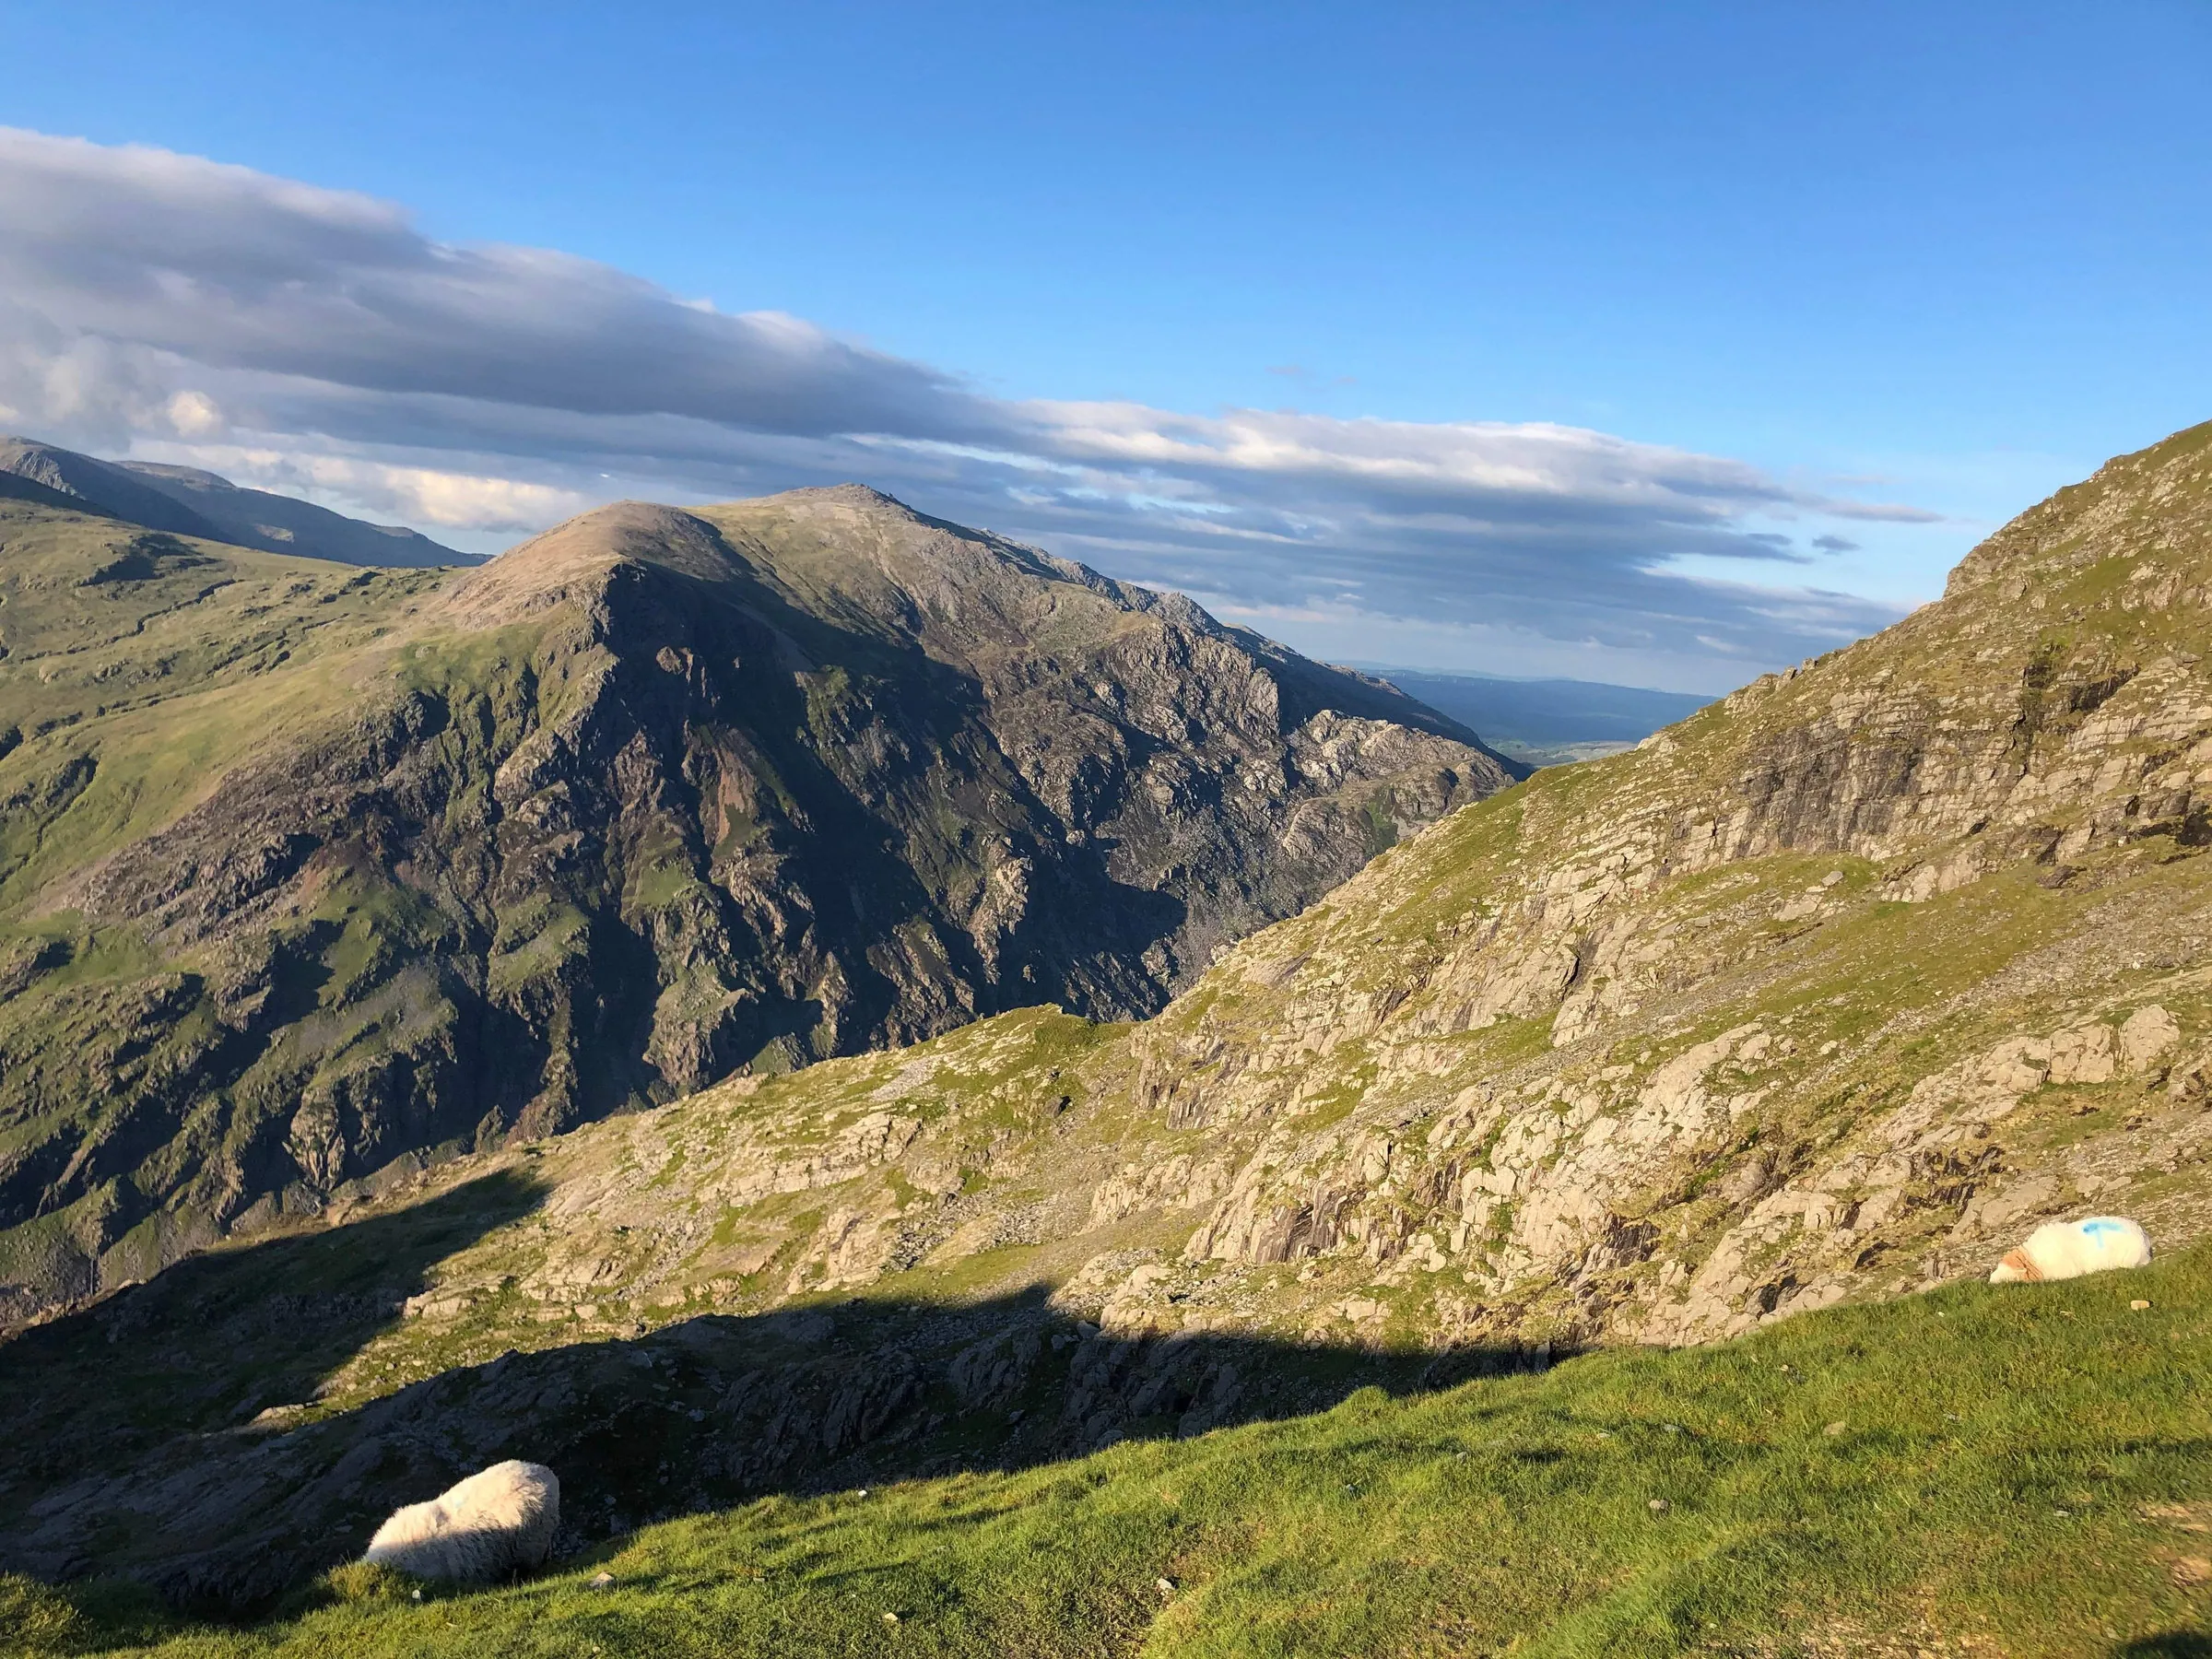
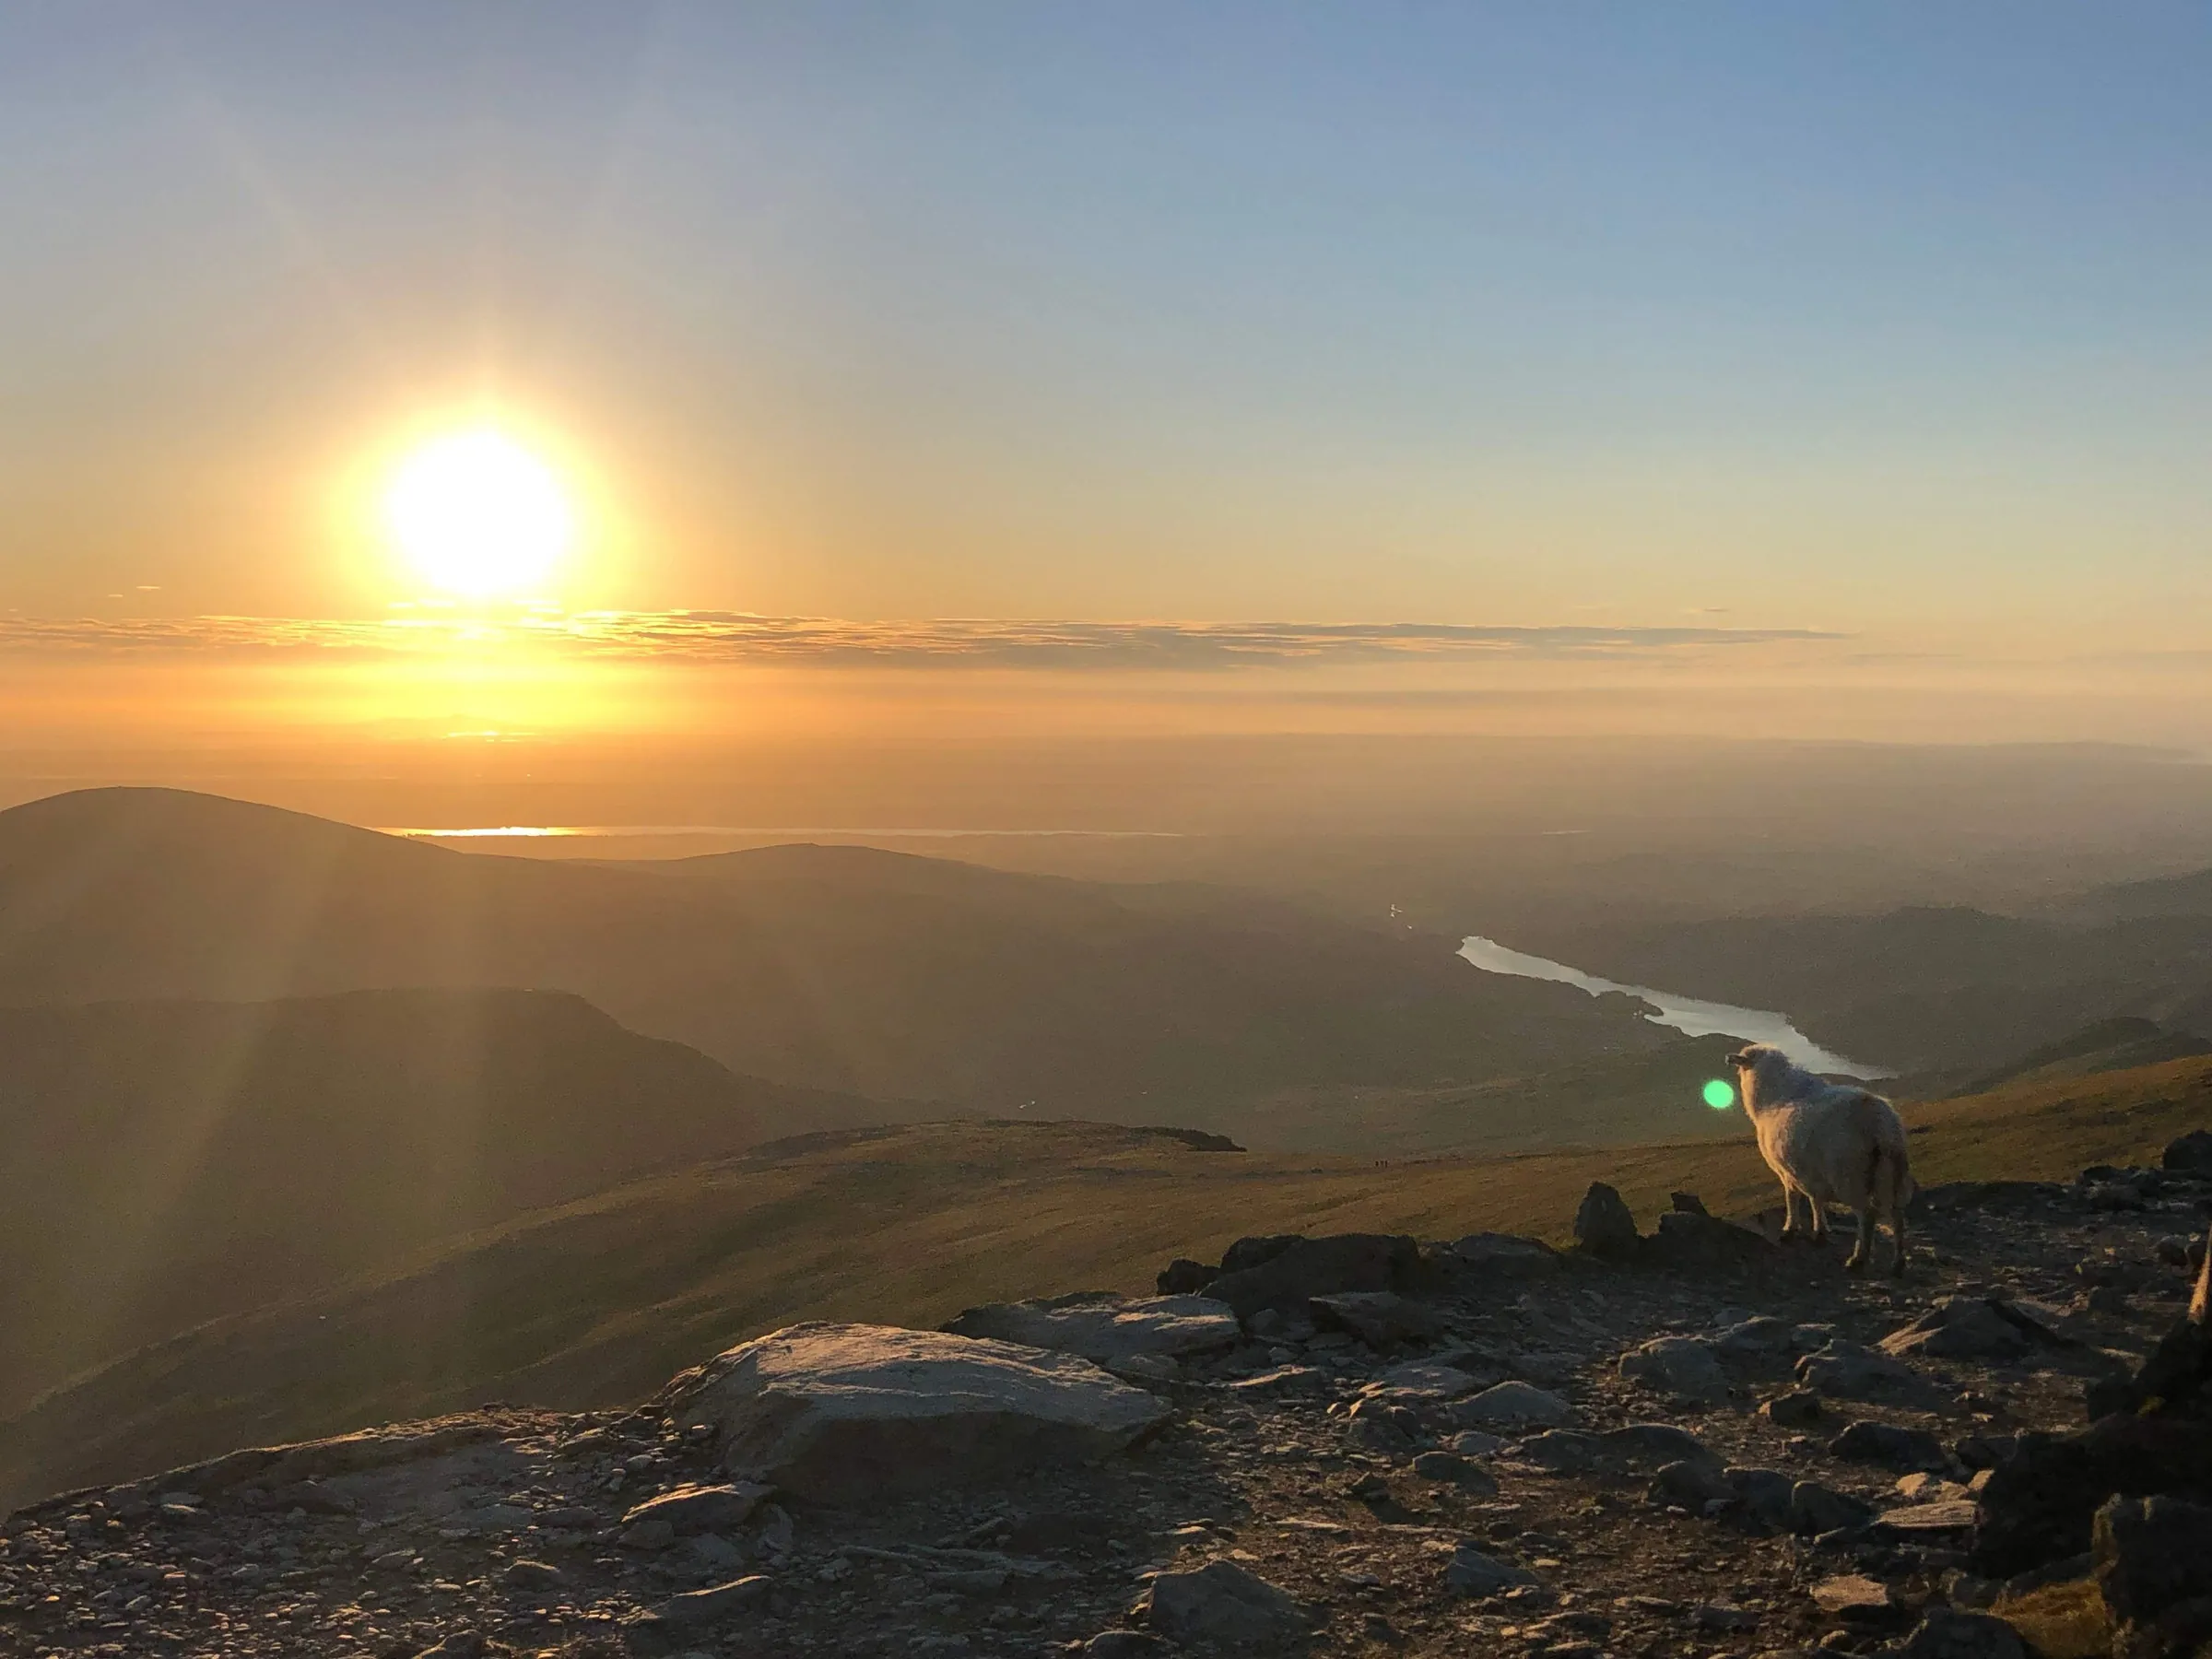
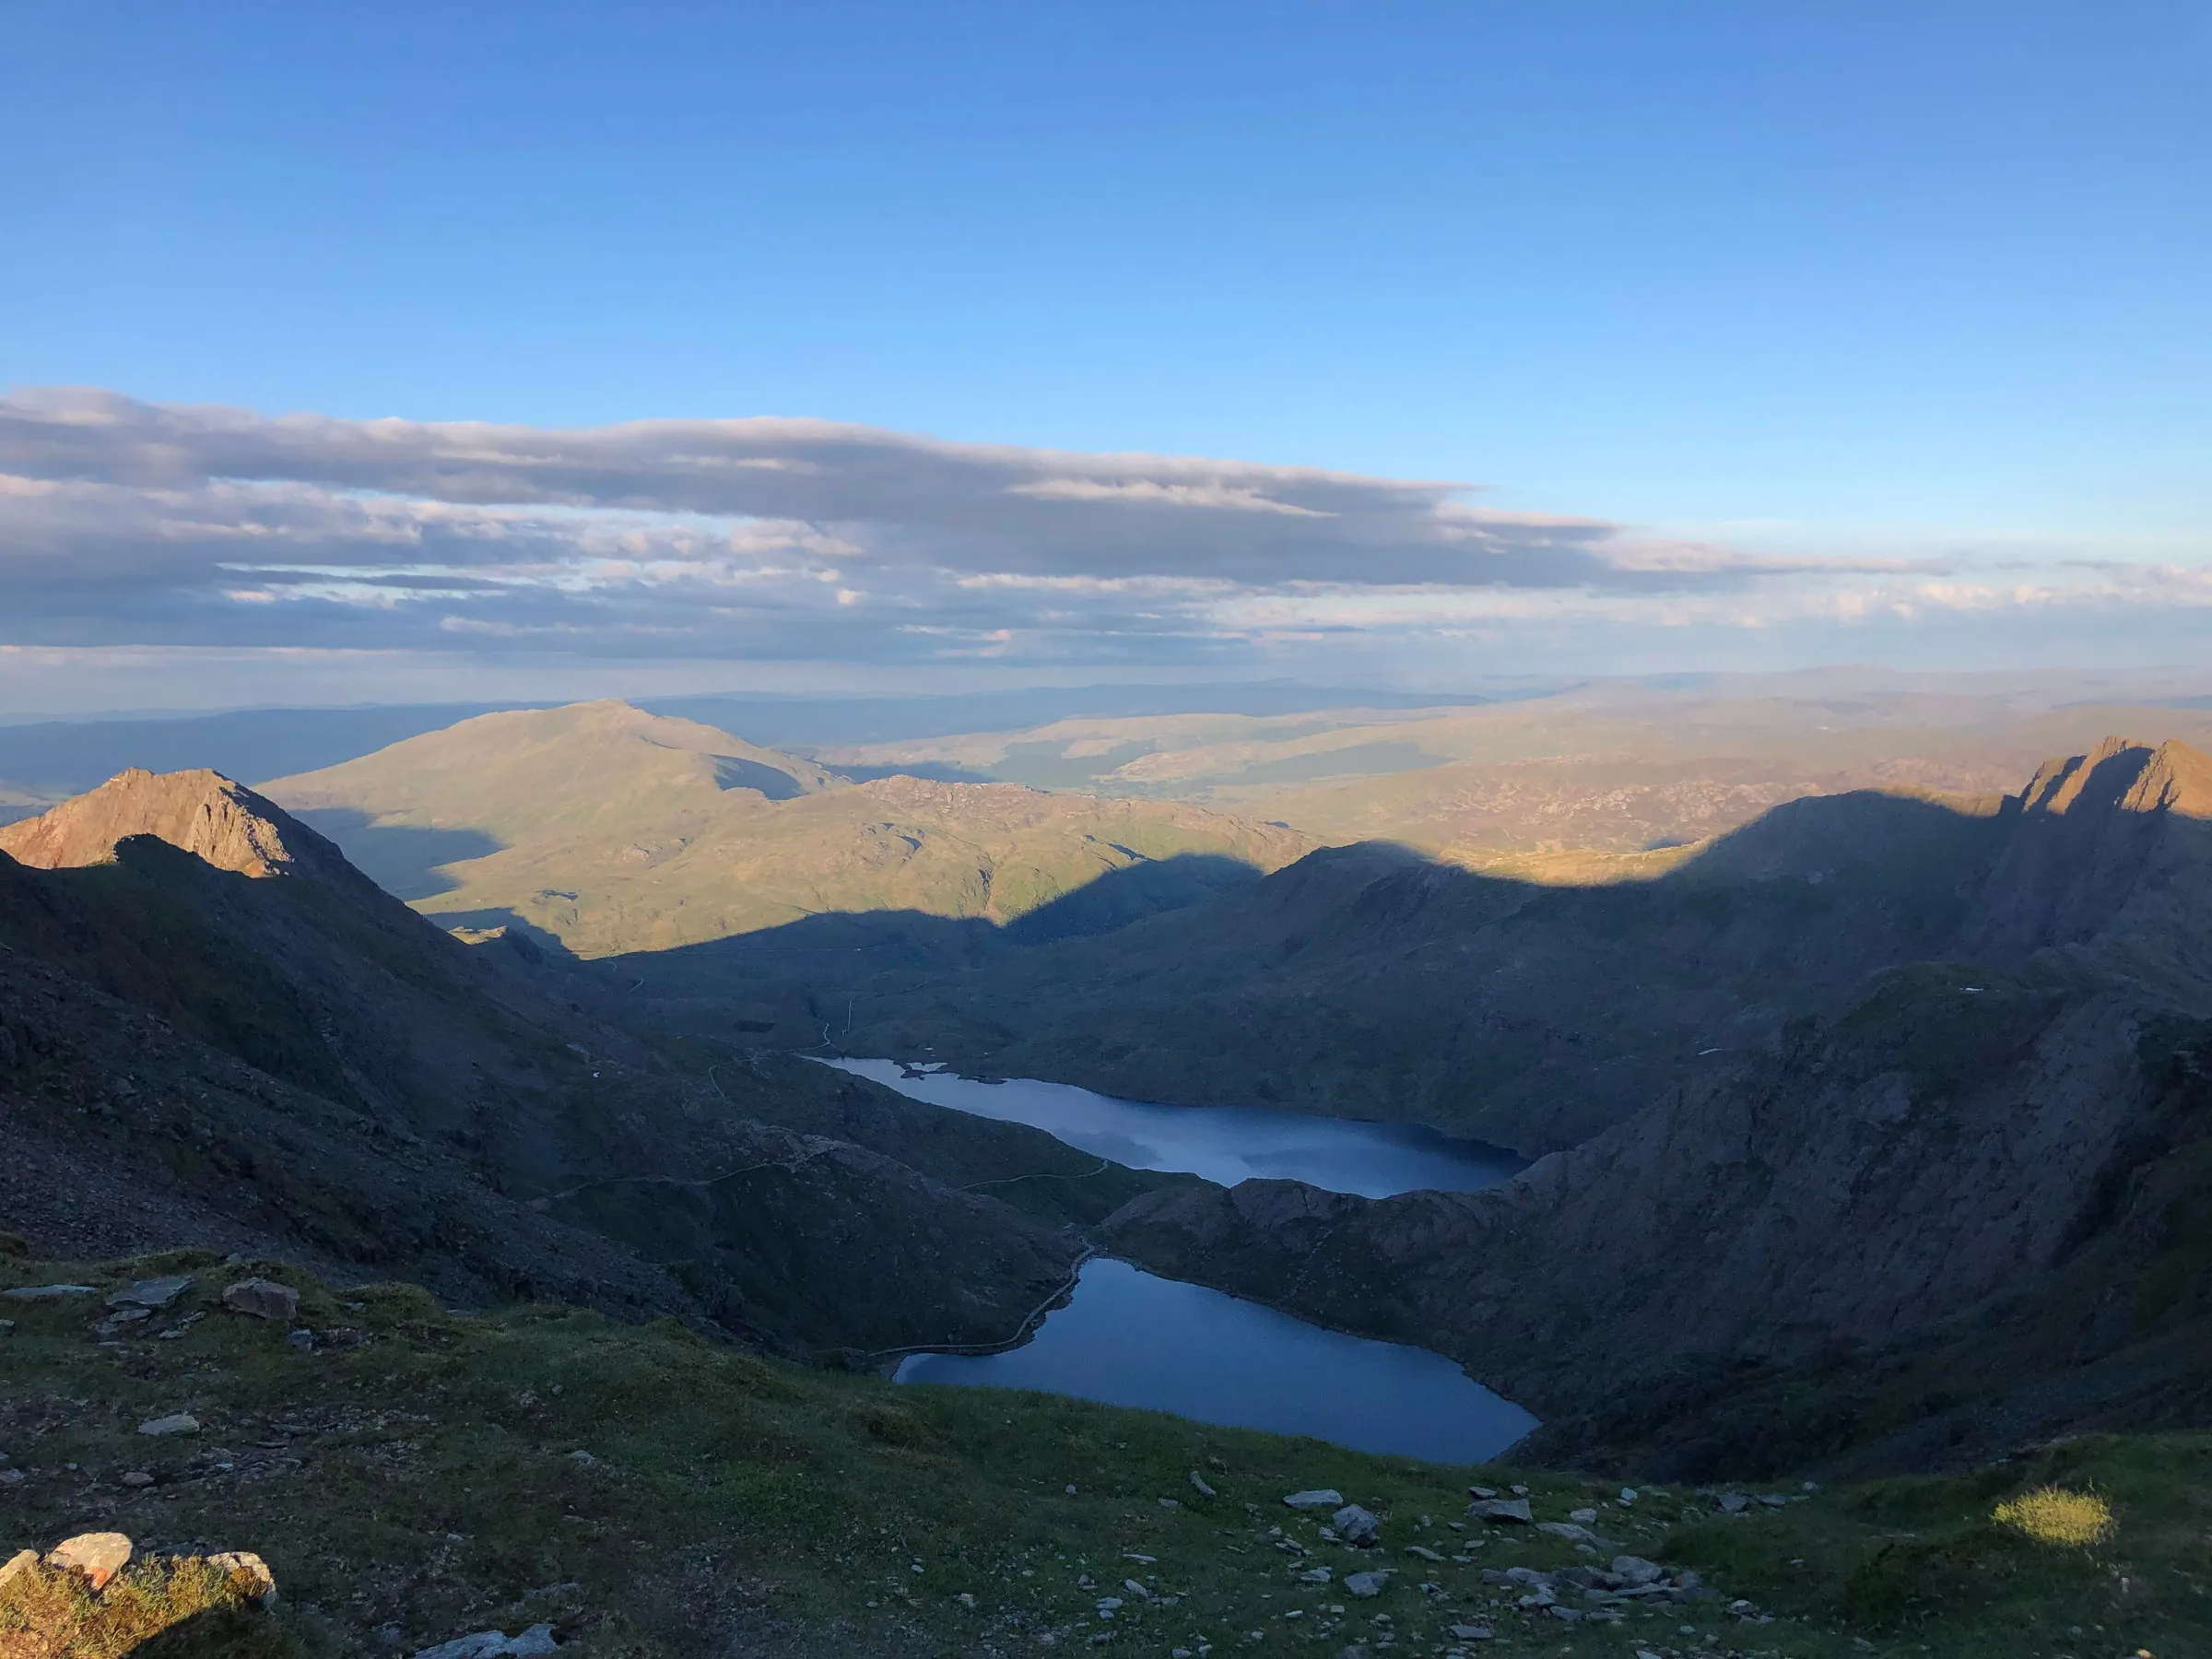
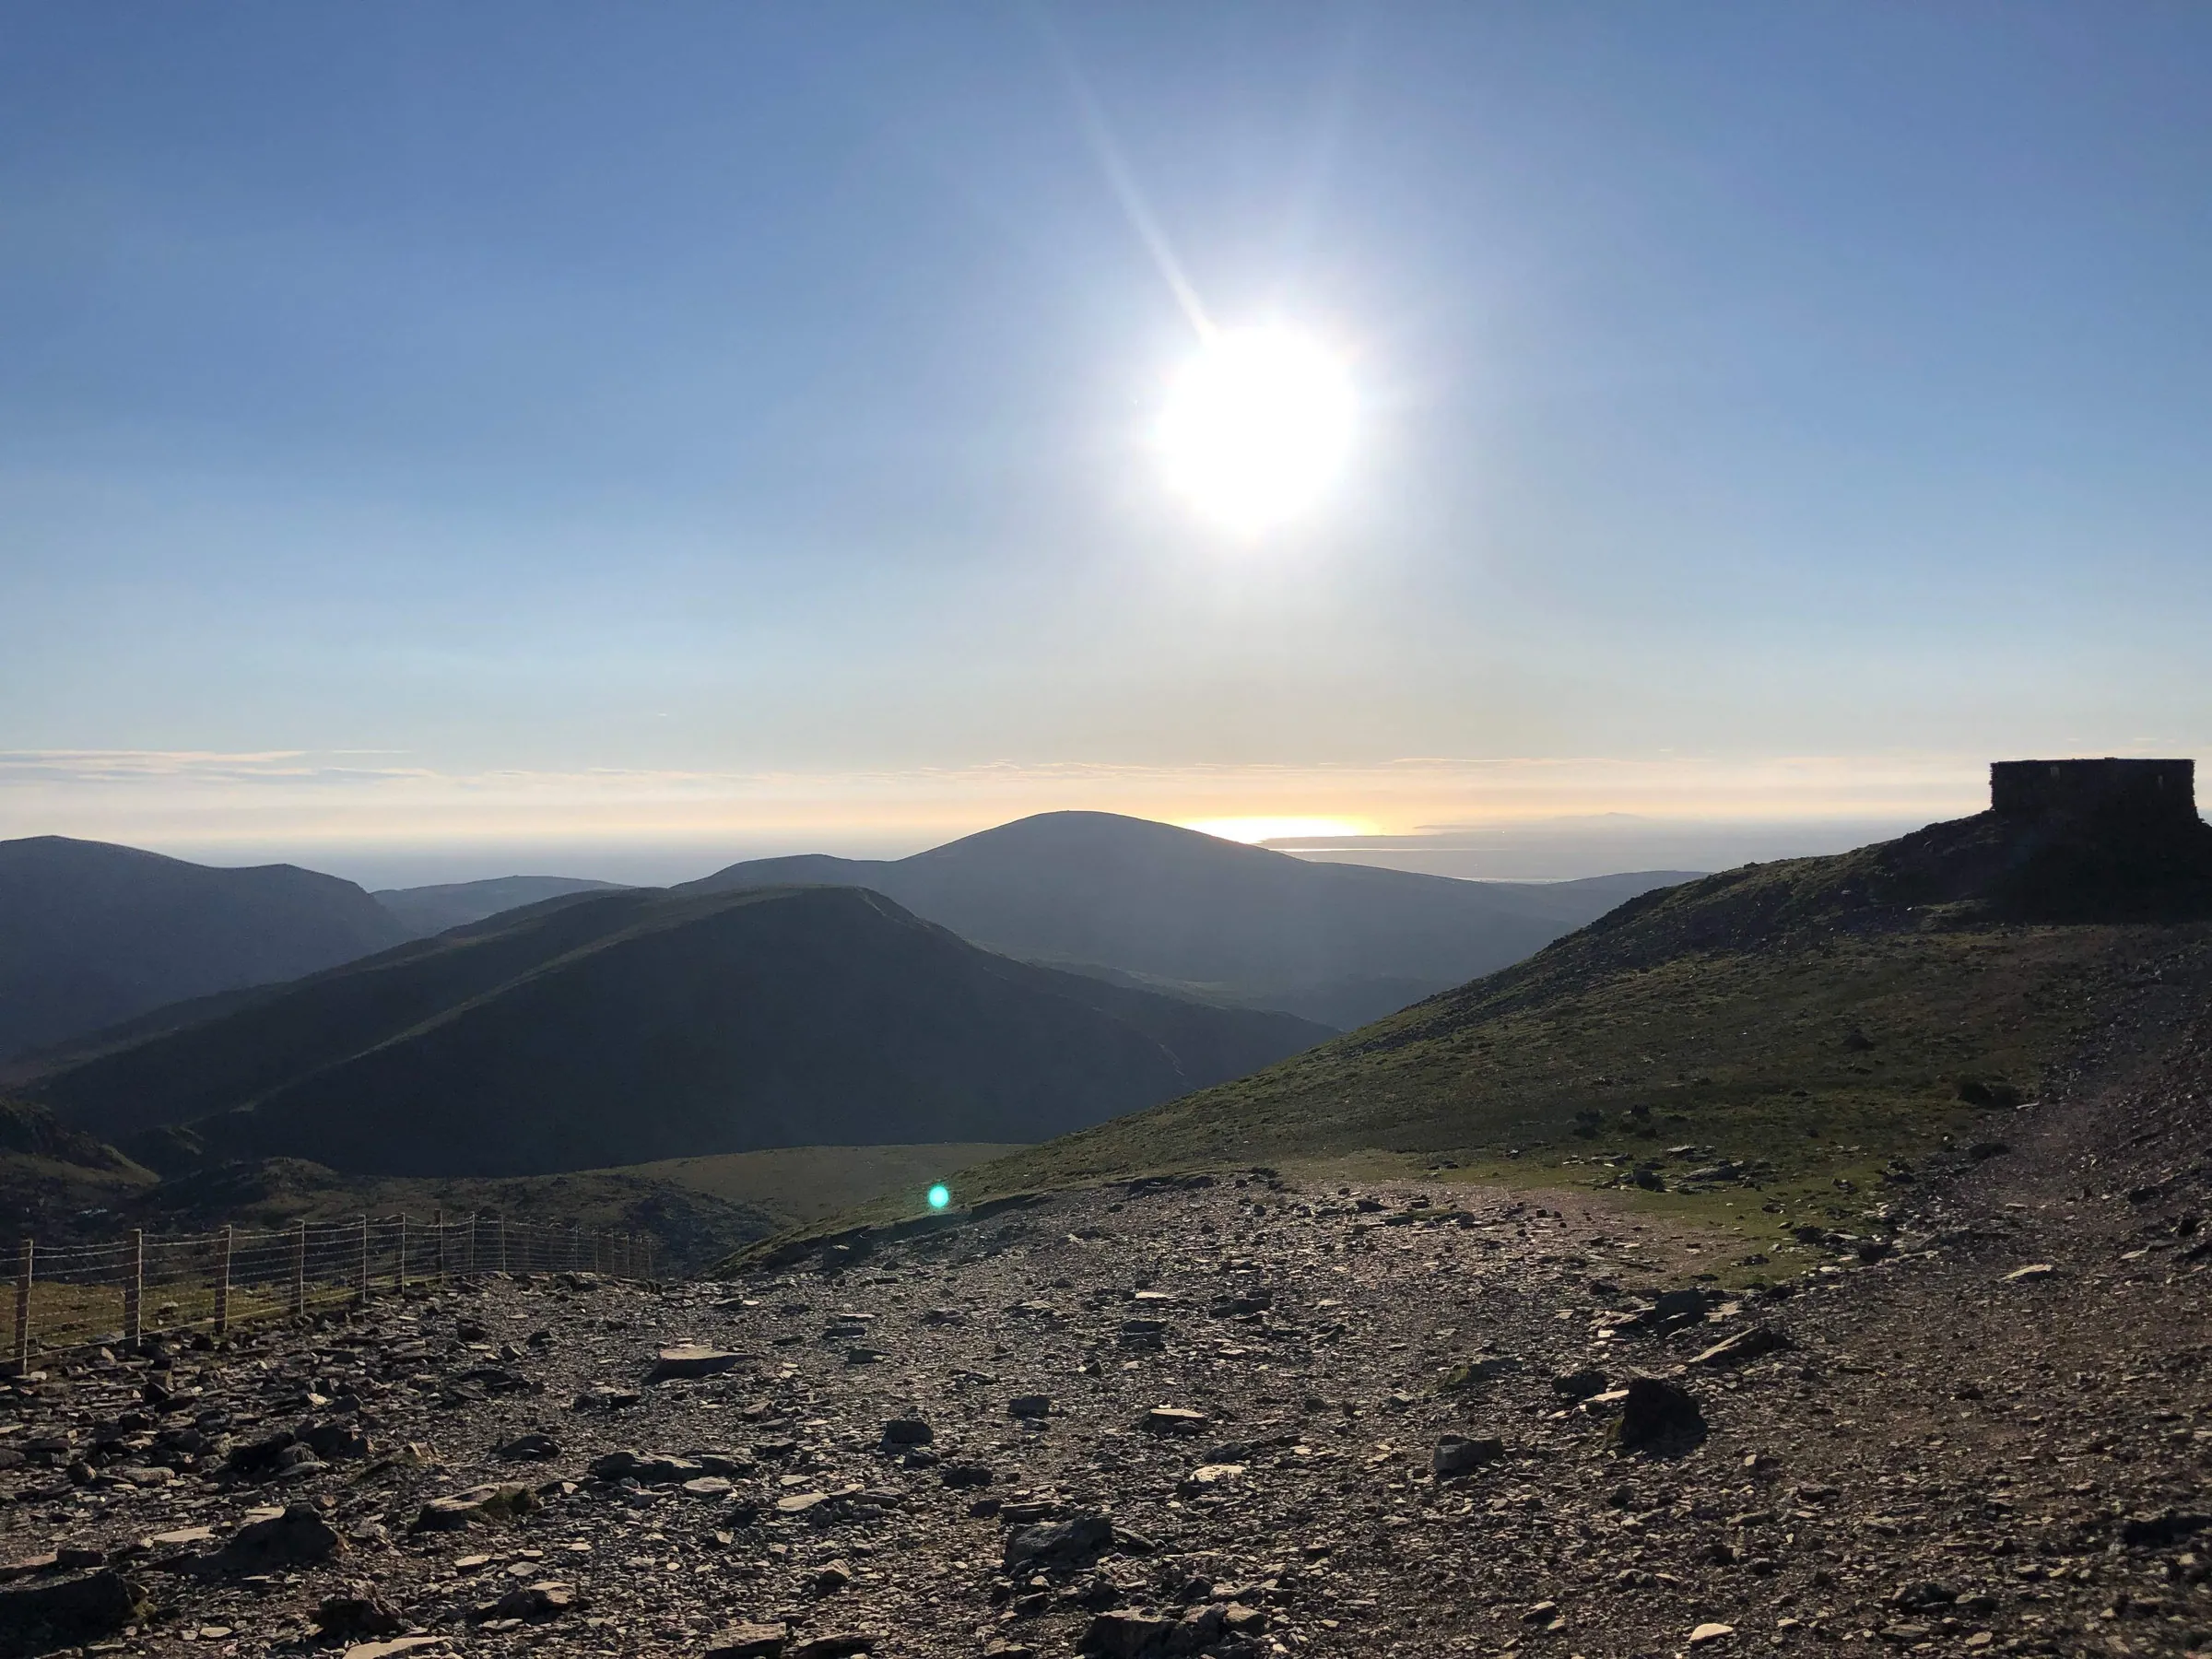
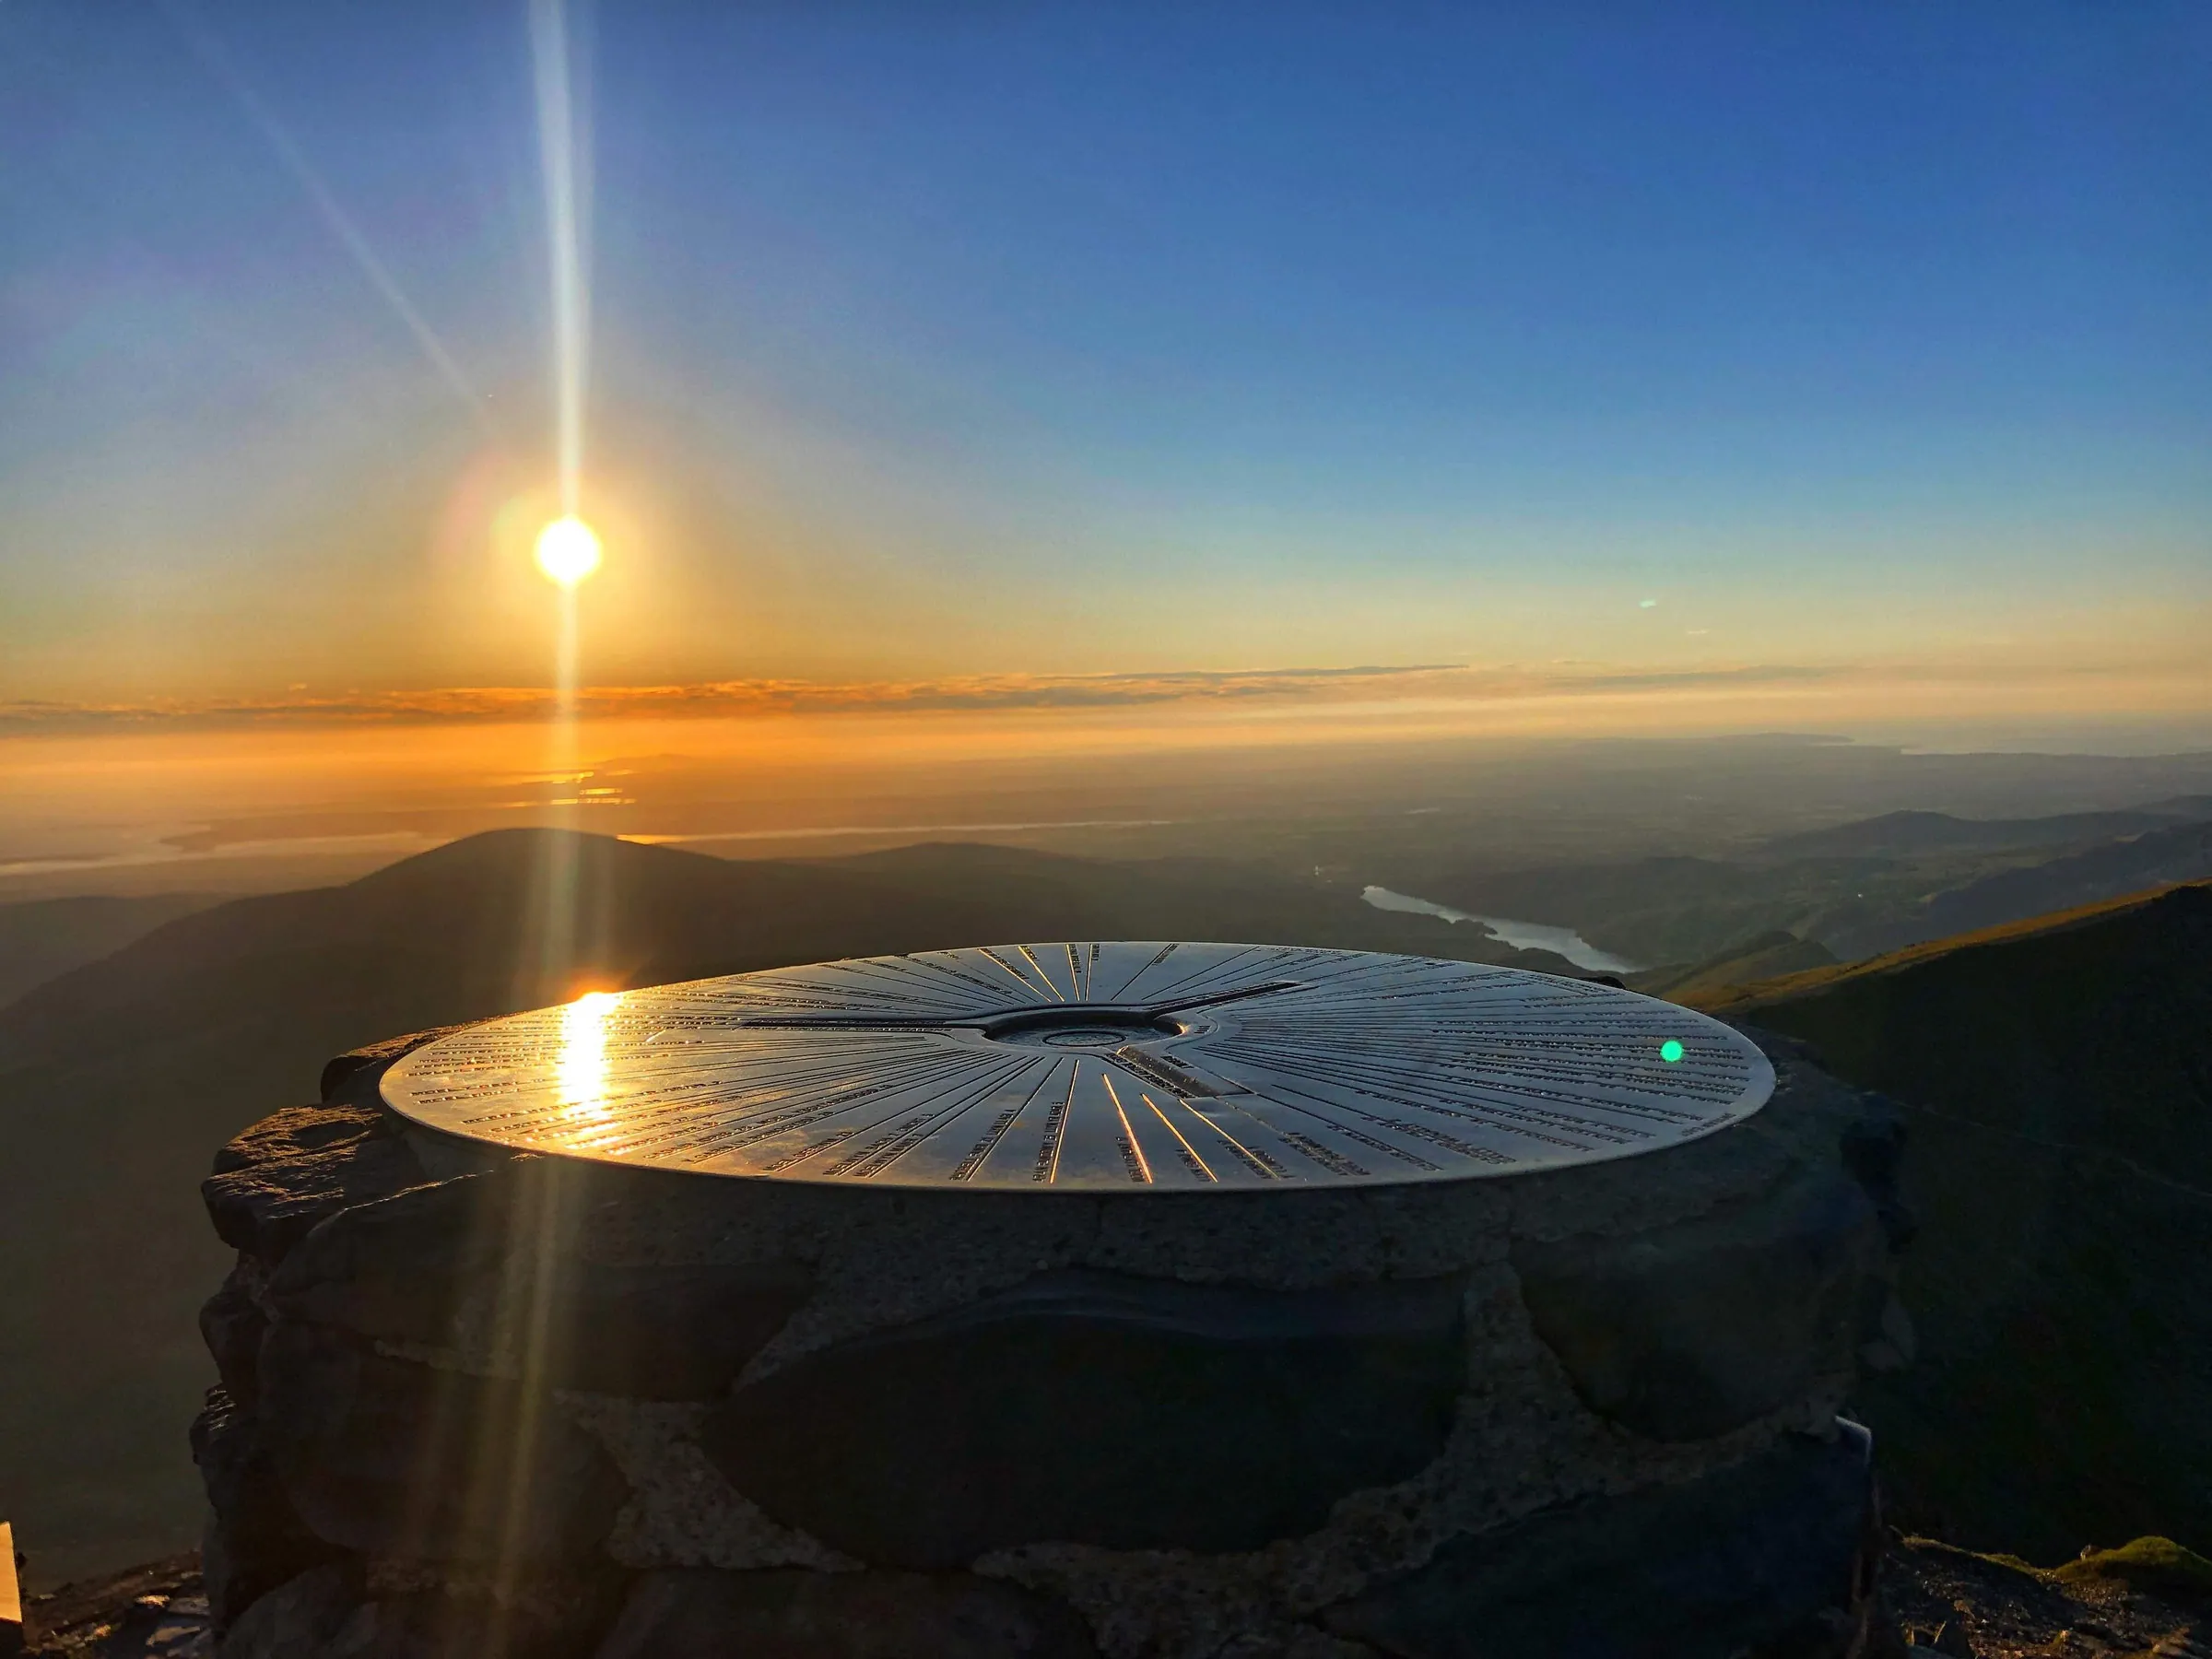
At 1085 metres, the summit of Yr Wyddfa offers wide views across Eryri and out toward the Irish Sea, with the scale of the landscape becoming fully apparent on clear days. The summit buildings and trig point mark the end of a long climb. From the top, the route follows the same path back to Llanberis, which allows landmarks and views to be seen from a different perspective, with the lake gradually returning into view as the path drops away.
Head here to read an epic tale about the first time I reached the summit of Snowdon.
Go prepared, stay safe, and enjoy the hike!
key info
duration: 6 - 7 hours
length: 9 miles
type: there & back
total ascent: 975m
difficulty:
our rating:
Crowd levels: very high
signage: high
parking
The hike starts at the "Parking for Snowdon" pay and display car park (postcode LL55 4TD), it's the largest car park in Llanberis, the closest to the start of the Llanberis path, and it's fairly reliable for getting a space. The car park is open between 6:00AM and 11:00PM daily and costs:
-
£11.00 if you arrive between 8:00AM and 3:00PM and are out by 11:00PM (when it closes)
-
£6.00 if you arrive after 3:00PM and leave by 11:00PM
These prices are correct at the time of writing (October 2023) however for the most up-to-date pricing click here ↗. The ticket machines accept coins, card, and contactless payments and you can pay using the relevant phone app (I can't remember what it is, someone please remind me!). There are 200 spaces and it can fill up quickly depending on the time of year, the day of the week, and/or the weather, but there are always people coming and going and I've personally never had to wait for a space before.
There are several alternative car parks that are also located close to the start of the hike; these alternatives can be found below. For those using public transport, click ''Directions'' on the map above and change the method of transport in the top left of the Google Maps page to ''Public Transport'' (the little blue train).
Alternative parking
0 minute walk to start of hike*
2 minute walk to start of hike**
8 minute walk to start of hike***
*Closer to the start of the Llanberis Path than the Parking for Snowdon car park, but it's much smaller and harder to get a space. Up to 30 minutes is free, 4 additional hours is £4, 8 additional hours is £8 and 12 additional hours is £12. Parking tariffs apply 7 days a week, and overnight parking is not allowed. There are two payment machines located in the car park which accept coins. Parking tickets can be paid for by card in the Trading Post shop at the entrance of the car park (when open). Up-to-date information can be found here ↗. The postcode is: LL55 4TT.
**Costs £8 for the whole day or £4 if you arrive after 1PM. It's open 7 days a week. There are no height restrictions. You can pay with cash or card. Up-to-date information can be found here ↗. The postcode is: LL55 4UR.
***In the summer (from 1 March until 31 October) it costs: £1.00 for 2 Hours, £2.00 for 4 Hours, £5.00 for 12 Hours or £10.00 for 24 hours. In the winter (from 1 November until the end of February) it costs: £1.00 for 2 Hours, £2.00 for 4 Hours, £3.00 for 12 Hours for £6.00 for 24 hours. There are no height restrictions. Payments can be made by cash or phone. Up-to-date information can be found here ↗. The postcode is: LL55 4TY.
3d route map
Map Key

Play Route

Birds Eye View

Pause Route


Fullscreen

Restart Route

Zoom In


Centre Camera

Zoom Out

Cinematic View

Change Layer
Speed Control
route GUIDE
Disclaimer: This route description, map, GPX file, and any related information are provided for general reference only. Conditions on the ground can change at any time due to weather, erosion, access restrictions, livestock, or other factors. You are solely responsible for assessing whether this route is suitable for you, your party, and any dogs, and for making your own decisions regarding navigation, safety, equipment, and timing. Distances, ascent, durations, difficulty indicators, and route lines are approximate and should not be relied upon as exact or comprehensive. By using this guide, you acknowledge that walking and hiking involve inherent risks, and you accept full responsibility for your actions and outcomes. See our Terms of Use & Disclaimer page for more information.
Note: When hiking I use the Ordnance Survey phone app as my main navigation aid, supported by a paper map and compass for emergencies. The OL17 Explorer map covers this hike, it can be bought directly from the Ordnance Survey website here ↗ or from Amazon here ↗. When you buy the paper map it gives you a code that gives you free access forever to the digital version on the phone app. I have previously used the Ordnance Survey subscription ↗ service, and it was amazing, but personally, I like to have both paper and digital maps for those rare times when my phone lets me down.
Note: The walking times in the guide are based on how long I think the average hiker would take to walk the route, it assumes you're not stopping for photos or food, etc. I've supplemented the durations with distances in meters.
Important: There is a section of the hike called the Killer Convex (see step 6 of the guide), which during winter can be extremely treacherous. I would advise against this route if it's icy or snowy unless you have experience in those kinds of conditions or you at least have crampons and an ice axe (and possibly even a helmet). If you fall during this section, due to its convex shape, it can be very difficult to arrest the fall (stop yourself sliding down the mountain) and is therefore very dangerous.
weather

Yr Wyddfa
other forecasts
1. Leave the Parking for Snowdon car park using the same ramp you used to enter it (see red arrow on image 1), cross the road and turn left. Walk along the path until you reach a roundabout, you should be able to see the Royal Victoria Hotel on your left, take a right here (see image 2). Walk on the path until it ends and you will now have to walk in the road; pass the Snowdon Trading Post on your right, and continue down the road for around 300 meters (about 5 minutes' walk) until you reach the cattle grid (see image 3 for an overview of this first section from the car park to the cattle grid).
2. Use the gate to the left of the cattle grid, making sure to close it after you go through (or if you're dead adventurous, navigate the cattle grid while humming Indiana Jones), and follow this path for around 320 meters (roughly 8 minutes' walk), were you'll pass the Penceunant Isaf cafe (see image 4). This is the last place you can stop to buy refreshments, use a proper toilet or get some Wi-Fi until the visitors centre near the summit (which isn't always open). If you don't want to stop, continue on the same path passing the cafe on your left, and keep walking for around 500 meters (about 13 minutes) until you see a stone sign with the words "LLWYBER LLANBERIS PATH" (see image 5) and an arrow pointing to a gate to the left, which you will be heading through. Image 6 shows an overview of the route from the cafe to the sign.
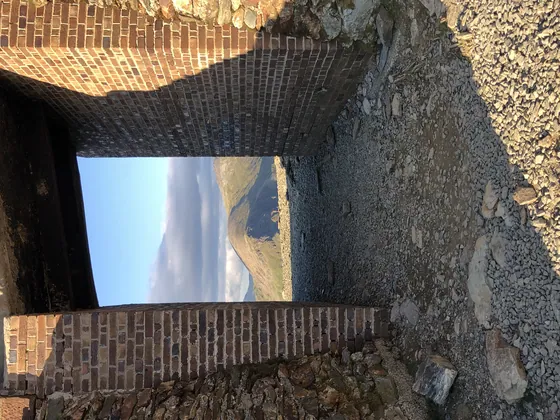
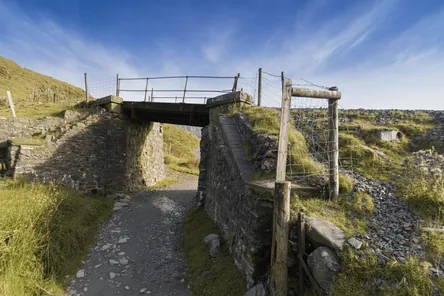
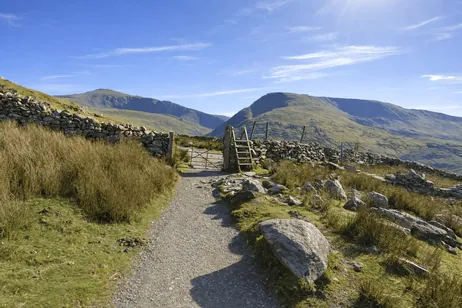
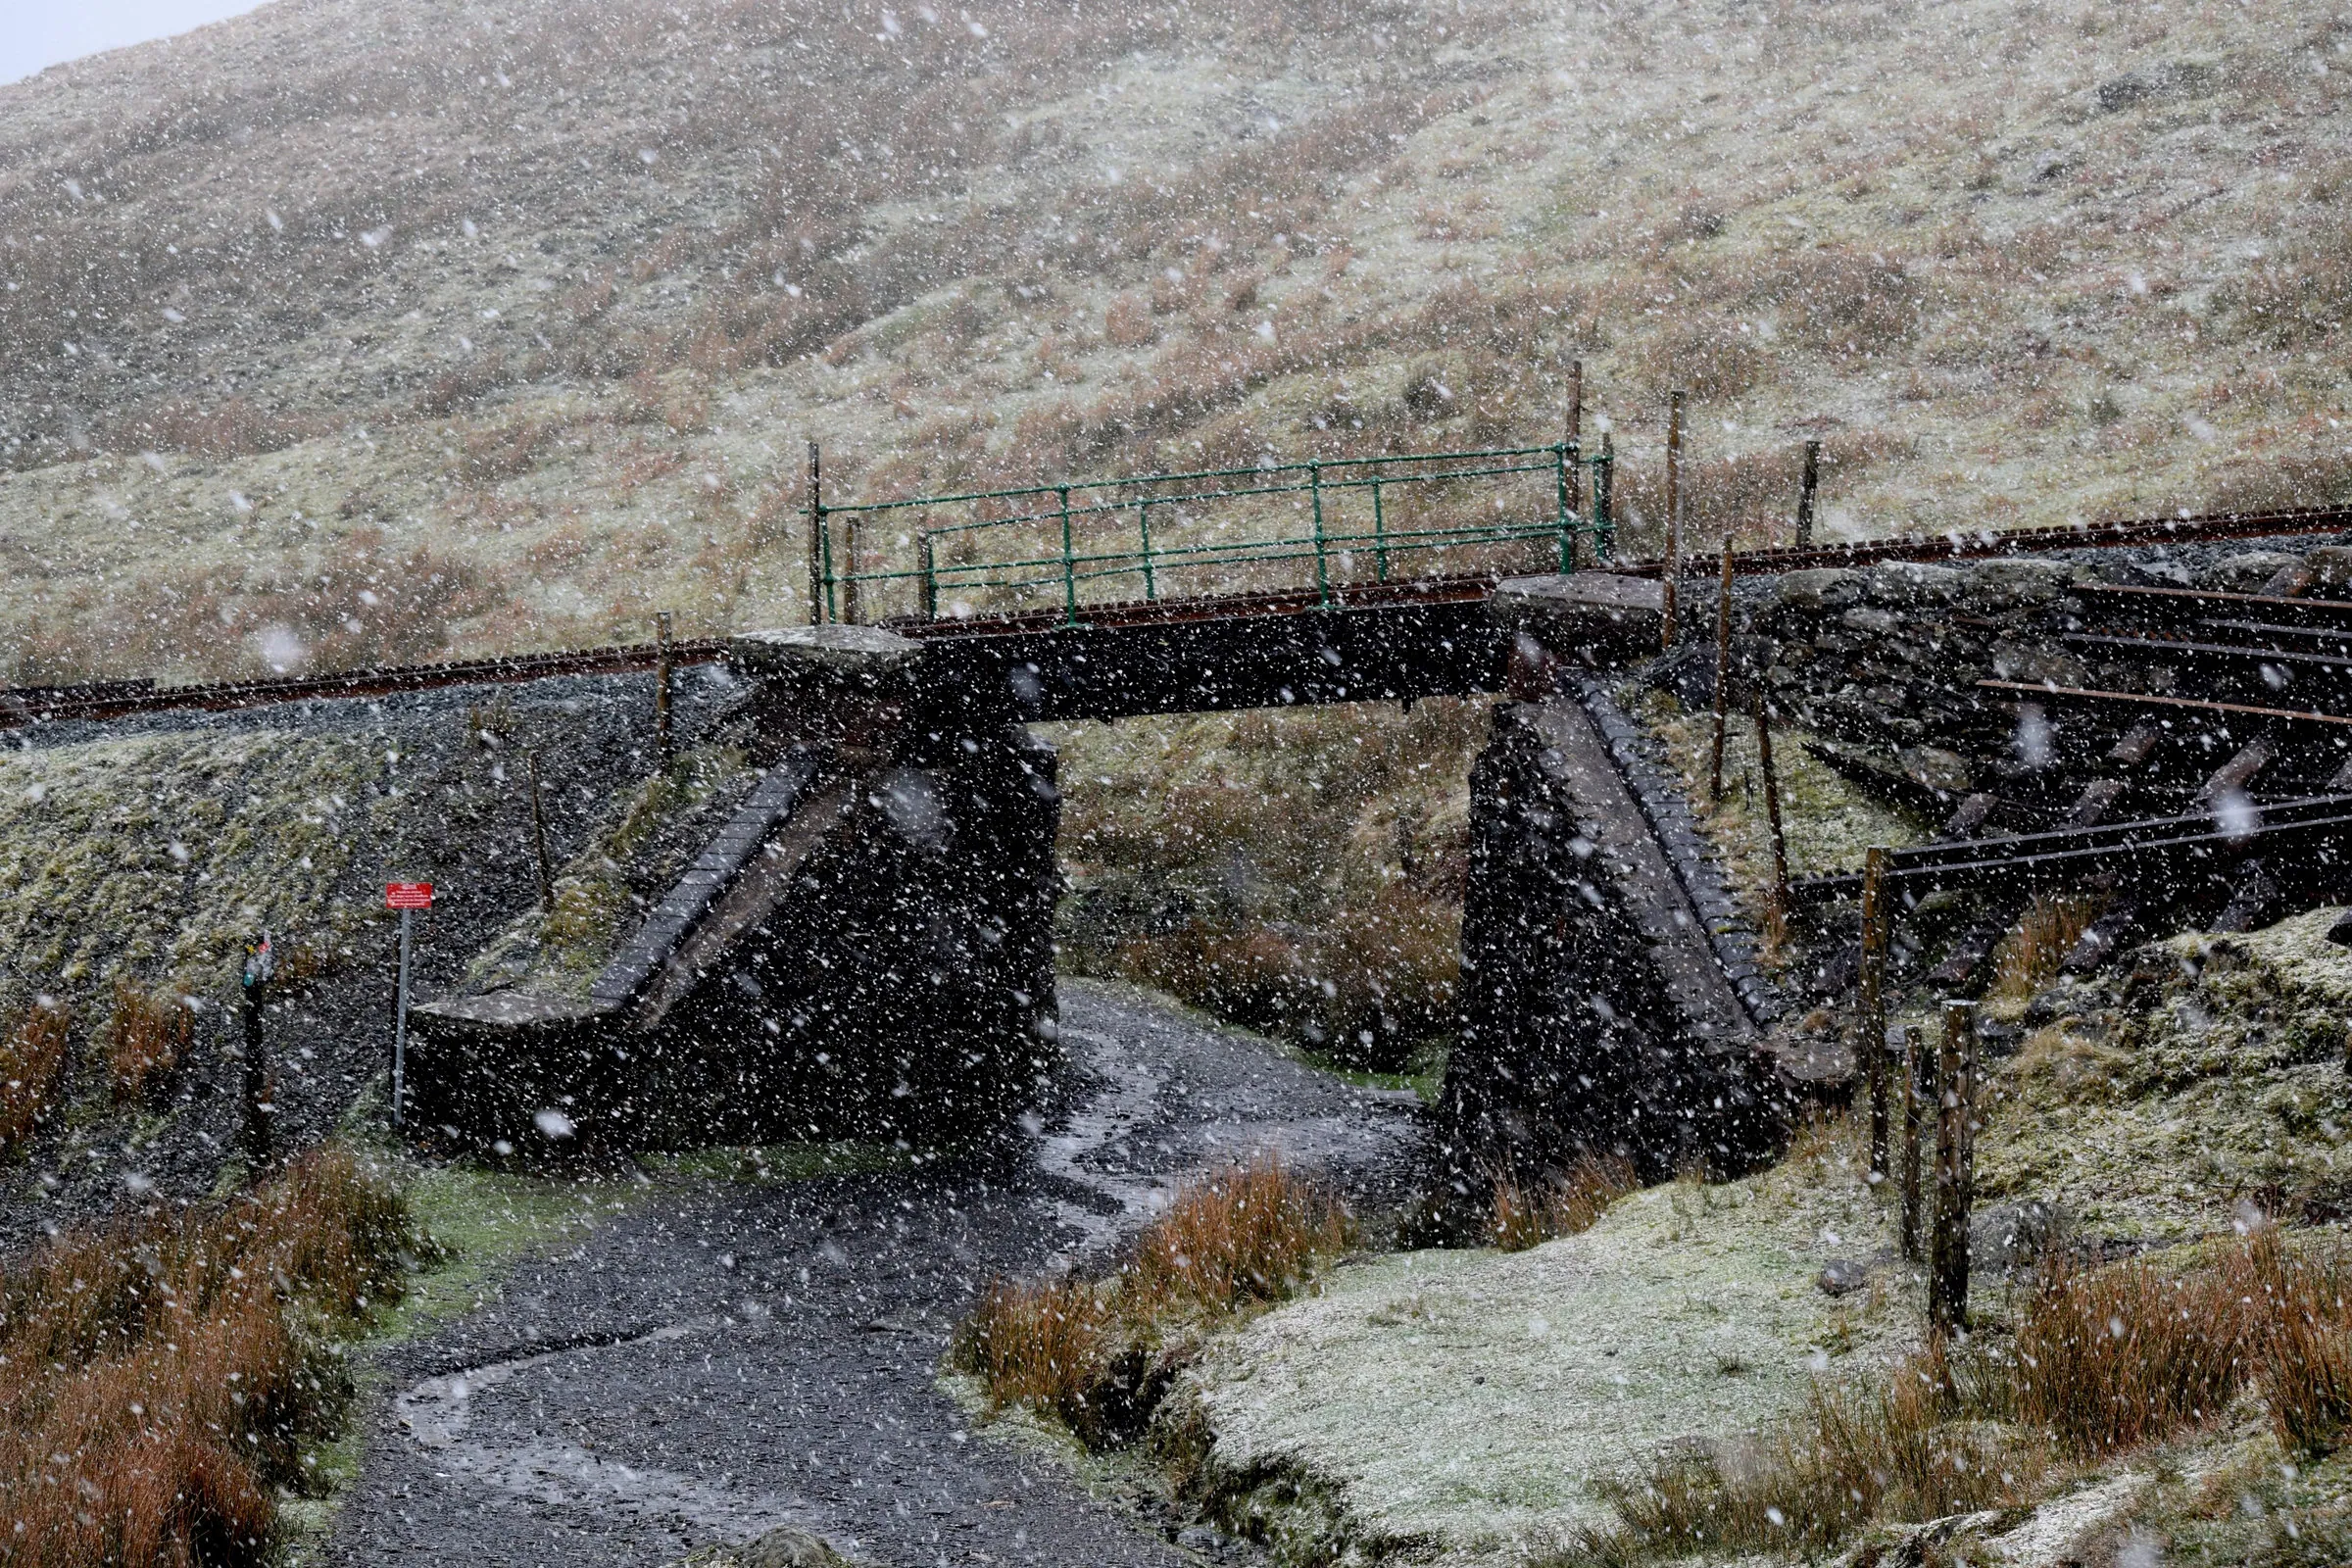
3. Head through the gate, it has a sign on it saying "Llwybr i Gopa'r Wyddfa Path to Snowdon Summit". As before, the onward path is very defined and easy to follow with no confusing side paths. More likely than not, there will be many other people heading up Yr Wyddfa using this popular route, so a detailed guide isn't really needed (but I've got nothing better to do, so I'm writing these overly detailed instructions anyway 🤷🏽). After about 725m (around 15 minutes' walk), you will reach the gate and stile shown in image 7. Go through the gate (or head over the stile) and continue along the same path, eventually, you'll see the train track winding its way up the mountain on your right, and not much further on you'll pass under the tracks (see image 8).
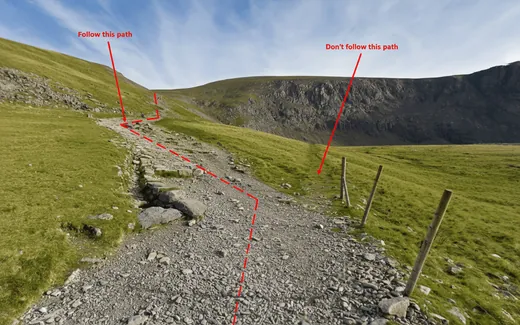
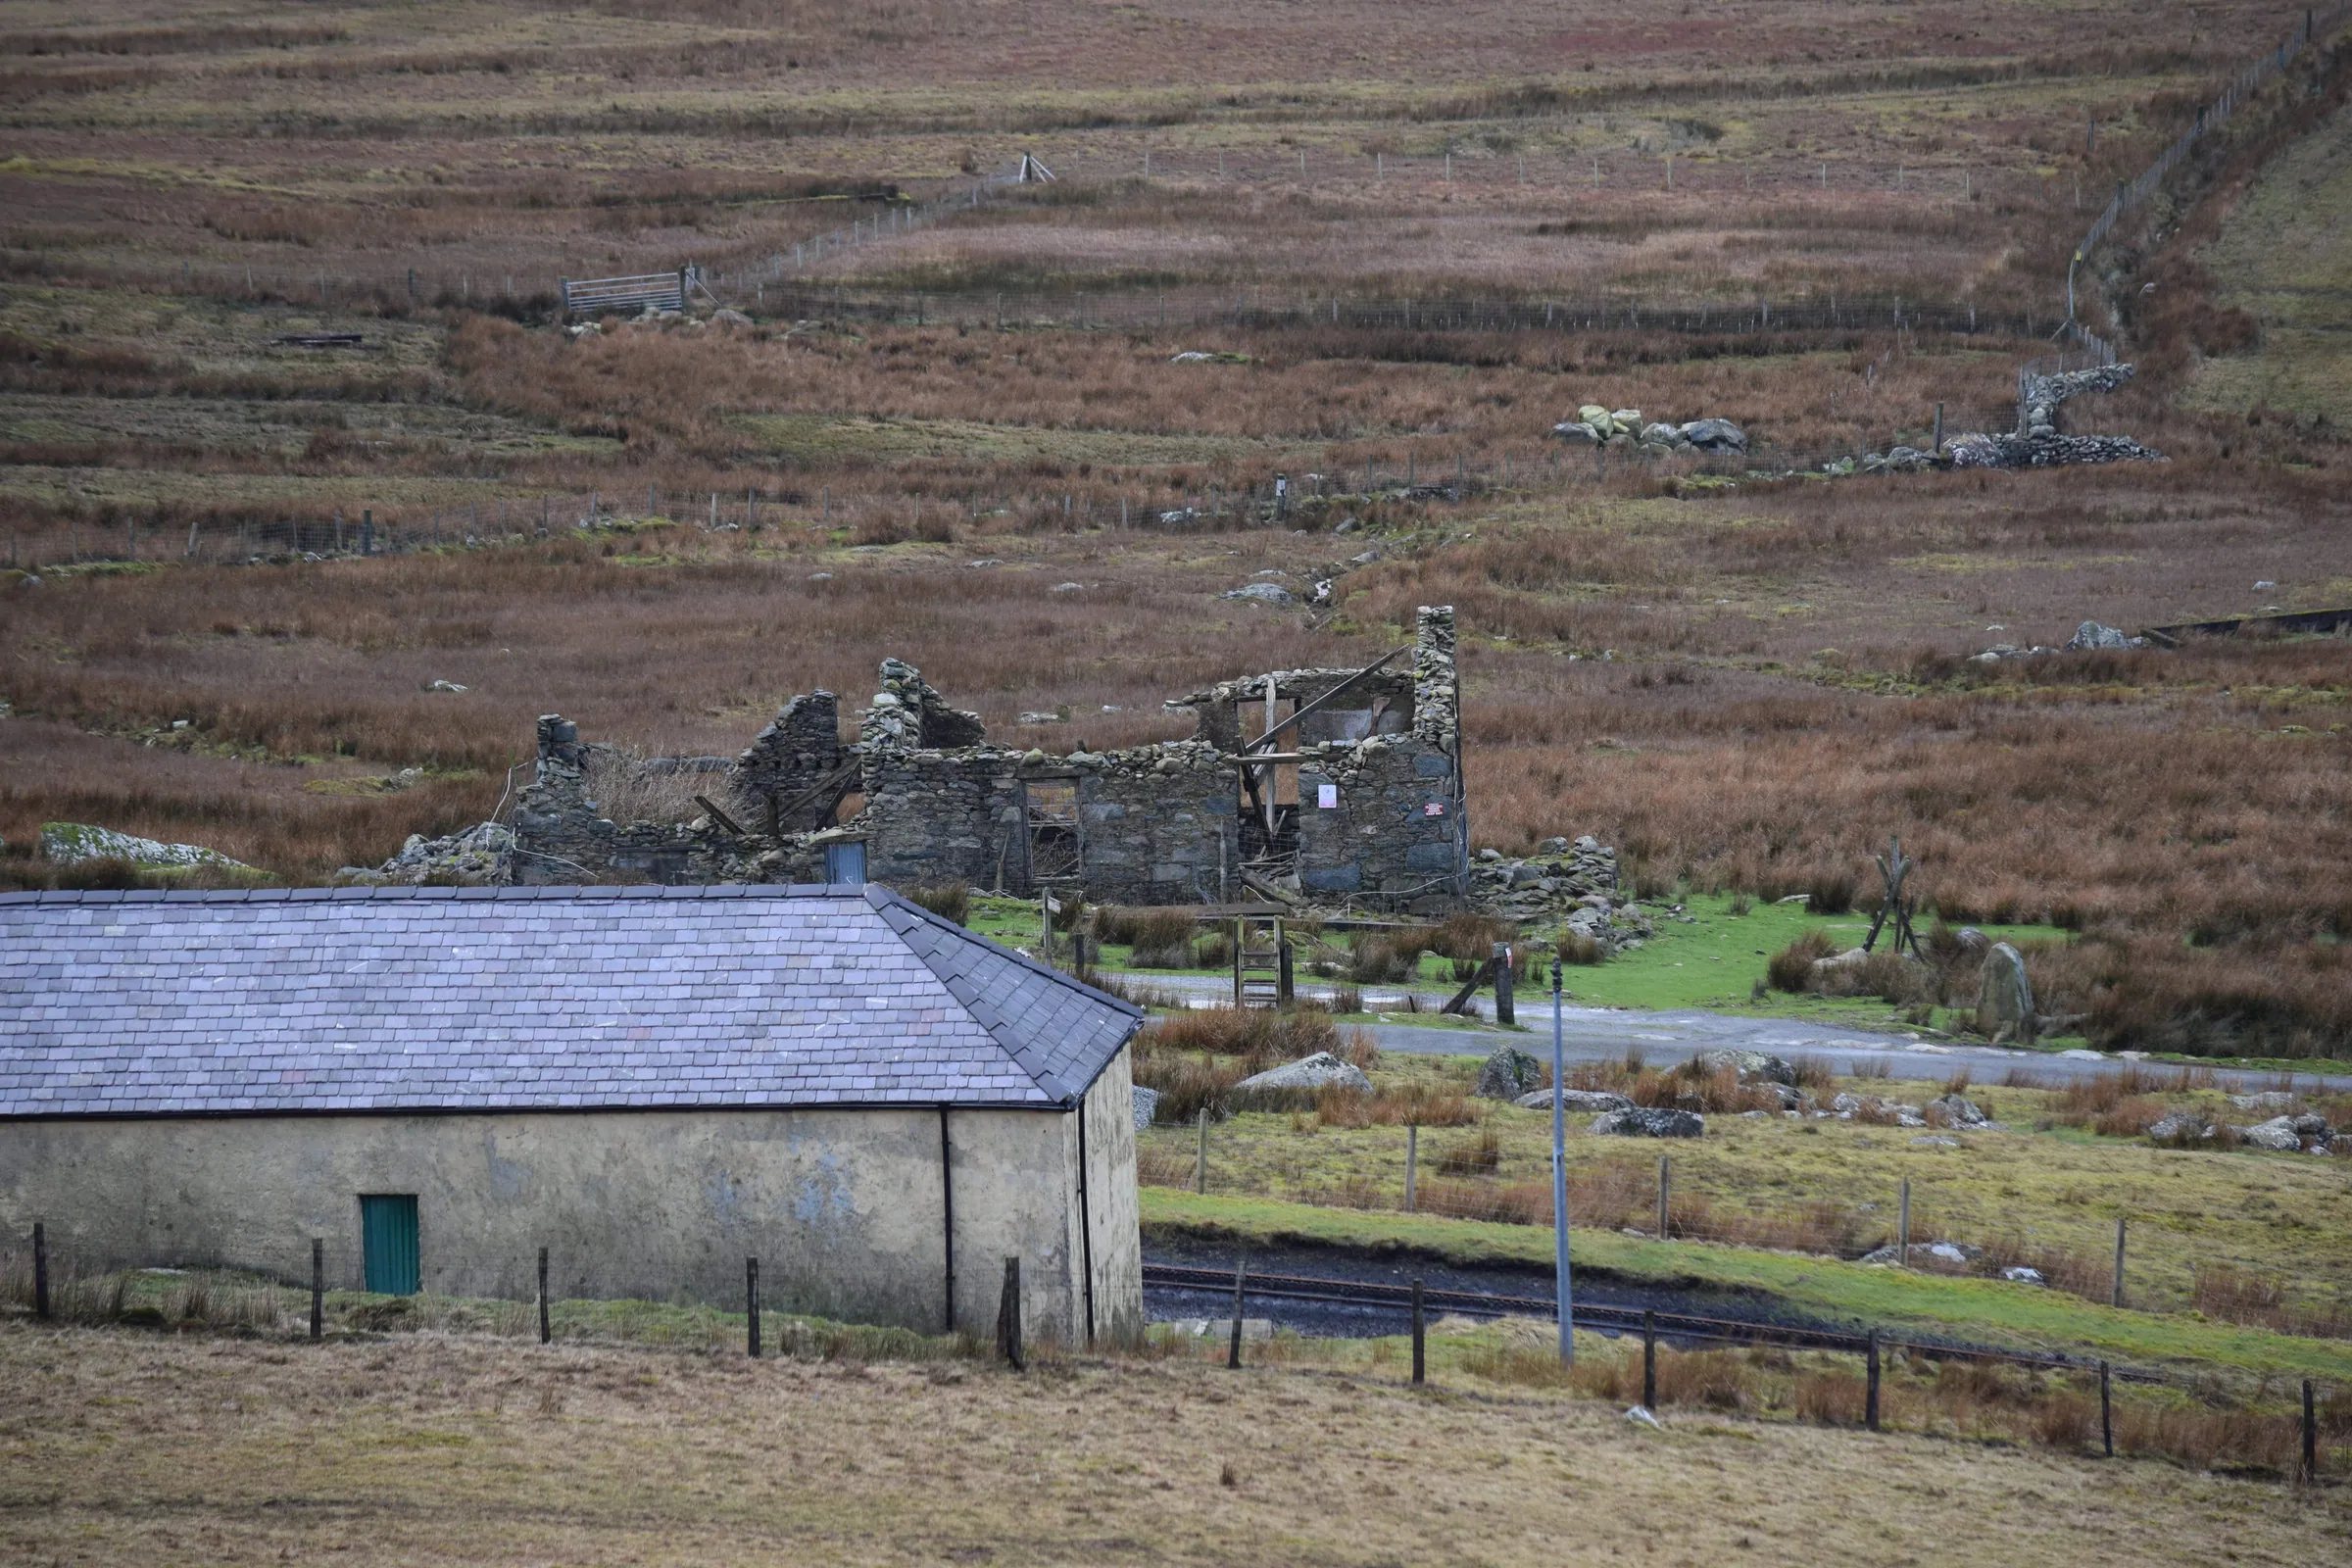
4. From the railway bridge, your journey will continue along the same path, and after around 900m (around 17 minutes' walk) you will be greeted by the Halfway Cafe which is located just beyond the halfway point between Llanberis and the summit (the name refers to its height above sea level, 542m, which is half the height of Yr Wyddfa). The cafe is open seasonally (after Easter I've read online) but it has never been open when I've been past, most likely as I hike Yr Wyddfa late in the day on winter months to avoid the crowds. After passing the cafe, keep walking along the same path for around 850m (roughly 20 minutes' walk), until the path starts heading uphill and slightly to the left, it's just after the fence to your right ends. At this point, there's a faint path that runs straight ahead which you don't want to take, but the main path you need to follow is very obvious as it's much wider and more prominent (see image 9).
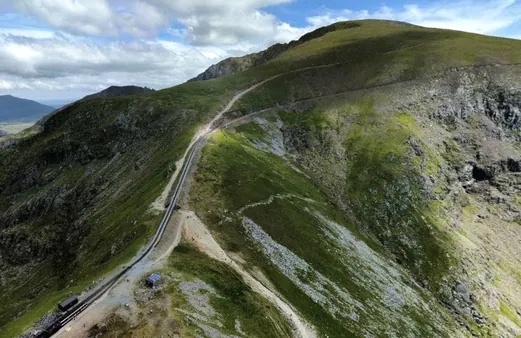
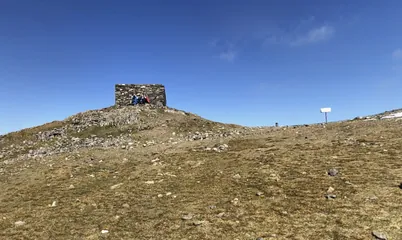
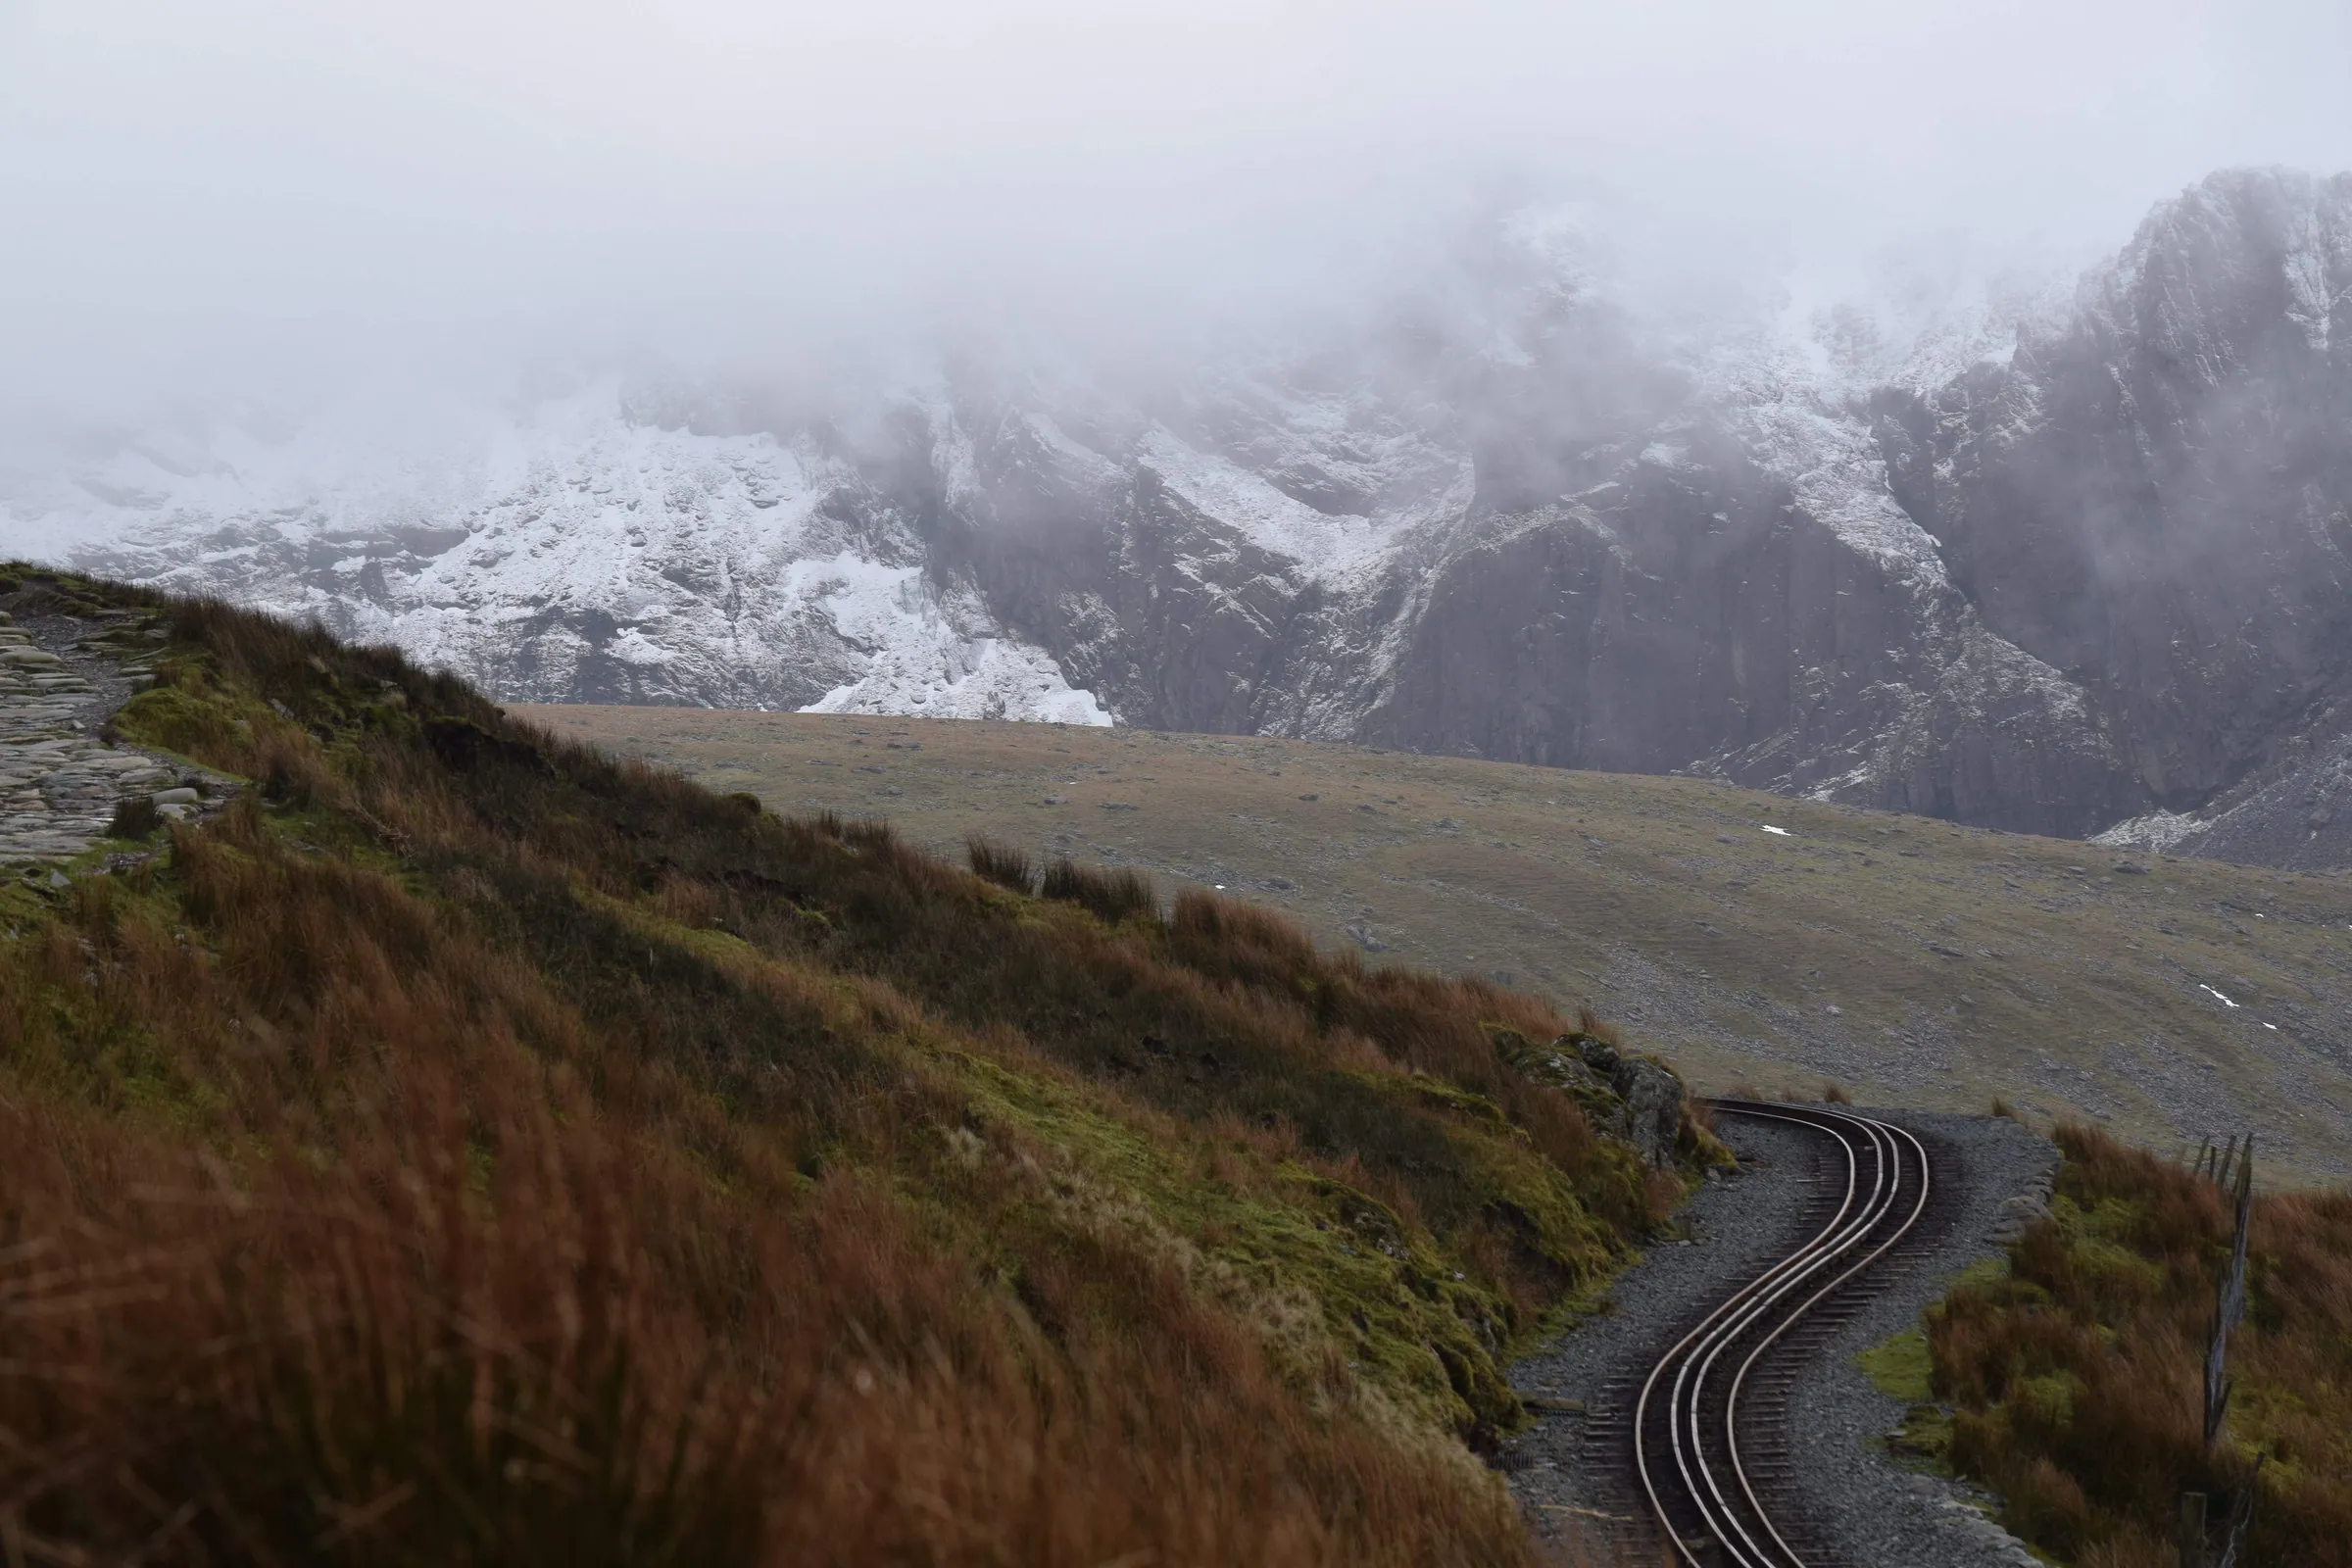
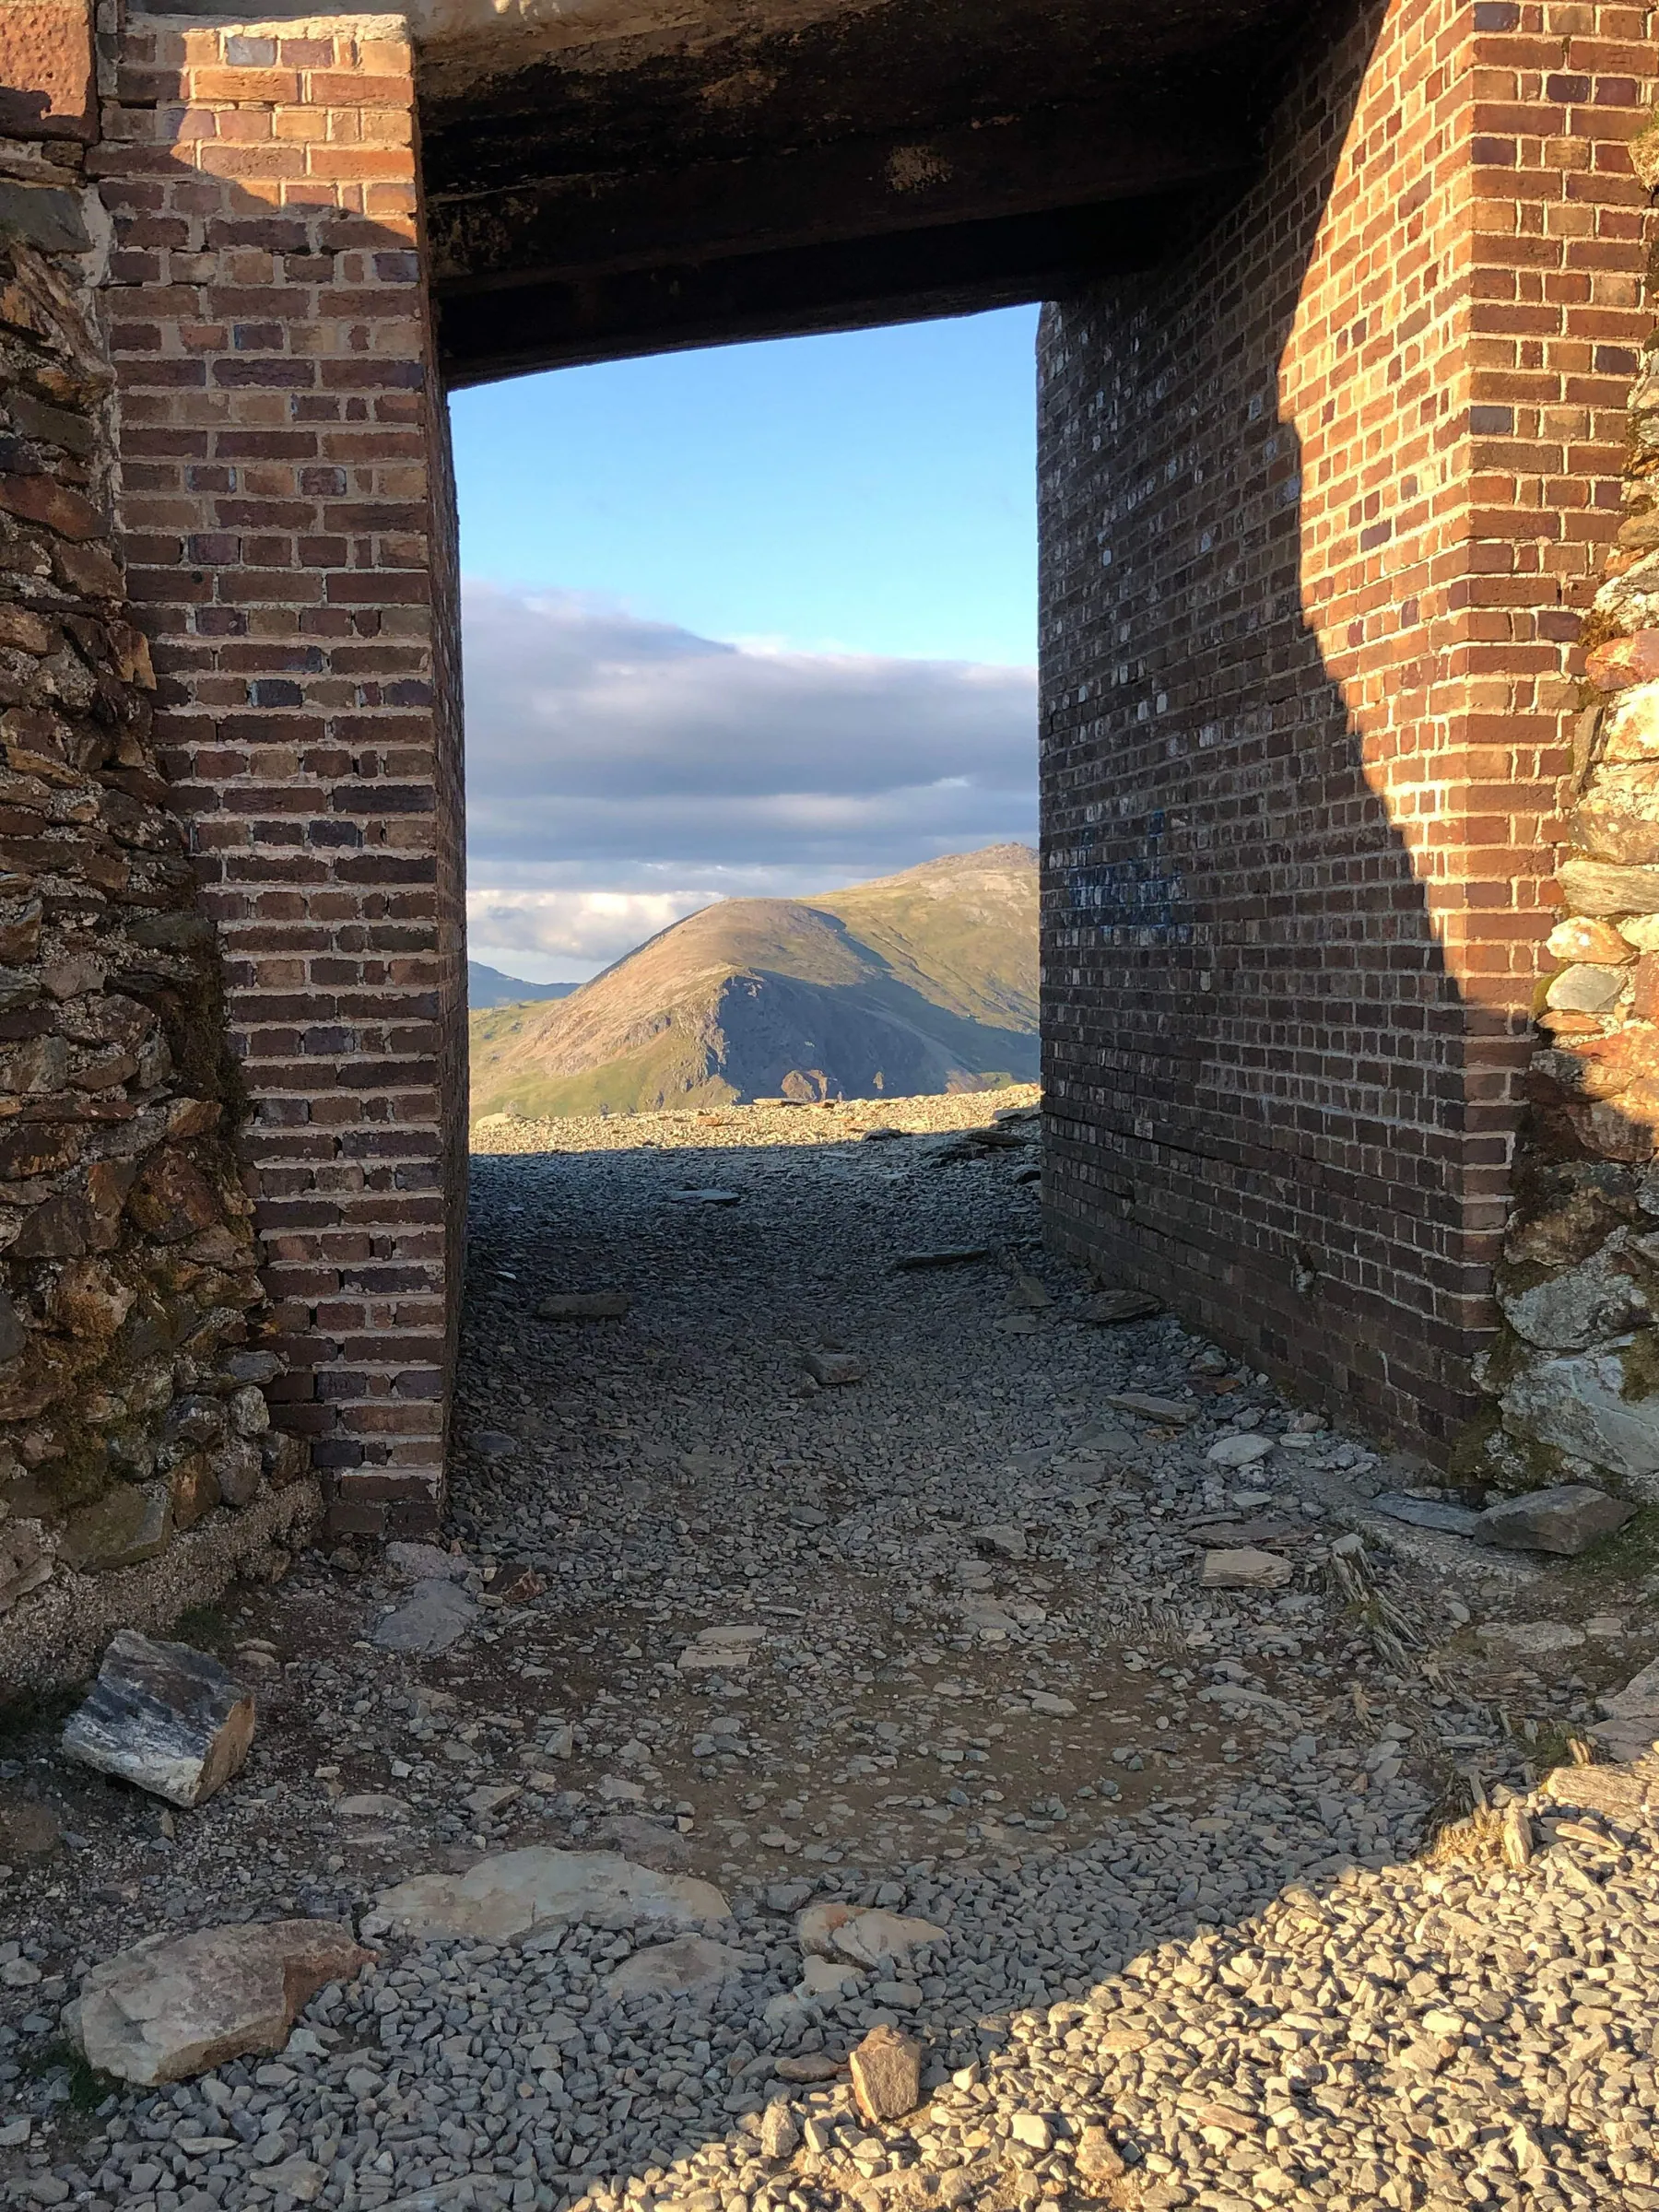
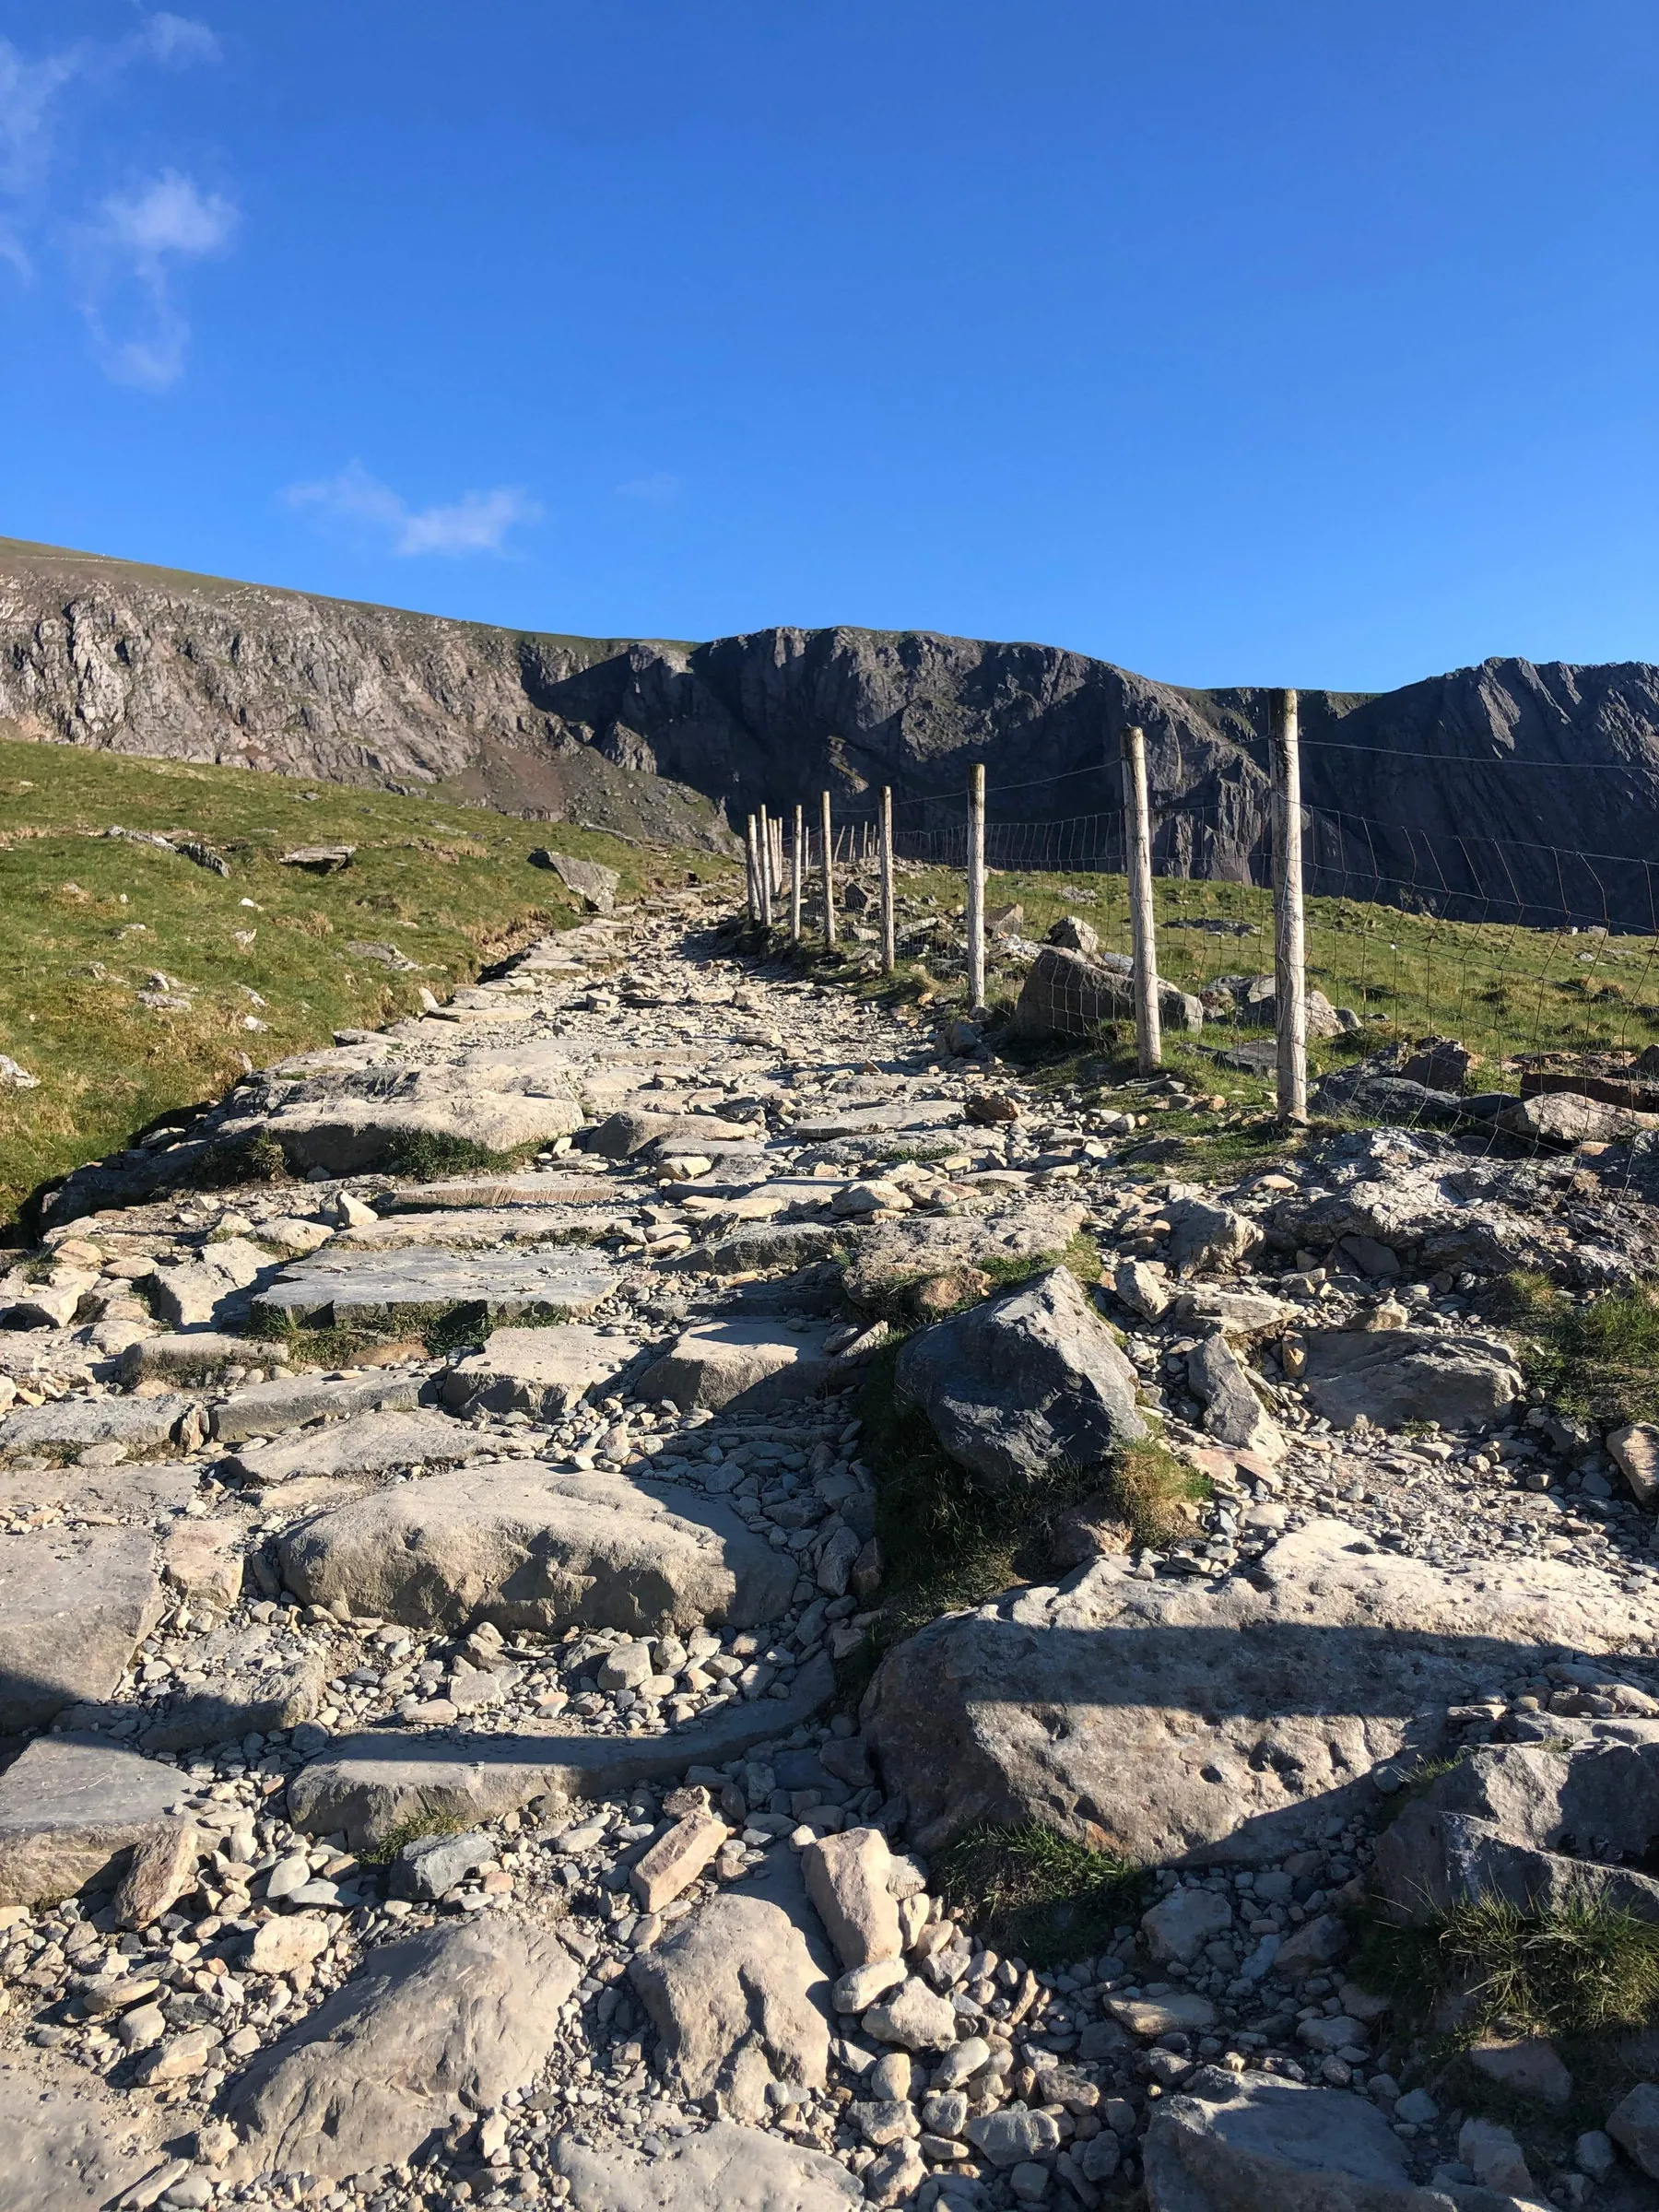
5. This ascending section of the Llanberis Path is called Allt Moses (Moses Hill), and it is approximately 550m long. It consists mainly of a cobbled path, which can be very slippery when wet or icy. The true ascent towards the summit starts from here, and the route becomes tougher than what comes before, nevertheless, the stunning views are more than a just reward. Depending on your level of fitness, it could take anywhere from 10 minutes to half an hour or longer to walk this section. Once you reach the top of Allt Moses, you should be able to see a stone building to your left off in the distance (see image 10), and in front of you, there will be another railway bridge (see image 11) which you need to walk under to continue on towards the summit. After you pass under the bridge, the views in front of you of Llanberis Pass are unbelievably stunning and one of my personal favourites on this hike. See image 12 for a high-level view of the route up Allt Moses, under the railway bridge, and up the killer convex (see next step).
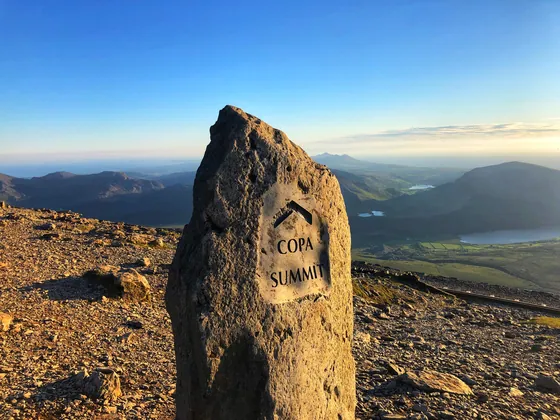
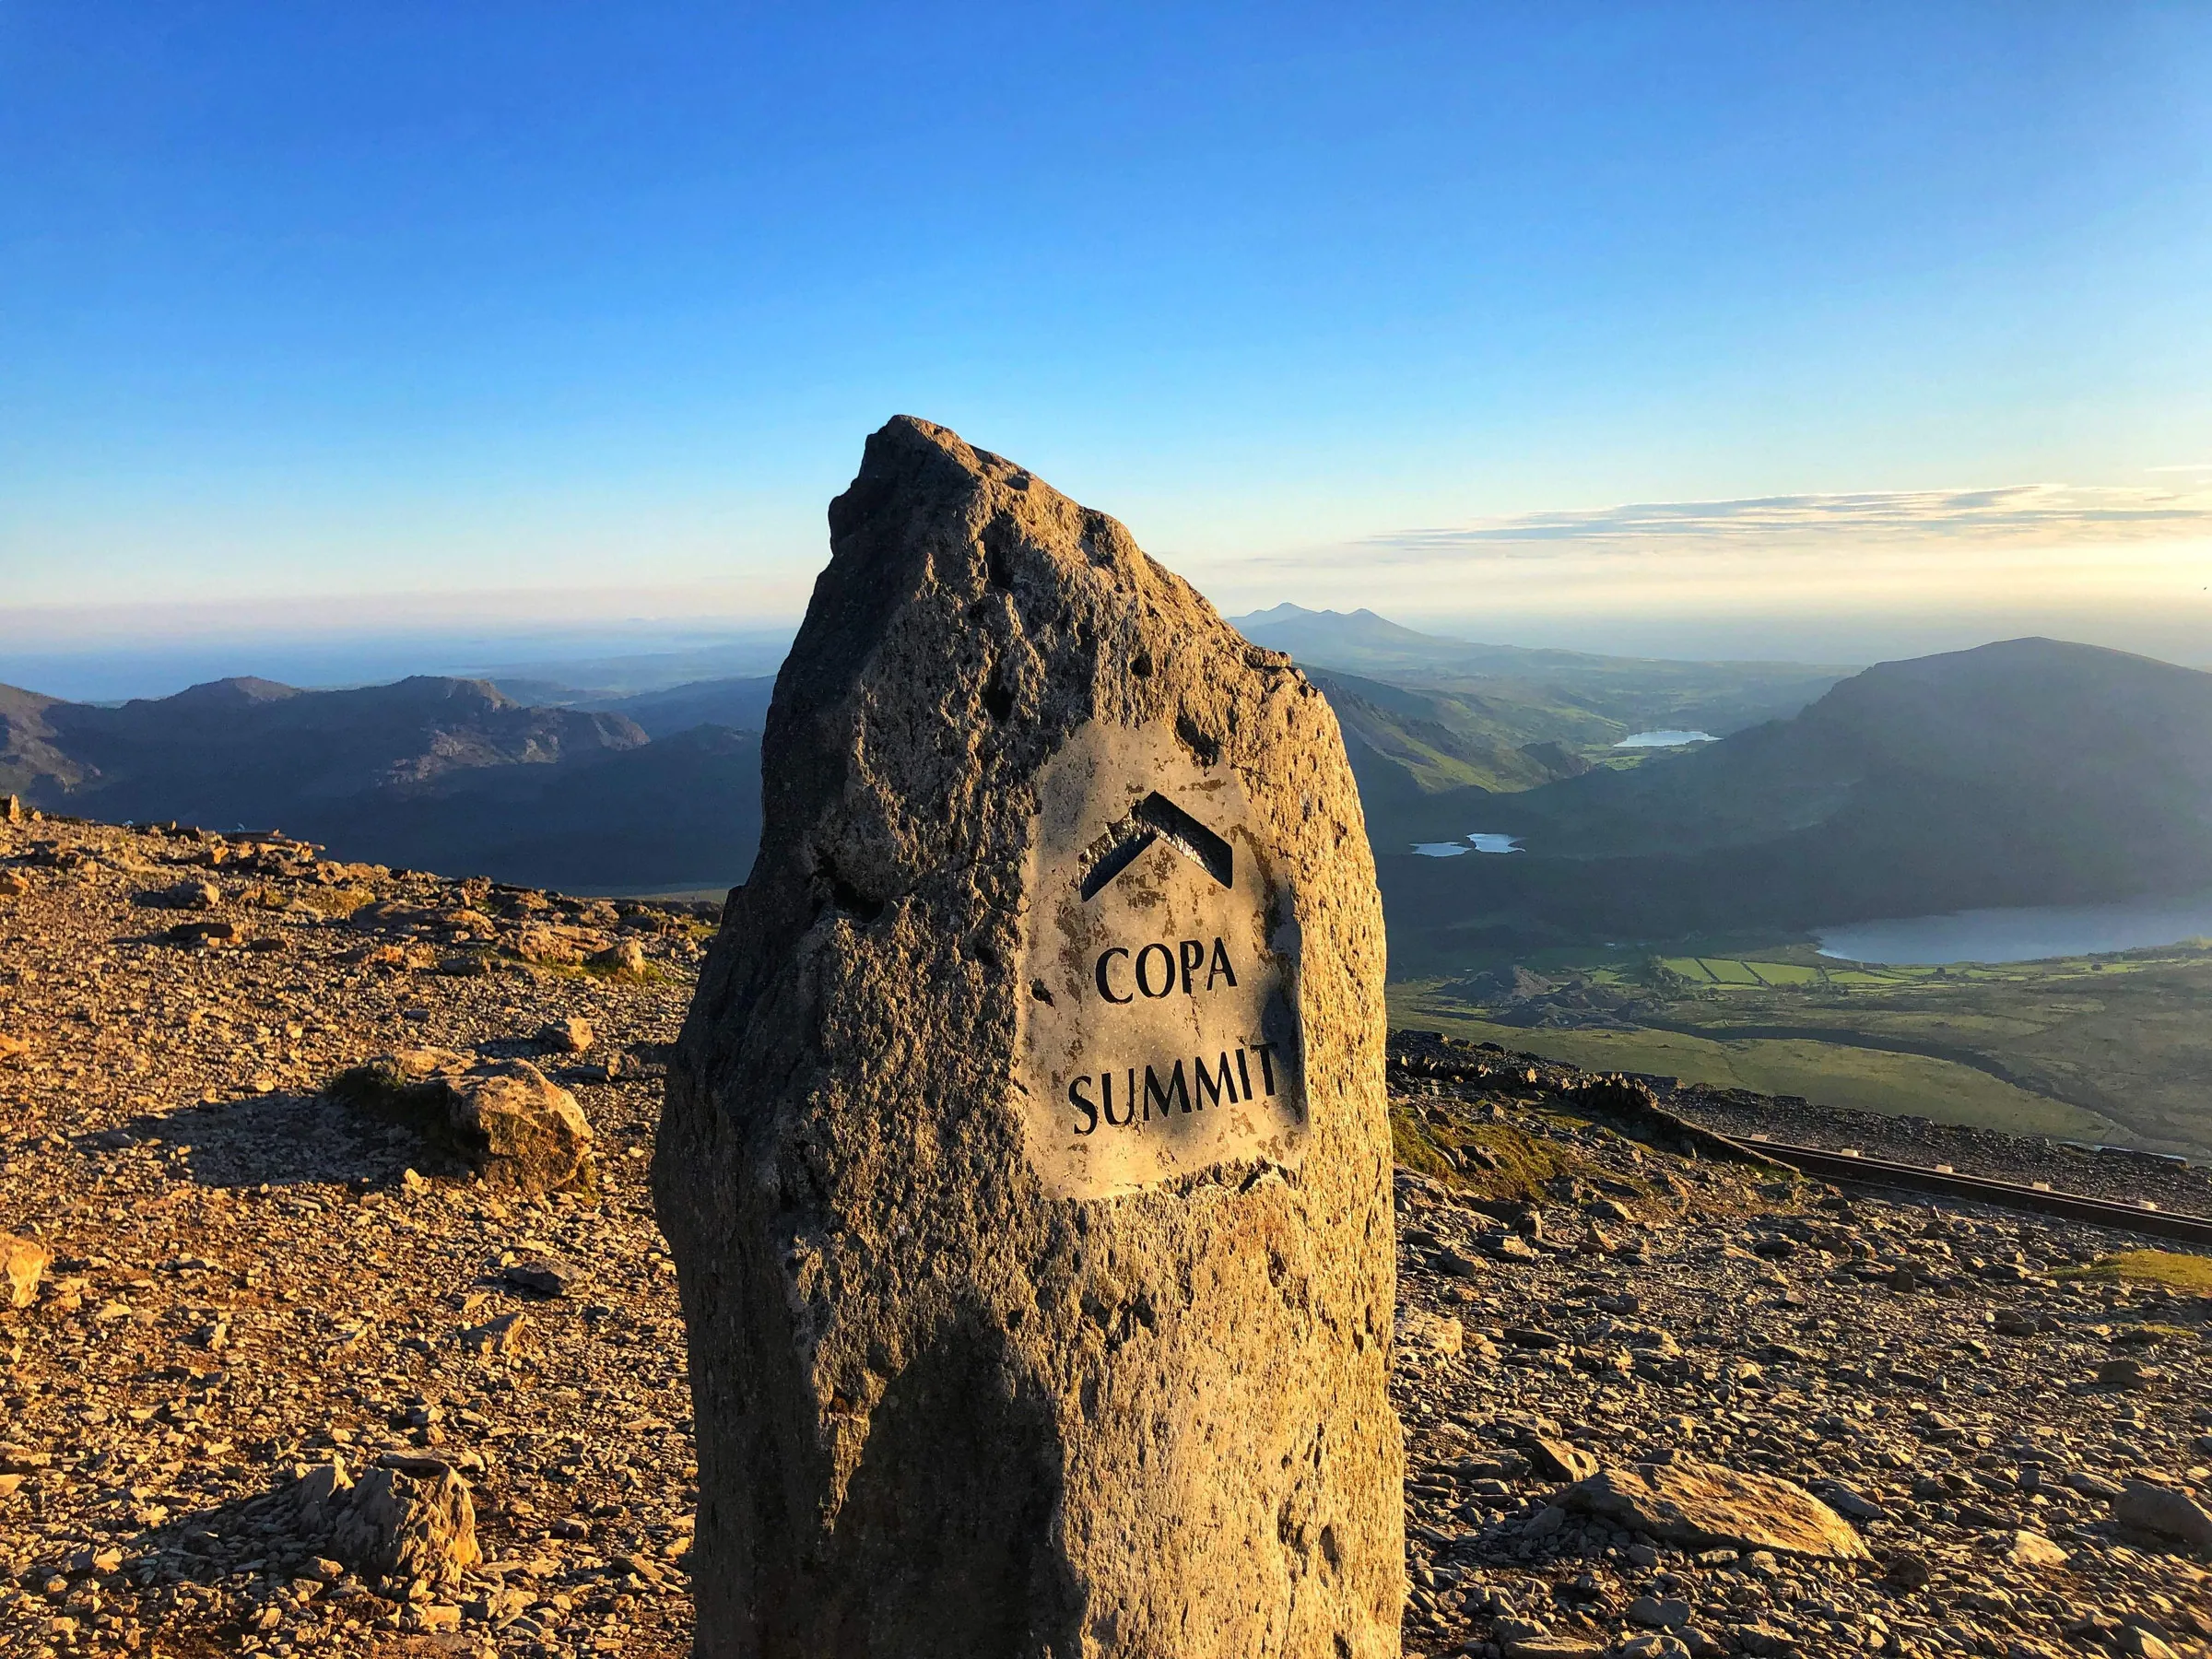
6. Important:.The section between the railway and the stone sign at Bwlch Glas is called the Killer Convex and can be extremely dangerous during icy or snowy conditions. Please don't attempt it unless you have the correct equipment (crampons and ice axe as a minimum). Continue to follow the clearly defined pebbly/rocky path as it heads up the mountain; after a short while, you'll be walking right next to the train tracks. The next major milestone is the stone "Copa Summit" sign at Bwlch Glas (see image 13), which is around 800m from the railway bridge and takes around 15 minutes to walk to. The path between the two points is easy to follow in all but snowy conditions. The standing stone to the left of the sign shows where the Pyg Track and Miners’ Track meet the Llanberis Path; the Ranger Path also converges here, but from the right, crossing the train tracks. Due to the intersection of various trails, Bwlch Glas can get very busy.
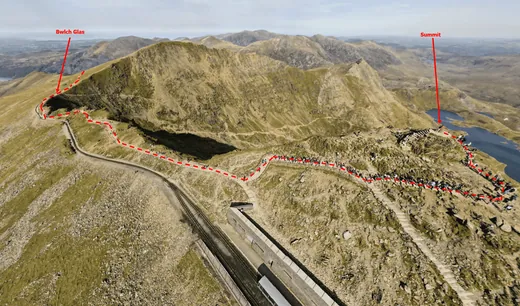
7. Head past the "Copa Summit" sign, following the path whilst keeping the railway tracks on your right. From here you should be able to see the summit ahead and slightly to the left of you, it's about 550m from Bwlch Glas, which should take around 10 minutes to walk. As you get closer to the summit, the path changes from gravel to cobbles and starts to ascend. Eventually the summit station and visitors centre will come into view, and just to the left of it, you'll be able to see the toposcope ↗ at the summit (and possibly a long queue of people). As you approach the summit plateau, there will be a series of stone steps which as you ascend split into two; take the left set of stairs heading upwards as this continues on to the summit (the right set take you to the visitors centre and train station). Once you're on the summit plateau, there's a final set of stairs to reach the toposcope and the highest point of Yr Wyddfa. Admire the unreal views and give yourself a pat on the back for making it. If you want to sit at the summit for a while and fancy a read, check out my own epic hike to the summit here. See image 14 for a high-level view of the route from Bwlch Glas to the summit.
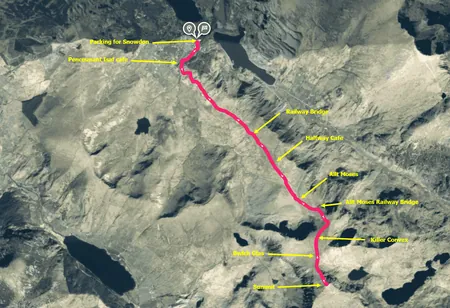
8. Once you're ready (I know, you'll never truly be ready to leave), retrace your steps back to the start point (see image 15 for an overview of the route from the summit back to the start point).
gallery
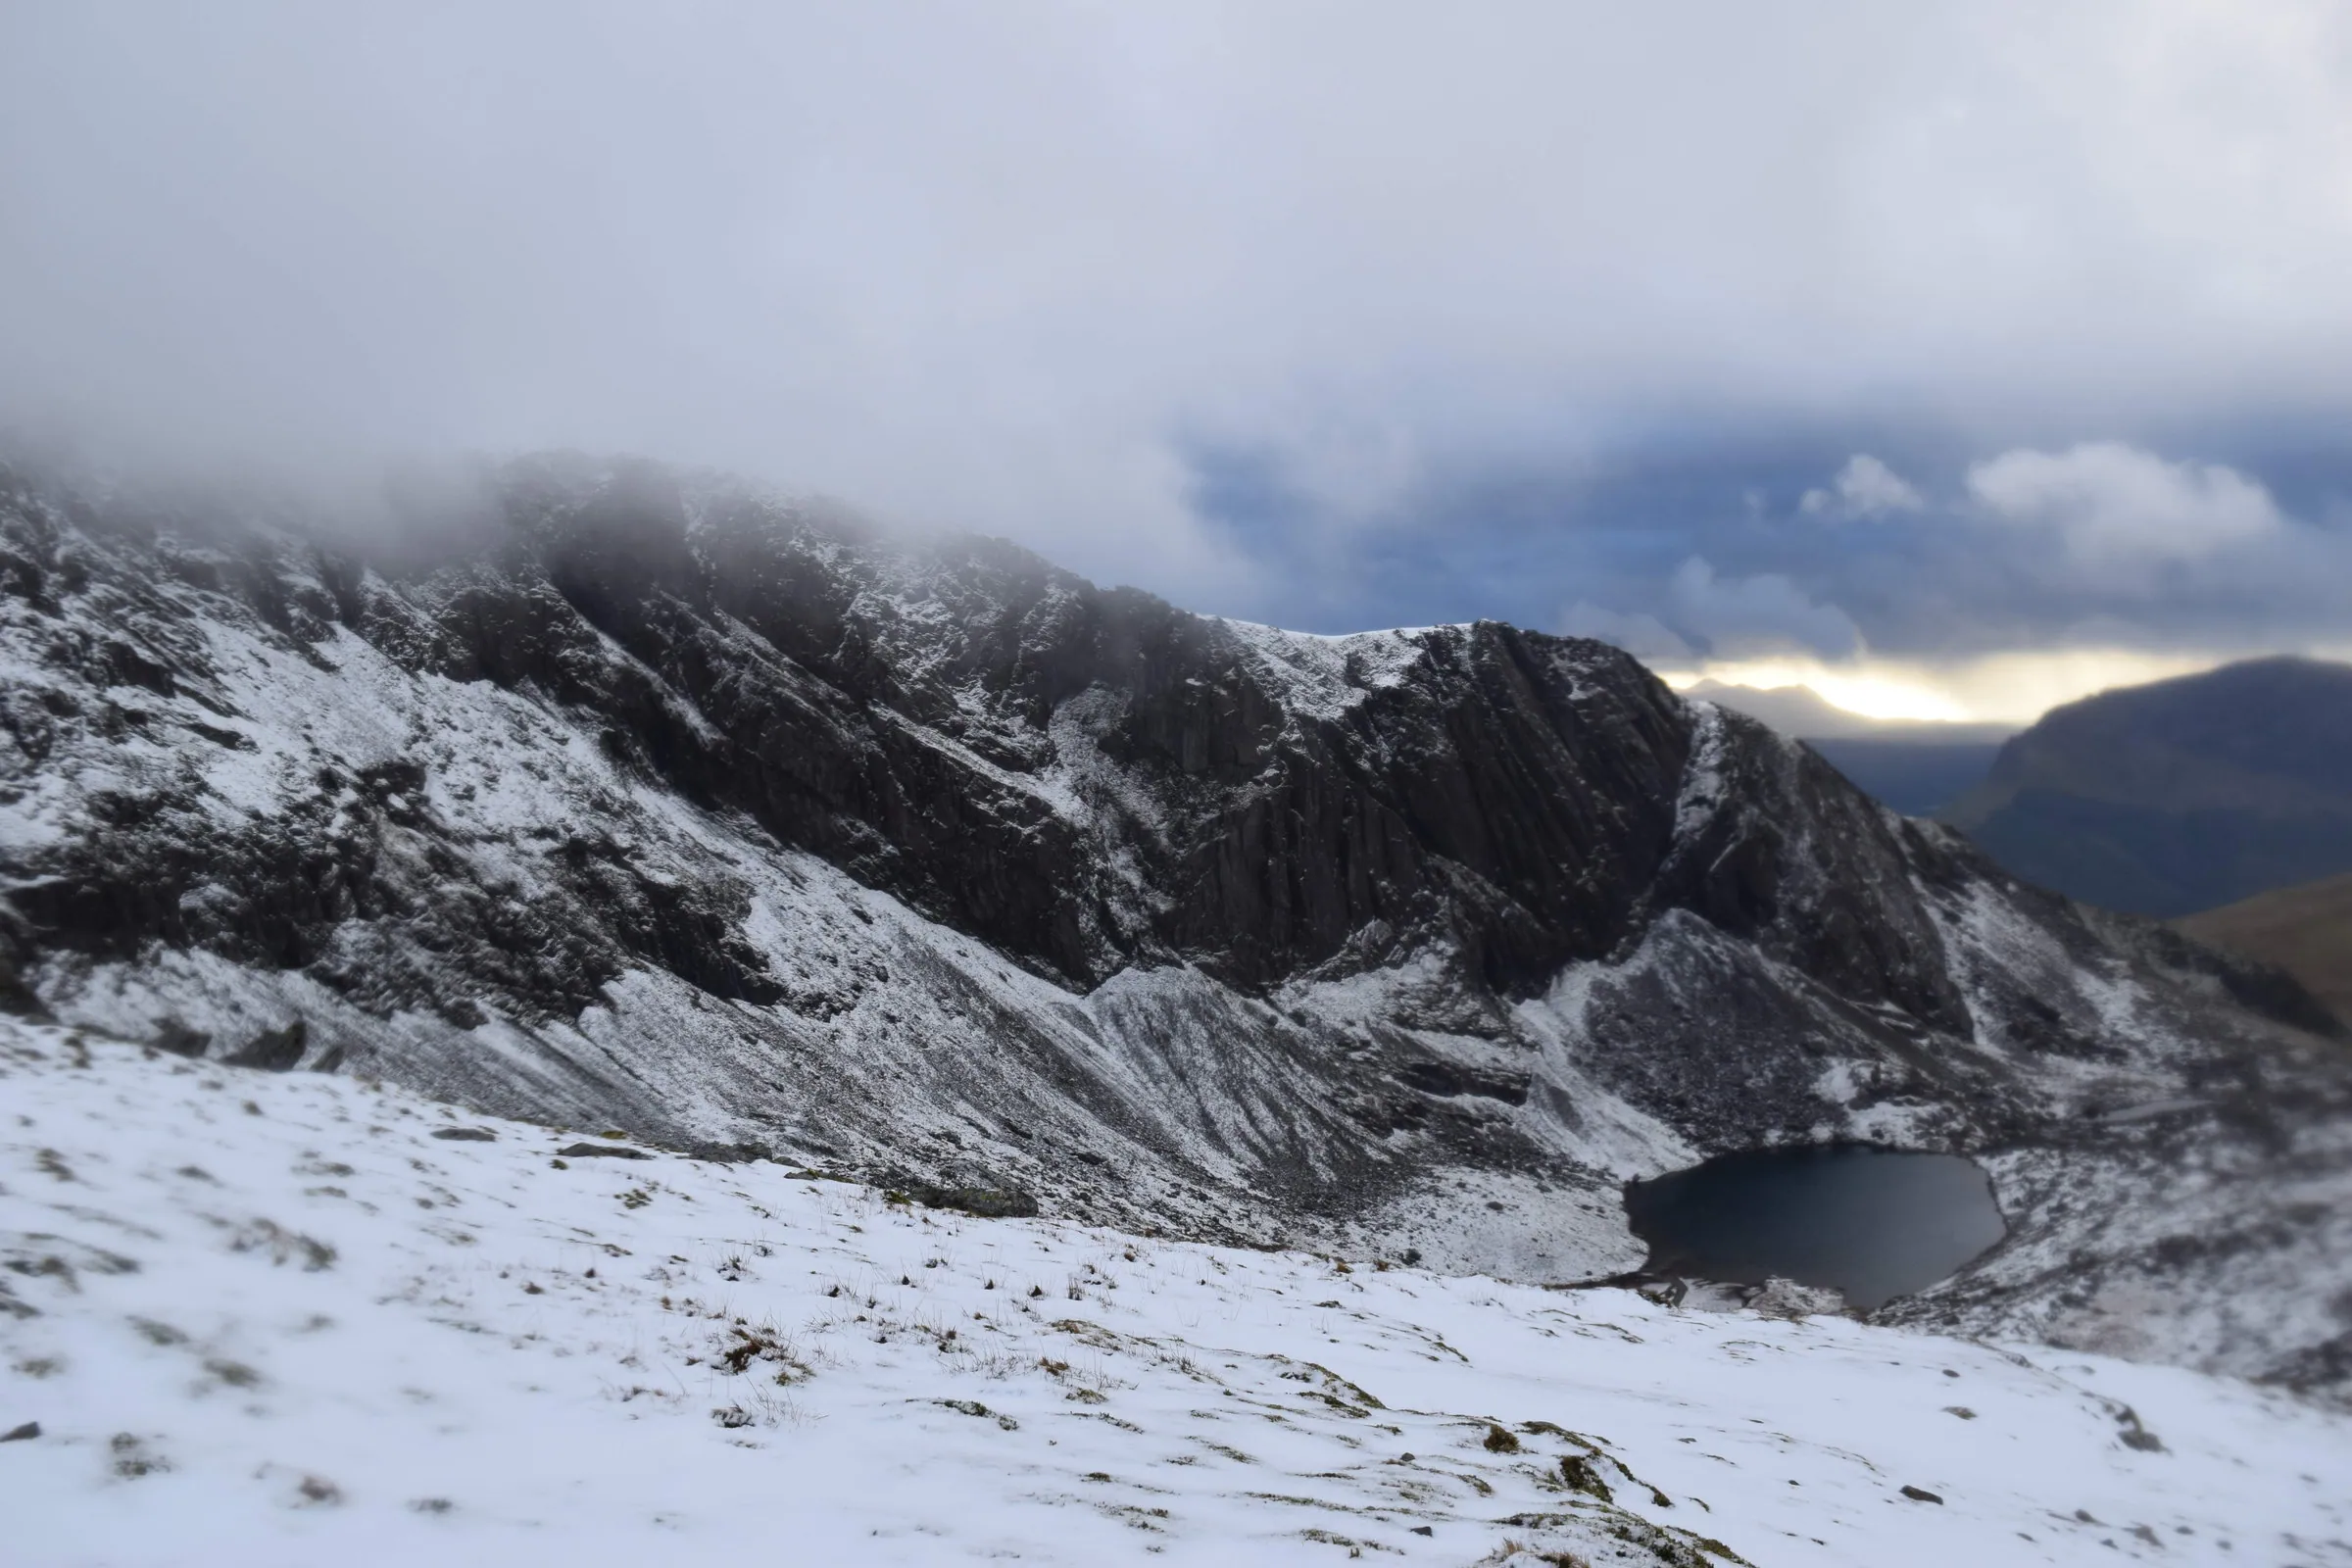
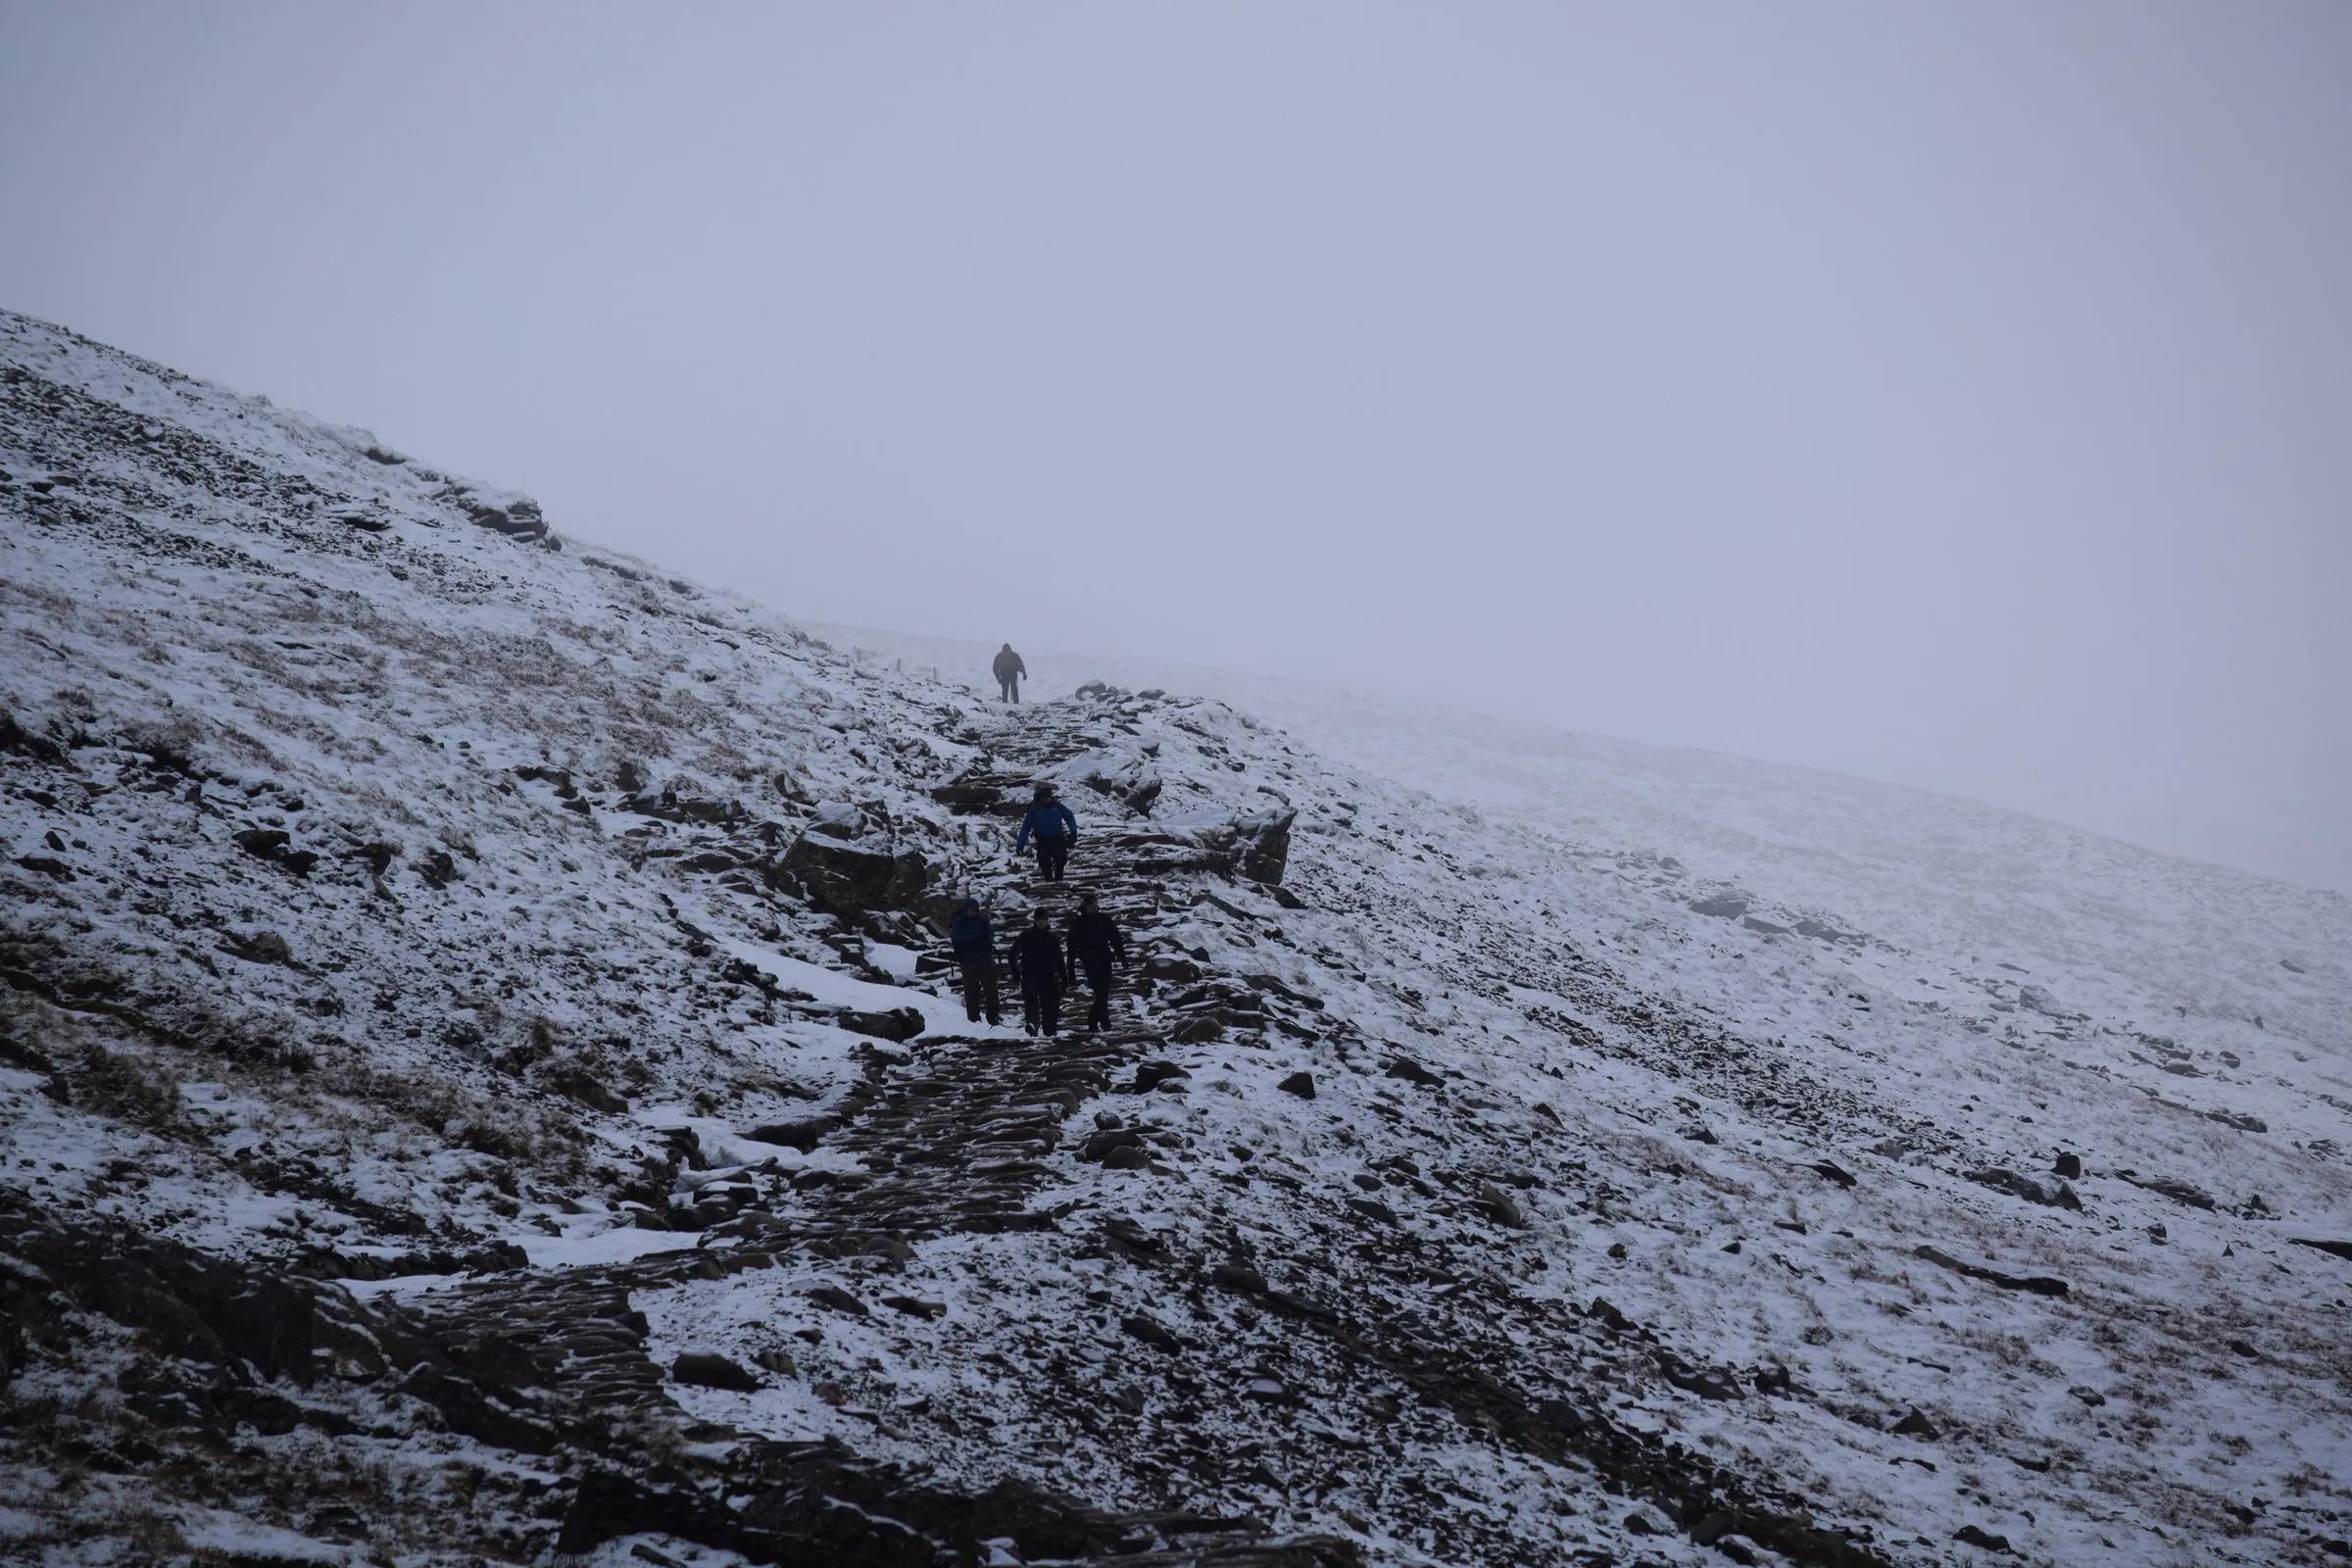
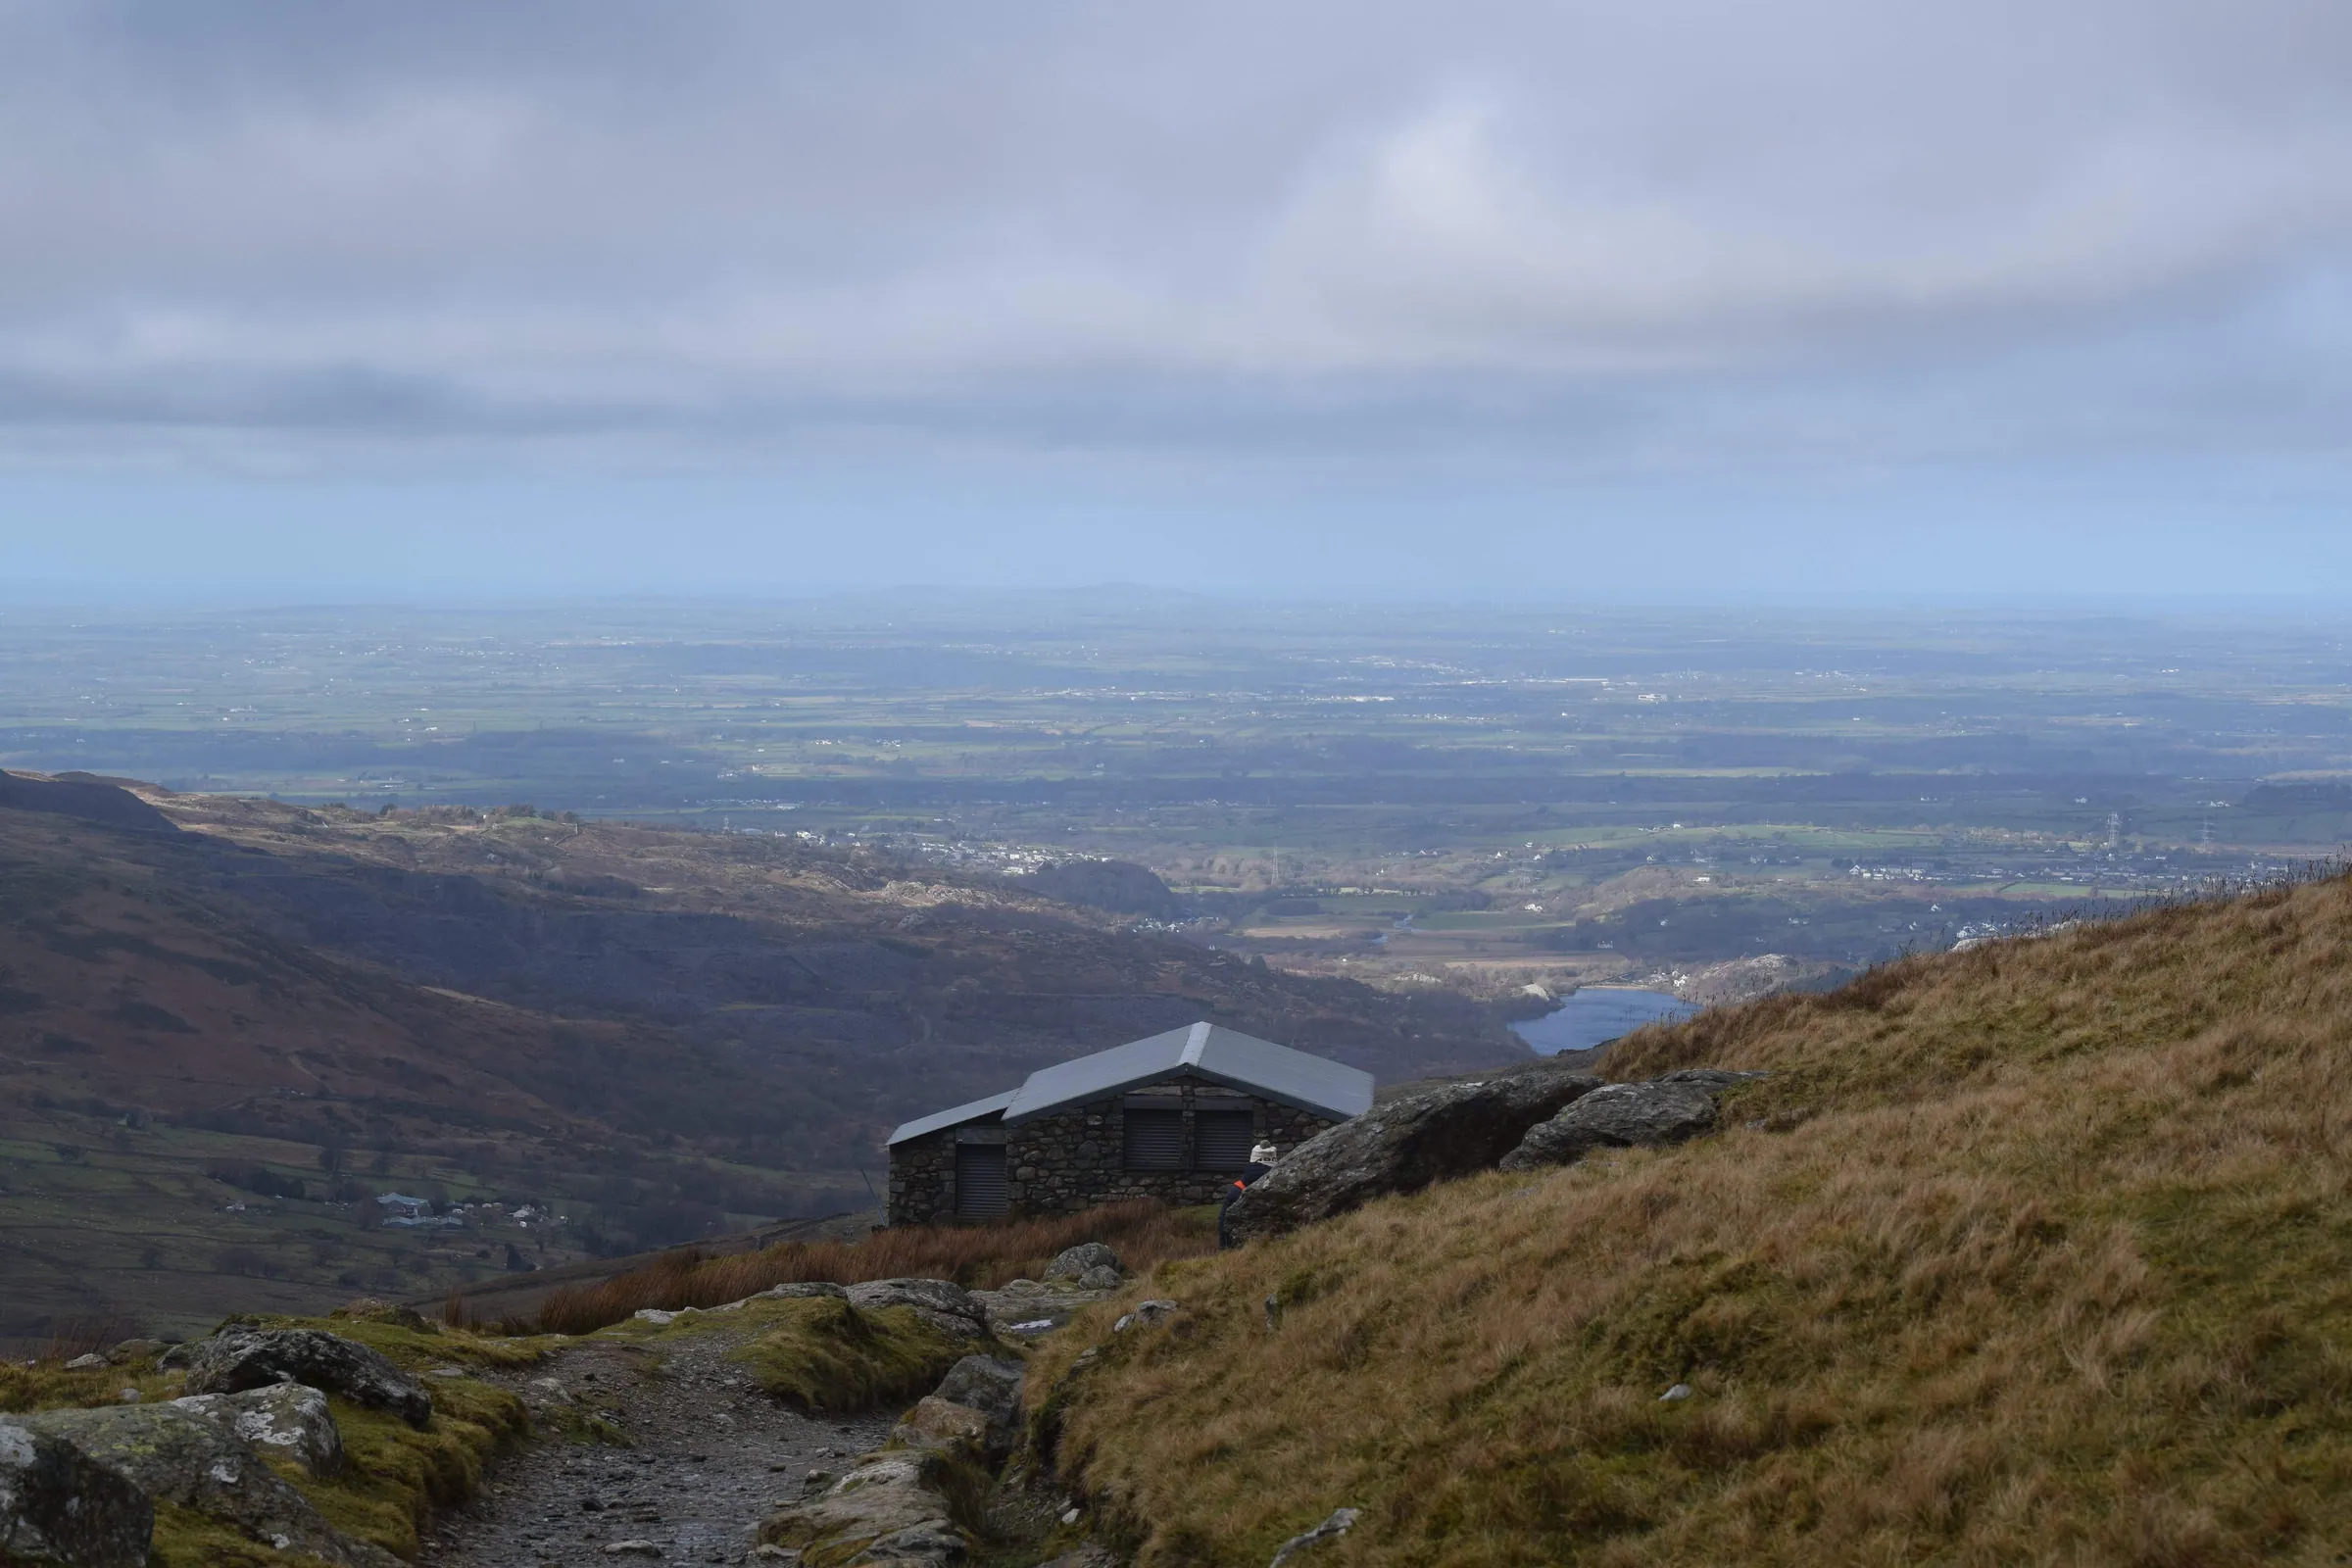
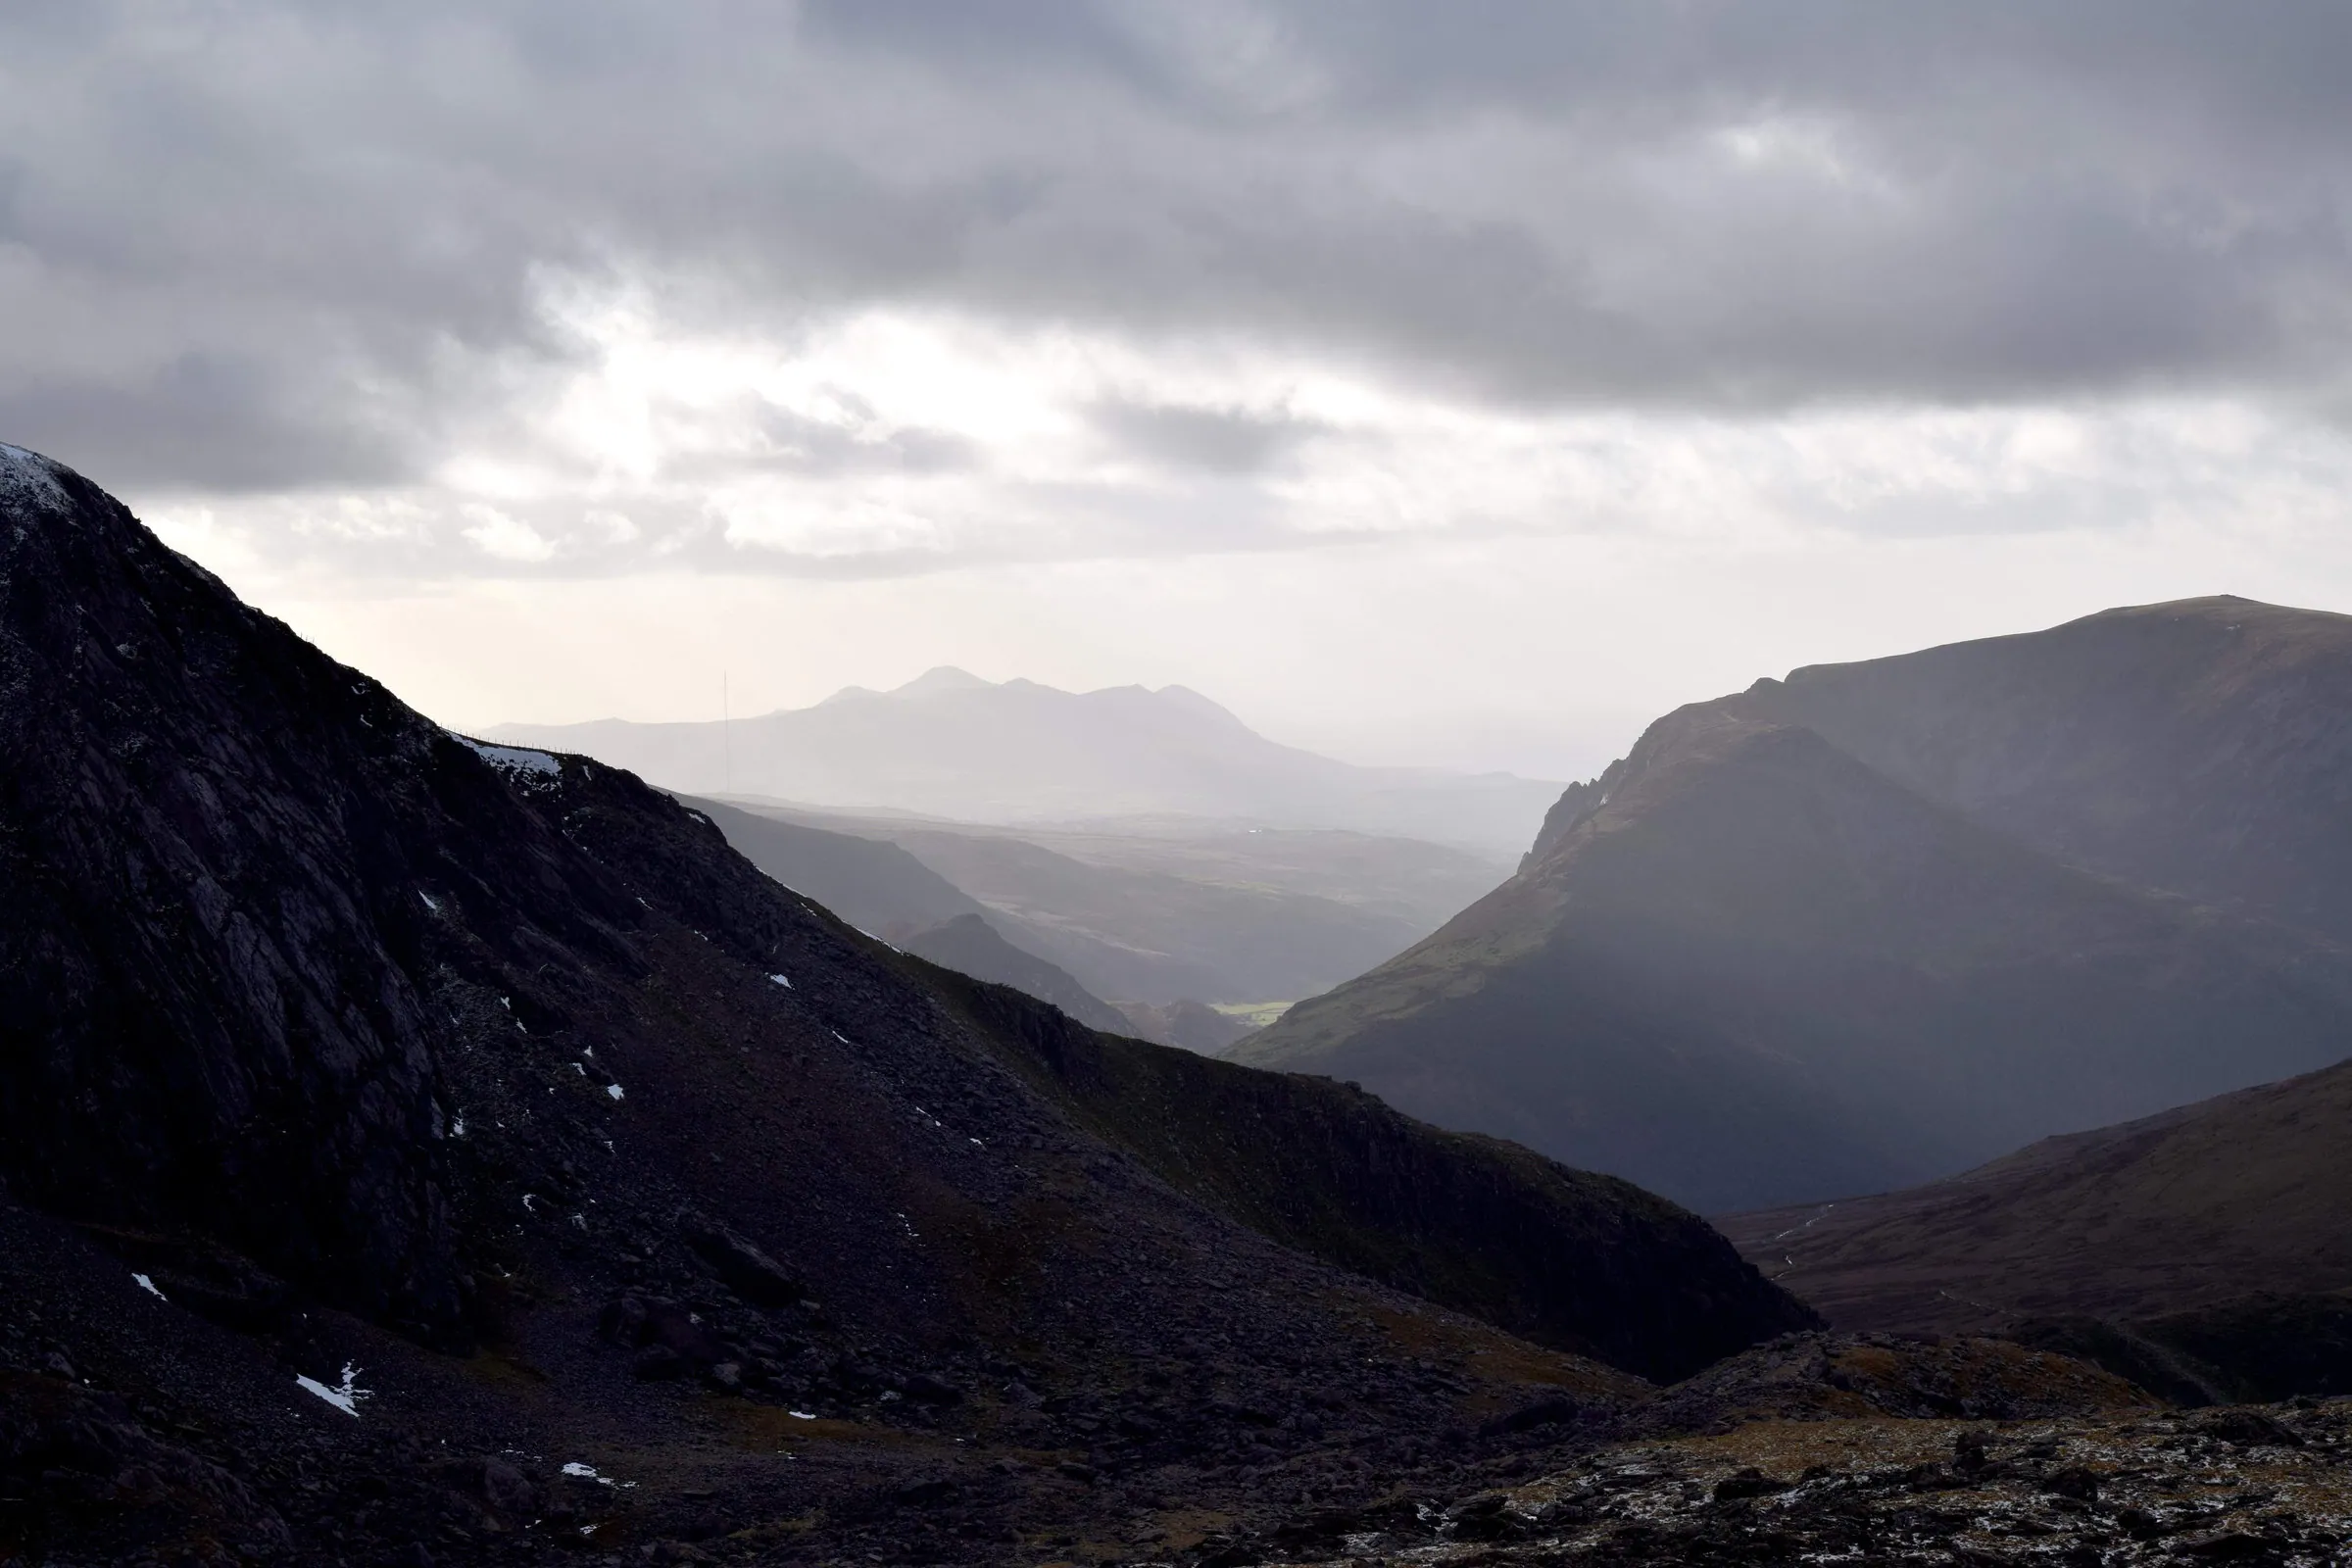

hints & Tips
general
-
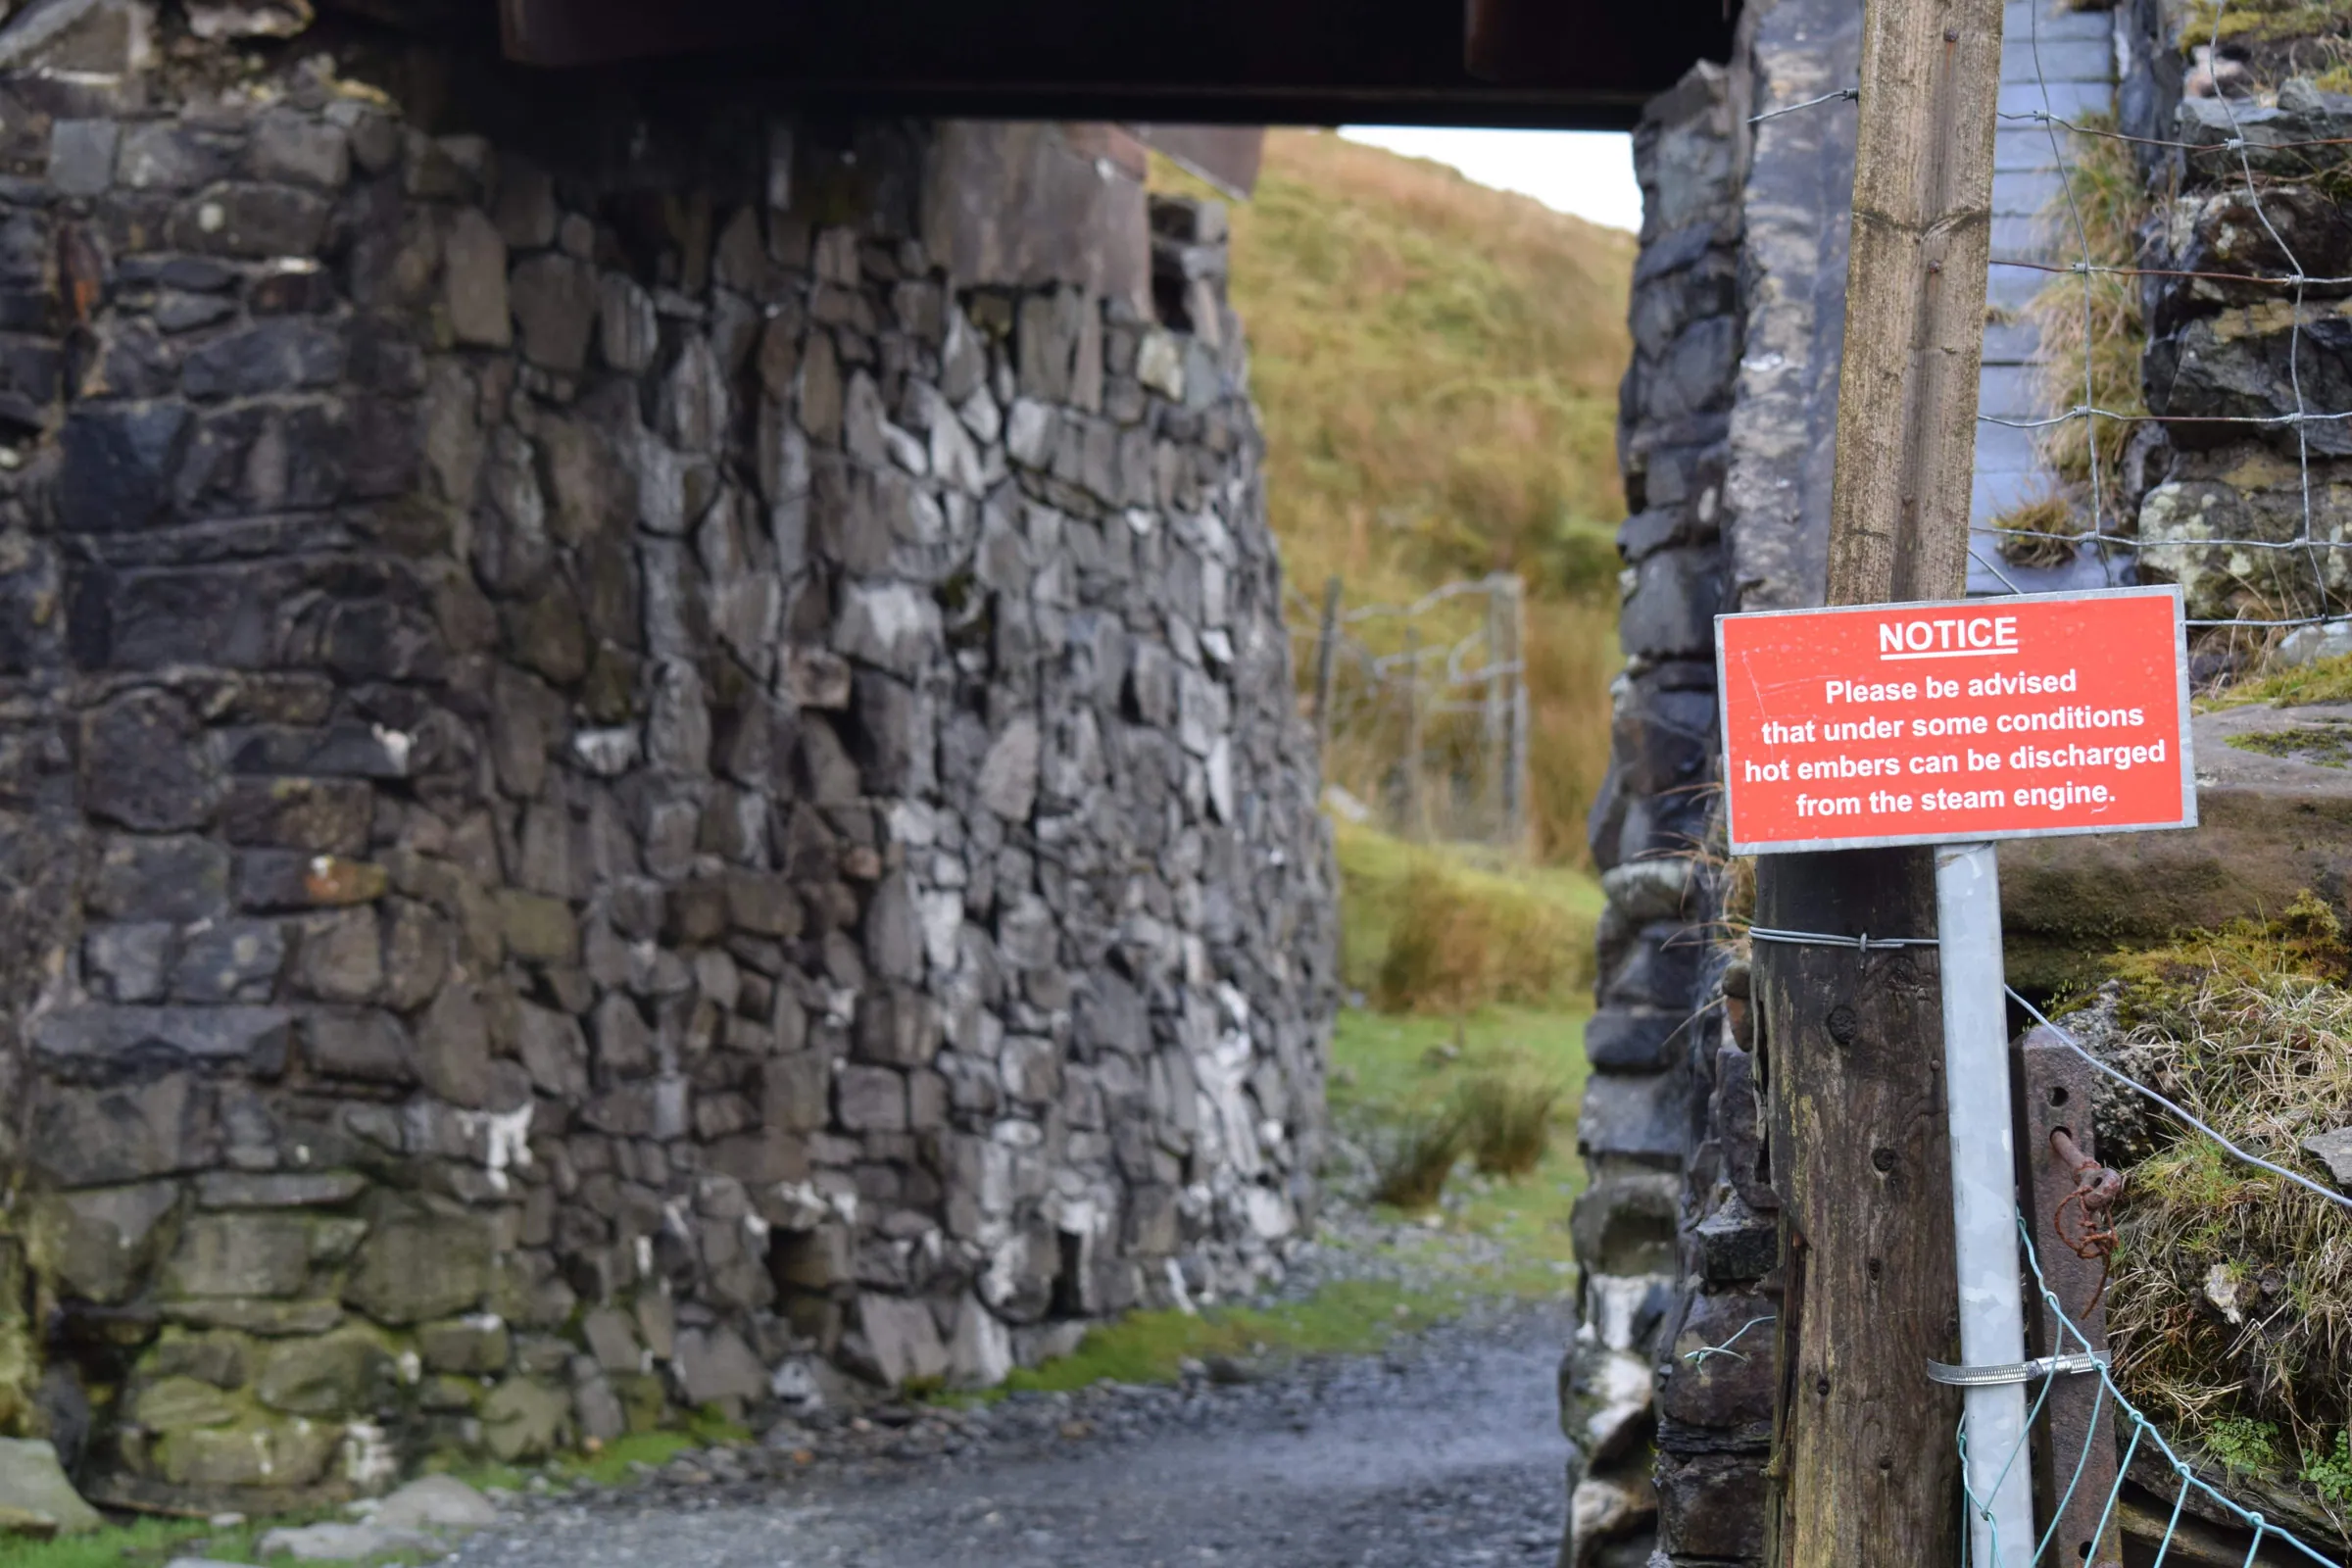
Be Mindful of the Train: The Yr Wyddfa Mountain Railway runs along the Llanberis Path so be sure to stay clear of the tracks when the train is passing.
-
Carry Enough Water: Make sure to carry enough water to stay hydrated, as there are limited water sources along the trail
-
Check the Weather: Always check the weather forecast for Eryri before your hike, as conditions can change rapidly. It's best to avoid the mountain in severe weather.
-
Use Proper Gear: Dress in layers and wear appropriate clothing, including moisture-wicking base layers, insulating layers, a waterproof jacket, and sturdy hiking boots.
-
Pack Essentials: Carry essentials like a map, compass, headlamp, first-aid kit, extra clothing, food, water, a portable charger, and a fully charged mobile phone. The Llanberis Path is relatively safe, but being prepared is essential.
-
Start Early: Begin your hike early and check what time the sun will set, unless you're confident navigating at night
-
Avoid the crowds: If you're confident navigating in bad weather or when it's dark, you can avoid some of the crowds by starting the hike later on in the day during winter months (please don't attempt this unless you're experienced with this type of hike and have the correct equipment). Also, hiking earlier in the week will be quieter than on the weekend.
-
Use a Navigation Aid: While the Llanberis Path is well-marked, it's always a good idea to have basic navigation skills and a map or GPS device in case of poor visibility
-
Know Your Limits: Yr Wyddfa can be challenging, especially in winter. Be honest with your abilities and turn back if conditions worsen or if you're feeling unwell.
-
Emergency Plan: Let someone know your hiking plans and estimated return time. In case of an emergency, they can alert the authorities if you don't return as expected.
Facilities & Hospitality
Toilets
-
Llanberis Public Toilets ↗: The toilet is open from 9AM to 5PM, 7 days a week. The toilet is free to use and only 5 minutes walk from the Parking for Snowdon car park. If the public toilet is closed, you could use the toilet at The Royal Victoria Hotel ↗ (best buying a drink or food too).
-
Pen-y-Ceunant Isaf Tea House ↗: About 8 minutes after passing the cattle grid, you will reach this quaint cafe, which has toilets, food, drinks, and Wi-Fi
-
The Halfway Cafe ↗: There is a toilet at this cafe, which lies roughly halfway between Llanberis and the summit. The cafe is only open seasonally so don't depend on it.
-
Hafod Eryri ↗: Located near the summit of Yr Wyddfa, the highest visitor centre in Wales is home to the highest toilet in Wales. For more information including open times click here ↗.
Wi-Fi
-
Free public Wi-Fi is available in the village of Llanberis at the start of the hike
-
Hafod Eryri ↗: This cafe near the summit has Wi-Fi, which can be used when it's open (late Spring to the 29th of October from 10AM daily until 20 minutes before the last train leaves the summit)
Food & Drink
-
Eryri Bar and Lounge ↗: Located in the Royal Victora Hotel, right by the start and end point of the hike, the Eryri Bar and Lounge serves typical Britsh gastropub food, along with a large selection of alcohol; perfect for the weary traveller. The food menu can be found here ↗ (correct as of November 2023, for the most up-to-date menu and information, click here ↗ to visit their website.
-
Hafod Eryri ↗: The Summit Cafe, located at the visitors centre near the summit of Yr Wyddfa, "...sells a selection of hot and cold drinks and handheld snacks. From warming Welsh pasties to freshly baked cakes...". For more information including open times click here ↗.
-
For more places in Llanberis to eat and drink, click here ↗ to see the top places on Tripadvisor
Accommodation
-
The Royal Victoria Hotel ↗: Handily located right by the Parking for Yr Wyddfa car park. Click here ↗ for more information
-
There are many other hotels, apartments and B&Bs in Llanberis, click here ↗ to see the top ones on Tripadvisor, and here ↗ for options on Expedia
Interesting Facts
-
For the epic tale of my own Snowdon hike, in sub-zero, white-out conditions, click here
-
The name "Snowdon" is derived from the Old English "snaw dun," which means "snow hill." It's a fitting name, as Snowdon is often capped with snow in the winter months.
-
Snowdon is the highest mountain in Wales, reaching an elevation of 1,085 meters above sea level; it has five distinct peaks, with the highest being Yr Wyddfa. The others are Crib Goch, Crib y Ddysgl, Y Lliwedd, and Garnedd Ugain.
-
There are multiple hiking trails leading to the summit of Snowdon, catering to a range of fitness levels and preferences. The trails are the Llanberis Path, Pyg Track, Miners' Track, Watkin Path, Rhyd-Ddu Path, and the Snowdon Ranger Path.
-
If you prefer a more leisurely ascent up the mountain, Snowdon has a train that offers a scenic ride to the summit.
-
The area surrounding Snowdon is home to a variety of rare plant and animal species, including the Snowdon lily ↗, which is a protected species.
-
The geology of Snowdon includes a variety of rock types, with some of the oldest rocks in Wales. It's a haven for geologists and rock enthusiasts.
-
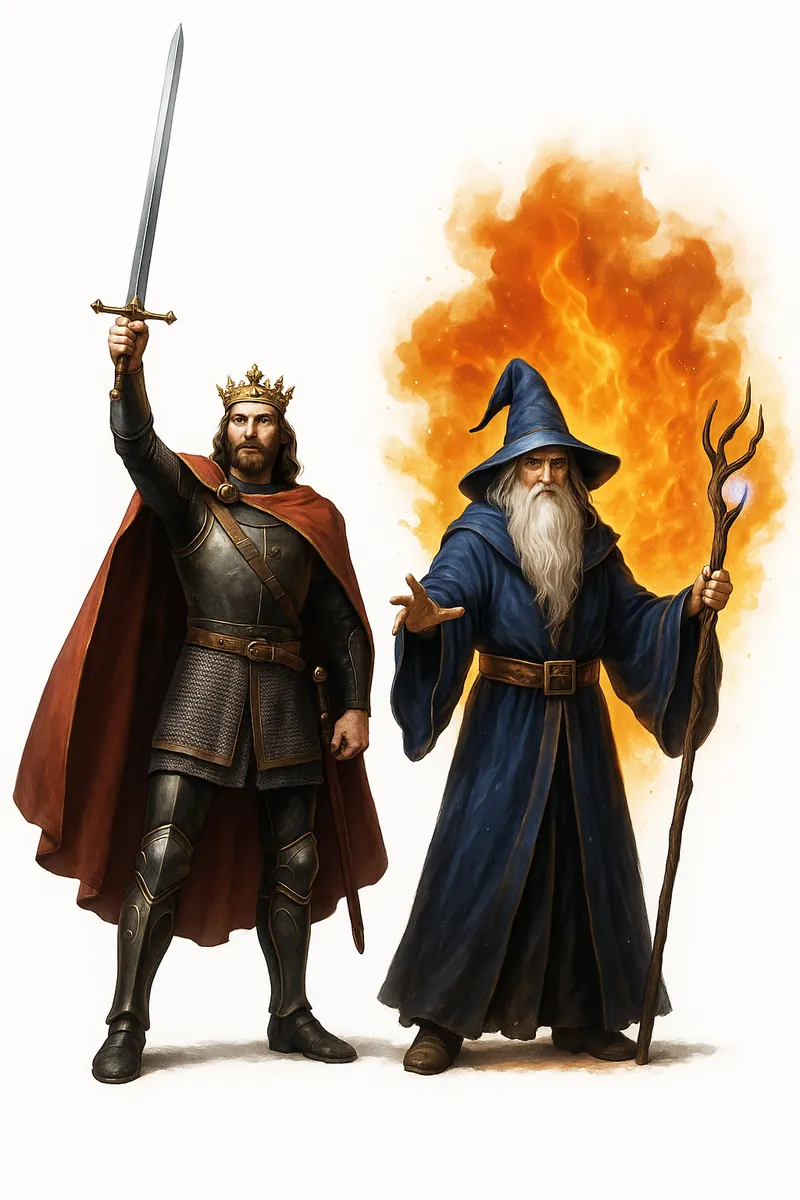
In the annals of Arthurian legend, Snowdon's connection runs deep, for the mountain was the backdrop for a legendary clash between Arthur and Rhitta, a colossal giant whose audacious deeds had terrorized the land. Rhitta was a fearsome creature, renowned for his cruelty, brutality, and grotesque cape fashioned from the beards of his fallen foes. When news of Rhitta's misdeeds reached the ears of King Arthur, the valiant monarch felt compelled to confront this monstrous adversary. With unshakable determination, he ascended Snowdon, determined to face the giant and rid the land of this scourge. The ensuing battle was the stuff of legend, a titanic struggle that shook the very foundations of the mountain itself. Yet, in the end, Arthur's valor and might prevailed, and he emerged victorious, vanquishing the giant and ending his reign of terror once and for all. In a gesture of respect for his fallen adversary, Arthur ordered his men to lay Rhitta's lifeless form to rest atop the summit of Snowdon, covering the giant's corpse with enormous stones, a burial mound befitting of such a formidable foe.

our mission
This website was created during the second coronavirus lockdown, a time when the nation's collective mental health was at an all-time low. Hiking can provide a psychological reset, a way of forgetting the daily challenges we face and connecting with the healing powers of Mother Nature. Our mission at The Lost Peak is to make people happy by providing an easy-to-use and informative resource for exploring the Great British outdoors.